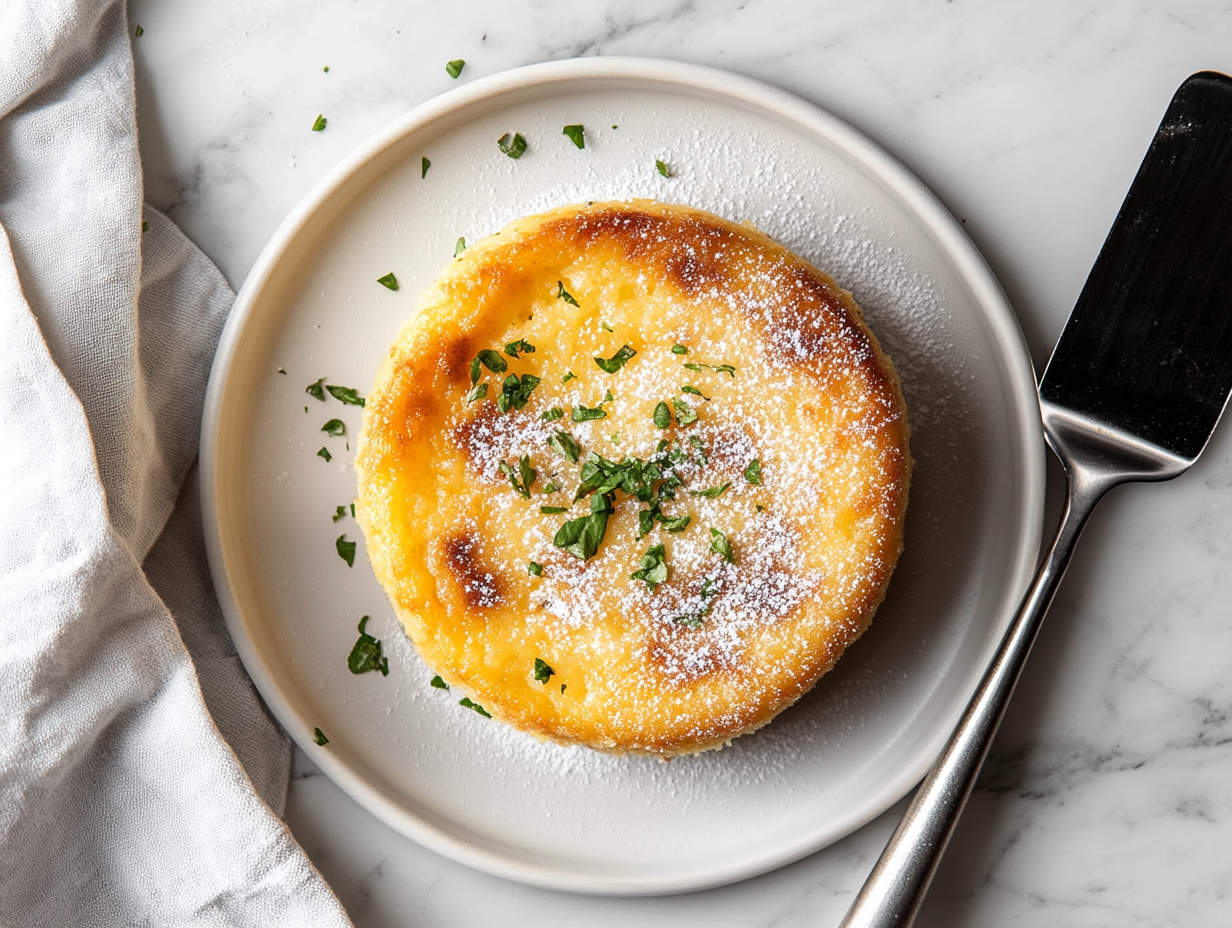
Indulge in the rich, tropical flavors of the Philippines with this delightful Cassava Cake recipe. A beloved dessert in Filipino cuisine, Cassava Cake is made from grated cassava, coconut milk, and condensed milk, creating a dense, chewy, and utterly delicious treat. Perfect for celebrations or a sweet finish to any meal, this cake’s unique texture and flavor will transport your taste buds to a paradise of culinary delight. Whether you’re new to cassava or a seasoned fan, this recipe is a must-try for anyone looking to experience the authentic taste of the Philippines.
Cassava Cake Recipe
Equipment
- Mixing bowls
- Whisk
- Baking Pan
- Knife
- Grater
- Spatula
- Saucepan (for the topping)
- Oven
- Cooling rack
Ingredients
- 1 pack frozen grated cassava
- 1 cup desiccated coconut
- 3/4 can condensed milk
- 3/4 can evaporated milk
- 3/4 can coconut milk
- 5 tablespoons sugar
- 2 egg yolks
Instructions
- Butter a pan or baking dish. This will help the cake stay in the pan.
- You should use a big bowl with a deep bottom. Gather the things you need to make the cassava cake in a bowl.
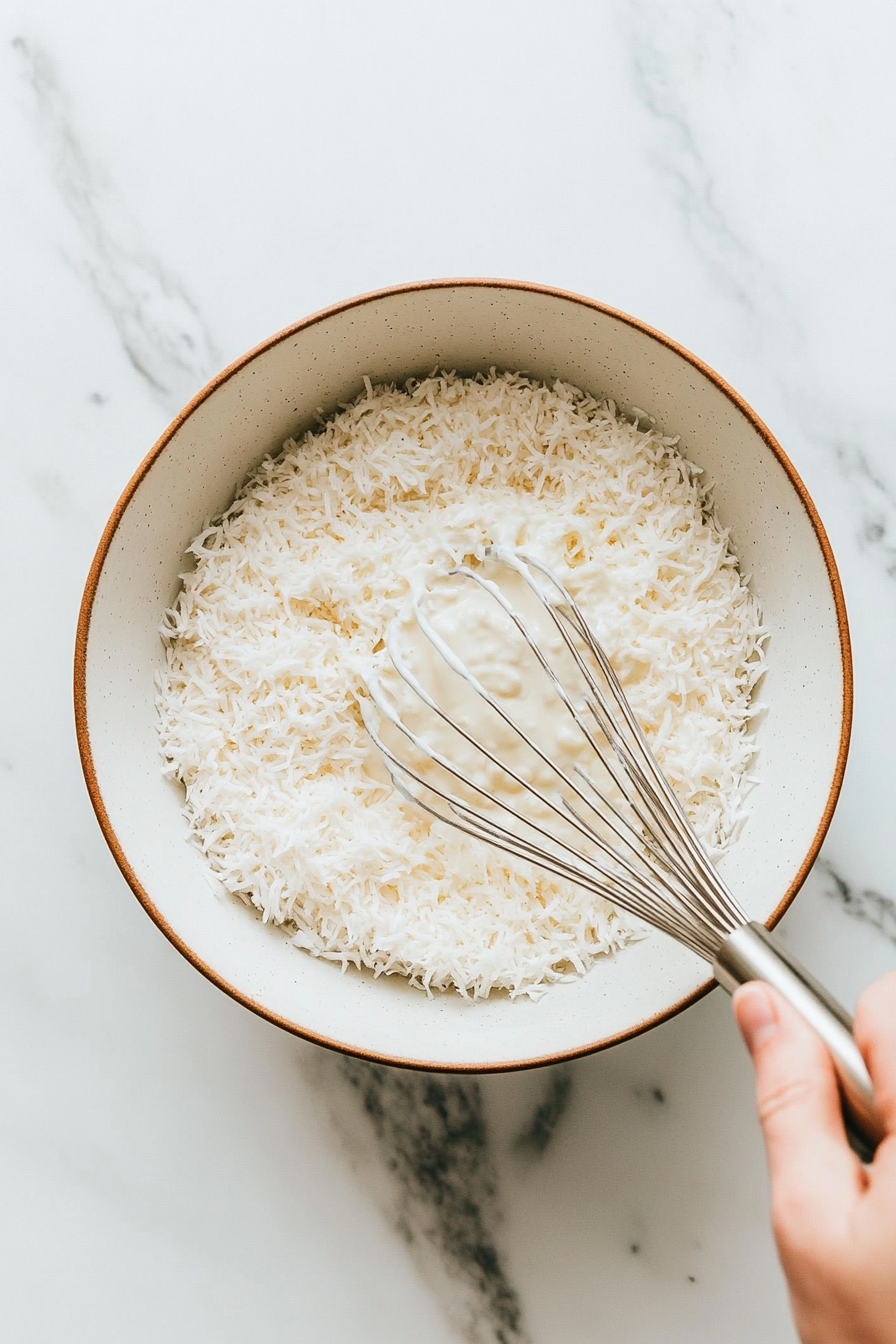
- Really mix everything together until the sugar is gone and everything looks nice and mixed.
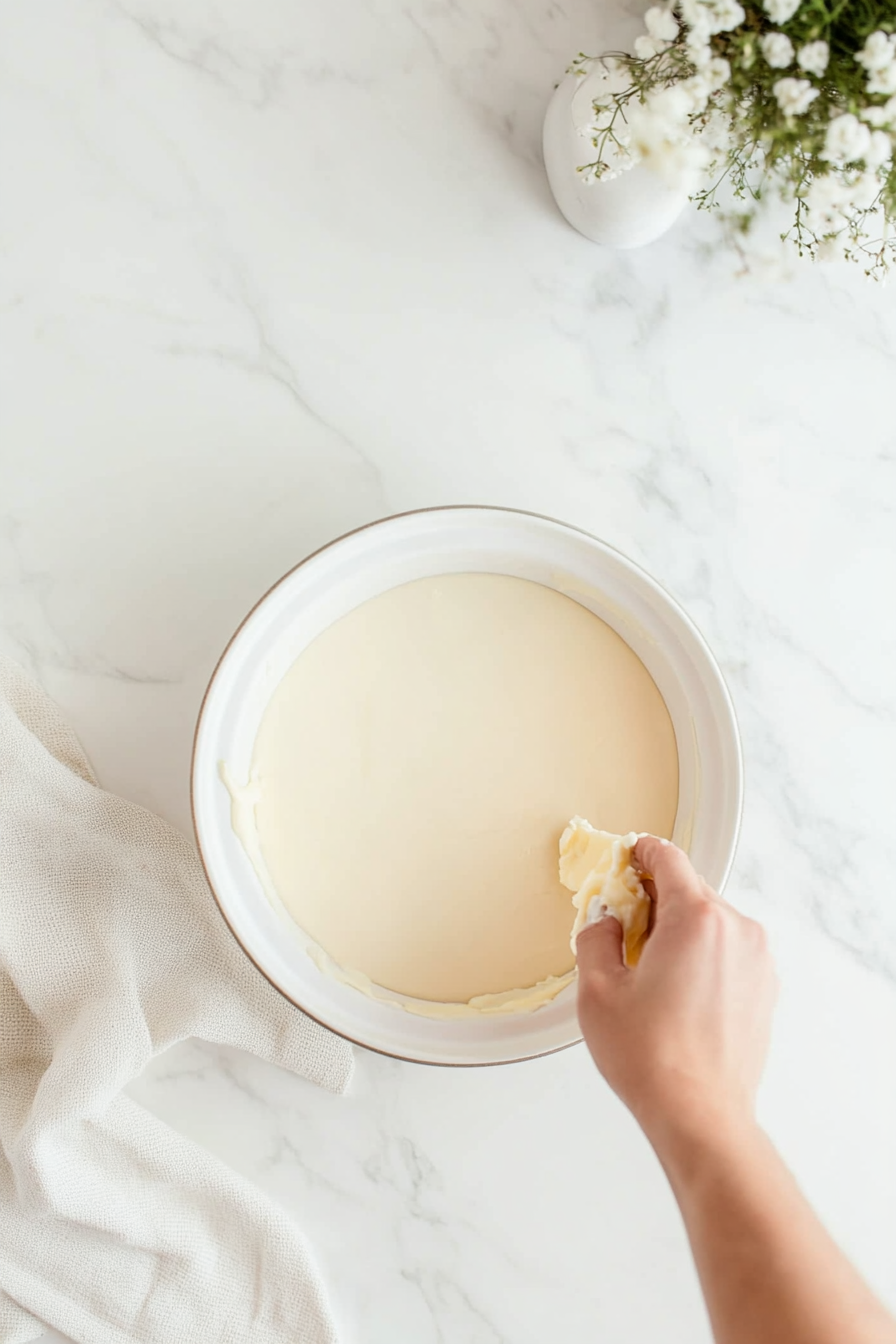
- Put the mix into the pan that has been oiled. Get the oven to 375°F/180°C.
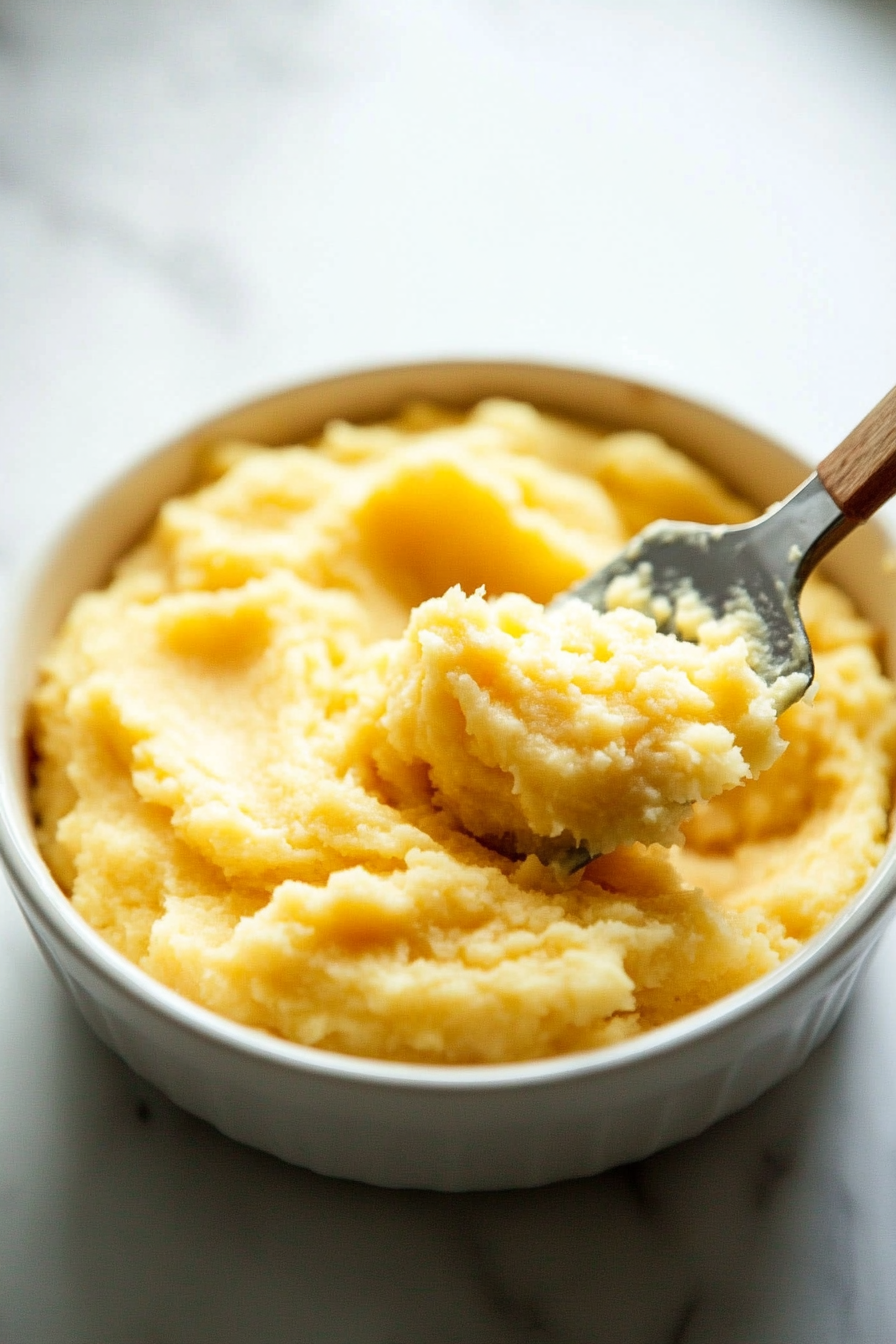
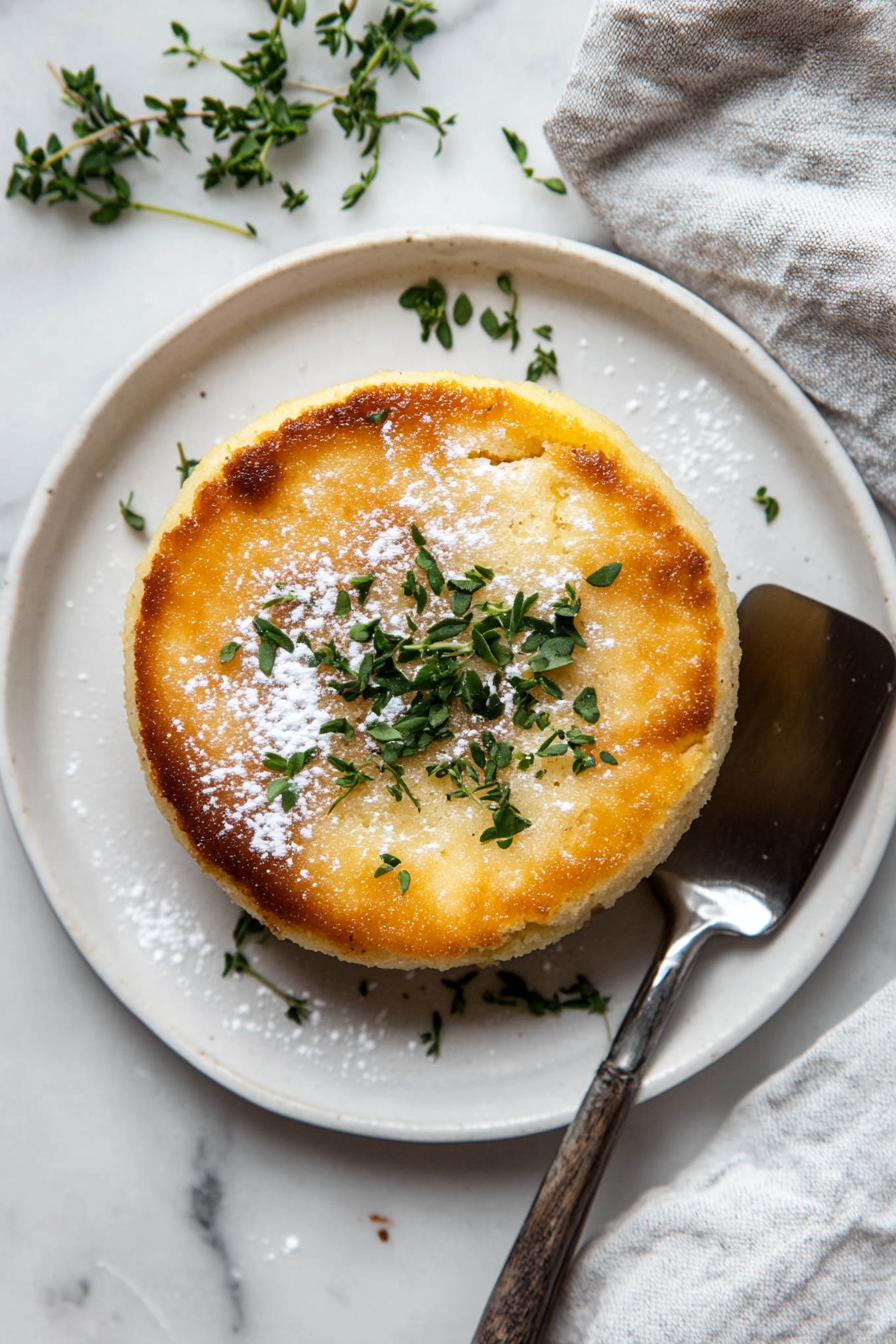
- Put the cake in the oven and bake it for 45 minutes to an hour. When it looks golden and feels hard when you touch it, it’s done.

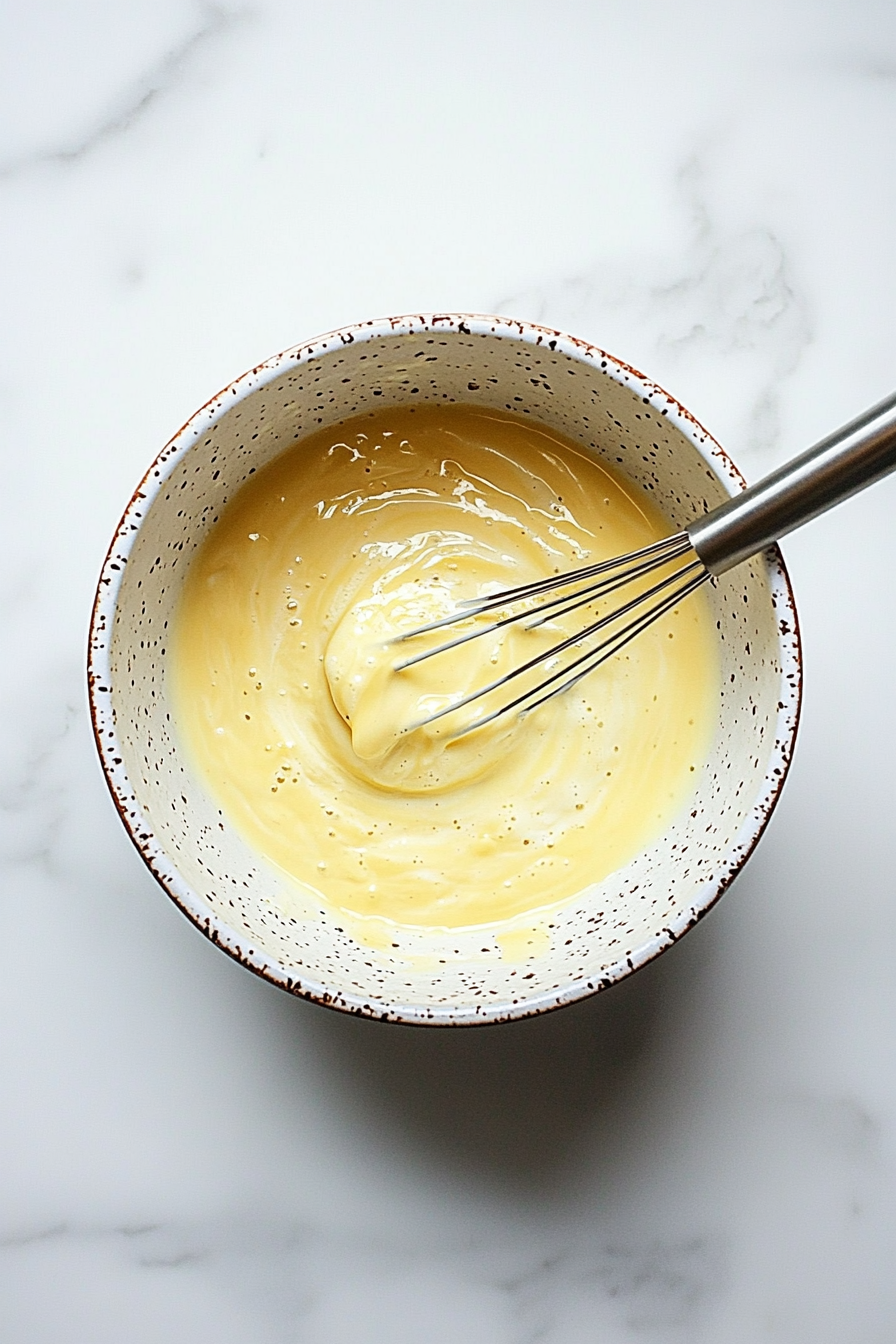
- Get another bowl while the cake is baking. Mix everything in that bowl for the custard. Mix it well until it’s all smooth.
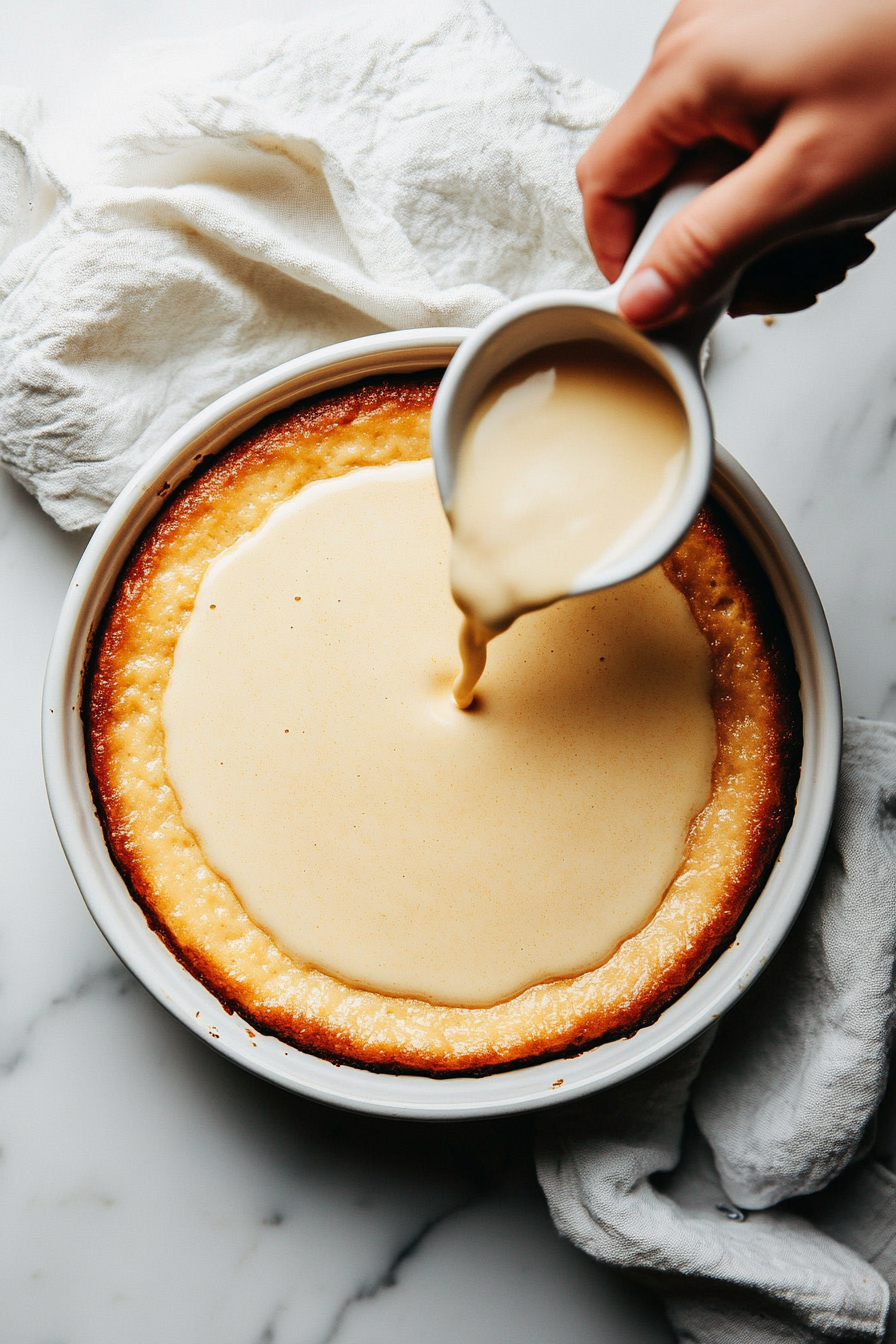
- Take the cake out of the oven when it’s done baking. Spread out the egg mixture on top of the cake.
- It needs to be baked for another 15 to 25 minutes, or until the custard turns brown and is fully cooked.
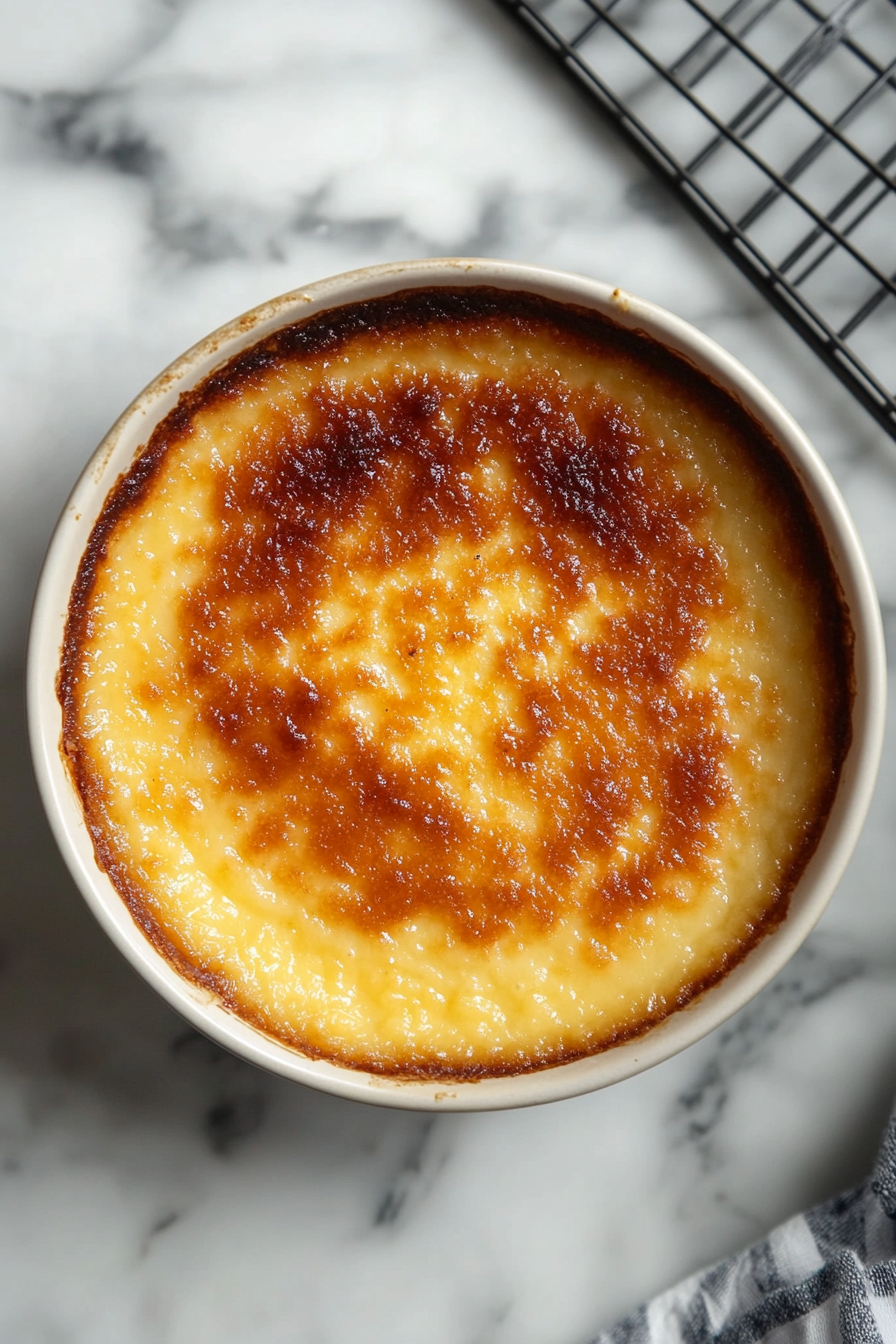
- Serve and enjoy your Cassava Cake Recipe!
Notes
- Fresh vs. Frozen Cassava: You can use fresh or frozen grated cassava for this recipe. If using frozen, make sure to thaw it completely and drain any excess liquid before using.
- Coconut Milk Variations: For a richer flavor, use full-fat coconut milk. Light coconut milk can be used as a healthier alternative but will result in a slightly different texture and taste.
- Sweetness Level: Adjust the amount of condensed milk based on your preferred sweetness. If you like a less sweet cake, reduce the quantity slightly.
- Topping Options: Traditional cassava cake is topped with a caramelized custard layer. For added texture and flavor, consider sprinkling grated cheese or shredded coconut on top before baking.
- Cooling Time: Allow the cake to cool completely before slicing to ensure clean cuts and to help the cake set properly. Serve it chilled or at room temperature, depending on your preference.
Nutrition Facts
| Nutrition | Value |
|---|---|
| Calories | 182kcal |
| Carbohydrates | 16g |
| Protein | 4g |
| Fat | 11g |
| Saturated Fat | 8g |
| Sodium | 40mg |
| Iron | 0.9Mg |
| Calcium | 91Mg |
| Vitamin A | 175IU |
| Potassium | 169mg |
Why Is My Cassava Cake Bitter?
Your cassava cake may be bitter if the cassava is not properly peeled or if it contains natural toxins called cyanogenic glycosides. Ensure you use sweet cassava, peel it thoroughly, and soak or boil it to remove any bitterness and toxins before using it in the recipe.

Does Cassava Cake Contain Gluten?
Cassava cake does not contain gluten, as it is made from grated cassava, which is naturally gluten-free. This makes it a suitable dessert option for individuals with gluten sensitivities or those following a gluten-free diet. However, always check the labels of additional ingredients to ensure they are gluten-free.

