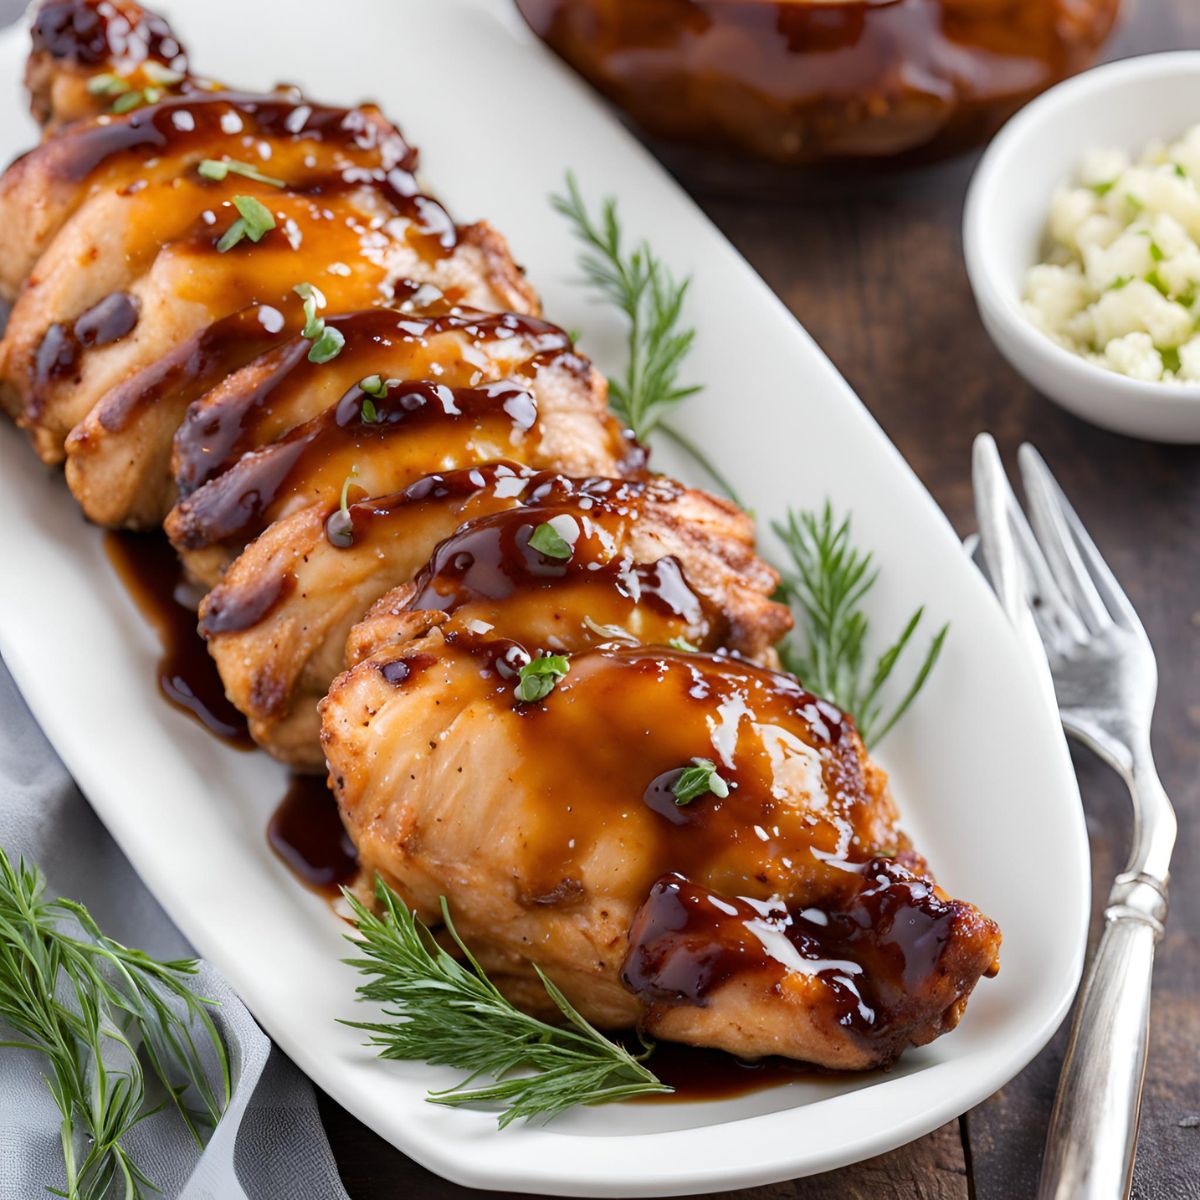
Sweet and sticky, my Maple Glazed Chicken Traybake is a perfect quick and tasty weeknight dinner.
This recipe combines juicy chicken thighs with a flavorful maple mustard glaze, fresh orange, garlic, and herbs for a meal that’s packed with big flavors and requires minimal effort.
Here’s how it works: I like to marinate the chicken overnight. This way, when it’s time to cook, all I need to do is spread everything out on an oven tray or baking sheet, toss in some sliced red onions, and bake it all until it’s golden brown and tender.
Since everything cooks in the oven, you’ll have the stovetop free for any sides you want to prepare.
For sides, I usually go with peas or green beans, but crisp green salad pairs nicely too. If you want to bulk out the meal, my Tomato and Bean Salad is a great option. You can even prepare this salad a few days ahead, making it a fantastic choice for busy weeknights.
Leftovers? No problem! Store them in an airtight container in the fridge, and they’ll keep well for about 5 days to a week.
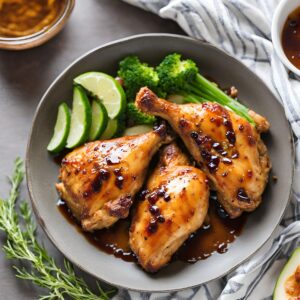
Maple Glazed Chicken Recipe
Ingredients
- 1.5 lb Boneless skinless chicken breasts (4–5 small breasts)
- 1/2 cup Chicken broth
- 1/4 cup Pure maple syrup
- Juice of 1/2 lemon
- 1/2 tbsp Dijon mustard
- 1 heaping tbsp minced Garlic
- Olive oil
- Fresh parsley chopped
- Salt and black pepper to taste
Instructions
- Season the chicken breasts with salt and black pepper on both sides.
- In a medium bowl, mix the chicken broth, maple syrup, lemon juice, Dijon mustard, and minced garlic. Set aside.
- Heat a large skillet over medium-high heat and coat the bottom with olive oil. Once hot, add the chicken breasts. Depending on your pan size, you may need to sear the chicken in batches. Sear for 3-4 minutes per side until golden brown, then remove the chicken and set aside. Turn the heat to low or off, allowing the skillet to cool slightly.
- Once the skillet has cooled, pour in the maple sauce mixture. Bring it to a simmer, scraping up any browned bits from the bottom of the skillet.
- Add the seared chicken back into the skillet, simmering for 5-8 minutes until the chicken is cooked through. Baste the chicken with the sauce as it cooks.
- Remove the chicken from the skillet and place it on a serving plate. Increase the heat to a high simmer for 1-2 minutes to reduce the sauce to a thick, sticky glaze. Be careful not to burn it.
- Drizzle or spread the reduced maple glaze over the chicken breasts. Garnish with fresh parsley and lemon wedges. Serve and enjoy!
Notes
- Sear the Chicken for Extra Flavor: Make sure to get a good sear on the chicken breasts before simmering them in the sauce. This not only adds flavor but also helps to lock in the juices, keeping the chicken tender.
- Cool the Skillet Before Adding the Sauce: Let the skillet cool slightly before adding the maple sauce mixture. This prevents the garlic from burning and allows the sauce to reduce evenly without scorching.
Nutrition Facts:
| Nutrition | Value |
|---|---|
| Calories | 630 kcal |
| Carbohydrates | 47g |
| Protein | 58g |
| Fat | 24g |
| Cholesterol | 274mg |
| Sodium | 1201mg |
Can I Use Other Cuts Of Chicken For This Recipe?
Yes, you can use different cuts of chicken like thighs, drumsticks, or even chicken breasts. Just keep in mind that cooking times may vary depending on the cut. Thighs and drumsticks may take a bit longer to cook through, while chicken breasts might cook faster, so adjust the cooking time accordingly.
How Do I Prevent The Maple Glaze From Burning?
To prevent the maple glaze from burning, it’s important to cook the chicken over medium to medium-low heat, especially when you start applying the glaze. Keep a close eye on it and baste the chicken frequently to ensure the glaze caramelizes evenly without burning. If you’re baking the chicken, you can cover it with foil for the first part of cooking and then uncover it for the last 10-15 minutes to allow the glaze to thicken and caramelize.
Can I Make The Maple Glazed Chicken Ahead Of Time?
Yes, you can prepare the chicken ahead of time by marinating it in the maple glaze for up to 24 hours in the refrigerator. When you’re ready to cook, simply bake or grill the chicken as directed. You can also cook the chicken completely and reheat it later; just be careful not to overcook it when reheating to keep it tender and juicy.

