This No Bake Funfetti Cheesecake is a delightful and playful dessert that’s perfect for celebrations or whenever you need a pop of color in your day.
With its creamy texture, rich cheesecake flavor, and the added fun of colorful sprinkles, it’s a treat that requires no oven time, making it ideal for warmer days or quick dessert fixes. The buttery graham cracker crust provides a perfect balance to the sweet, fluffy filling.
For an extra indulgent twist, pair it with Chocolate Covered Raspberries or Chocolate Covered Strawberries. The juicy berries dipped in rich chocolate add a fruity, decadent contrast that complements the light and airy cheesecake beautifully.
Whether you’re making this for a birthday, a family gathering, or just a weekend treat, this no-bake cheesecake is sure to impress!
What Is Funfetti?
Funfetti, also known as confetti, birthday cake, or sprinkle cake, combines the words “fun” and “confetti.” This trend of adding colorful sprinkles to vanilla cake began with Pillsbury in the late ’80s and has remained popular ever since.
The concept is simple: mix sprinkles into the cake batter, and once baked, you’ll see bright, colorful dots throughout each slice.
While the sprinkles don’t change the cake’s flavor, they give it a fun, festive look. Some people like to add almond extract to their funfetti treats for extra flavor, but it’s optional!
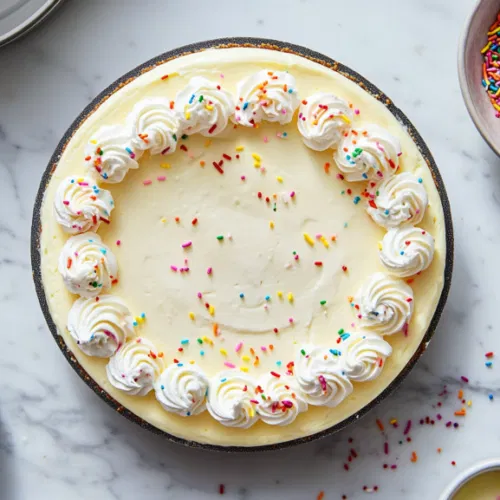
No Bake Funfetti Cheesecake Recipe
Equipment
- Food processor or rolling pin
- 23cm springform tin
- Mixing bowls
- Electric whisk or hand whisk
- Spatula
- Piping bag (for decoration)
- Butter knife (for smoothing)
Ingredients
- For the biscuit base
- 300 g Digestive biscuits
- 135 g Butter or baking spread melted
- For the cheesecake filling
- 750 g Full fat cream cheese I use Philadelphia
- 125 g Icing sugar
- 2 tsp Vanilla extract
- 300 ml Double cream
- 50 g Sprinkles
- For decoration
- 200 ml Double cream
- 1 tbsp Icing sugar
- 1 tsp Vanilla extract
- 1-2 tbsp Sprinkles
Instructions
Prepare the Base:
- Blitz the digestive biscuits into crumbs using a food processor, or crush with a rolling pin.
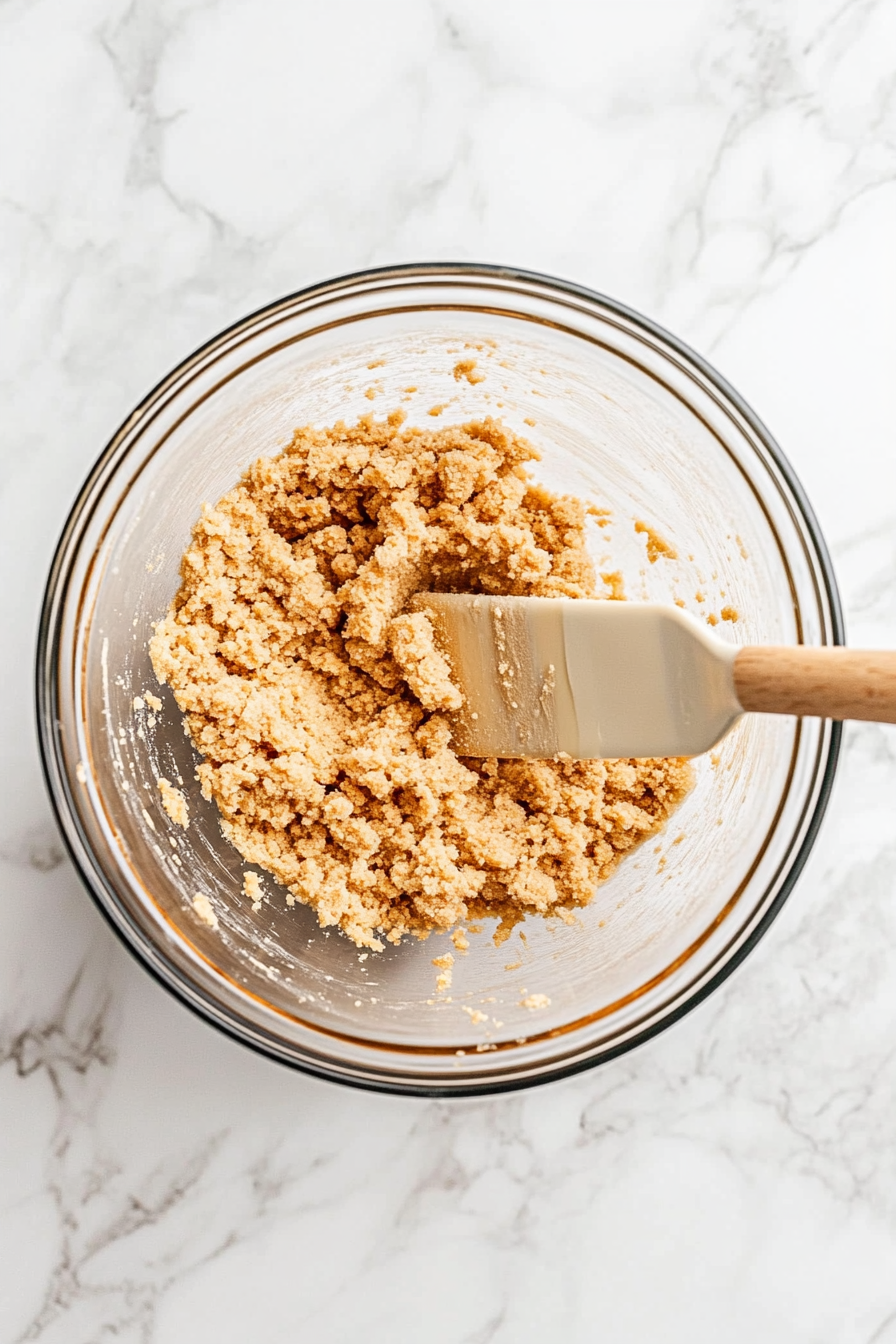
Mix melted butter into the crumbs.
- Press the mixture into the bottom of a 23cm springform tin. Chill in the fridge for 30 minutes.
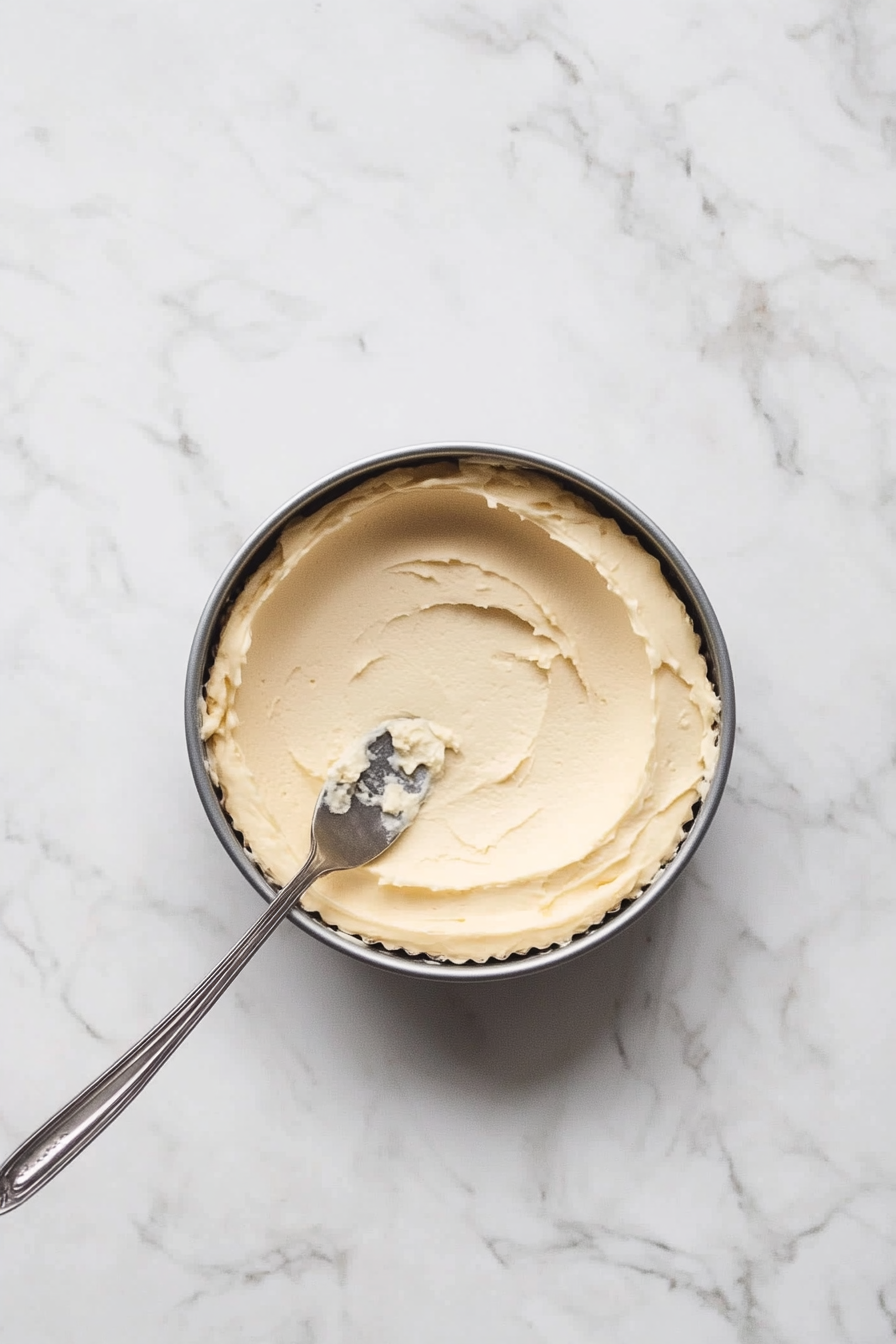
Make the Cheesecake Filling:
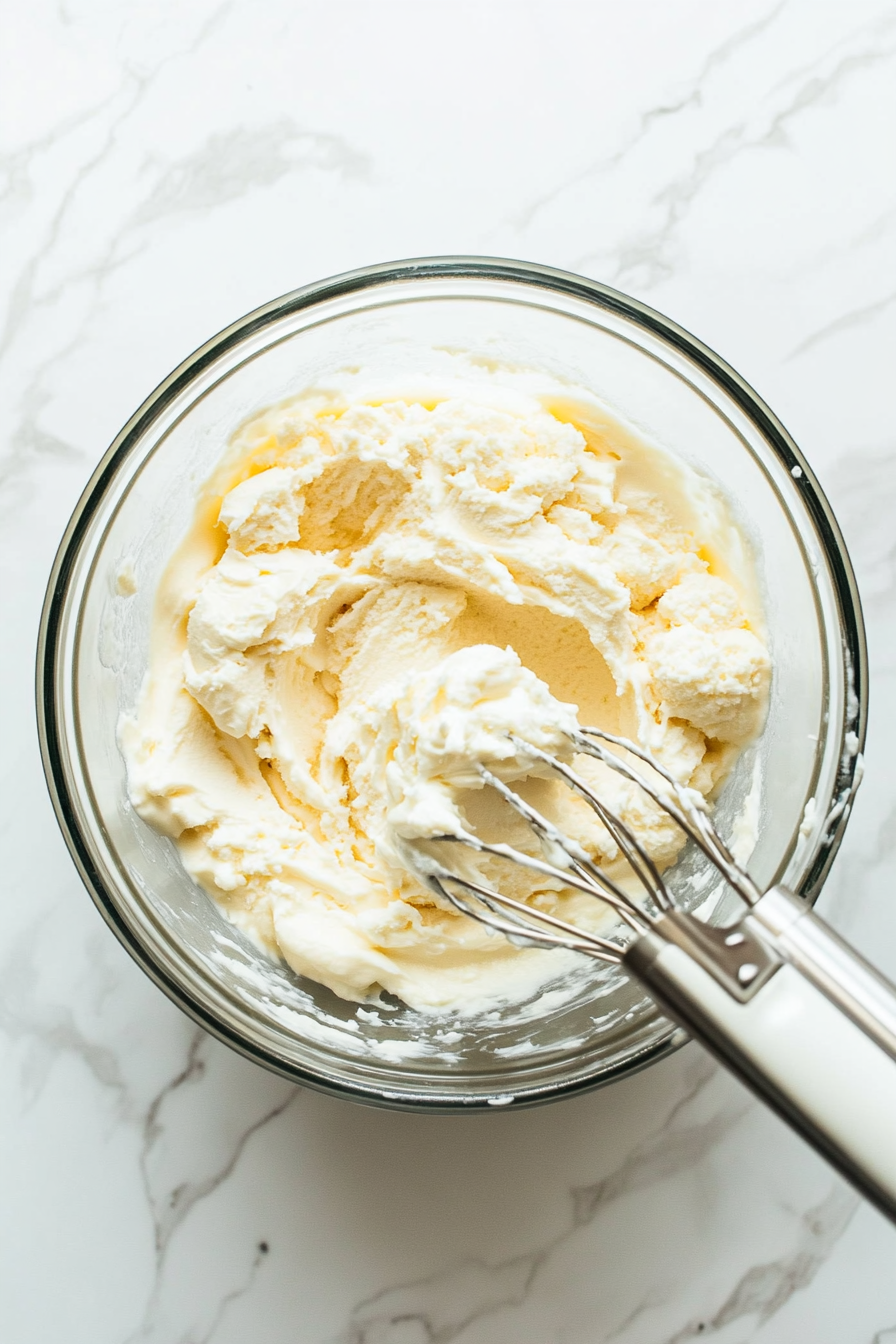
- Beat cream cheese, icing sugar, and vanilla extract until smooth and lump-free.
- Add double cream and whisk until thick and holding its shape.
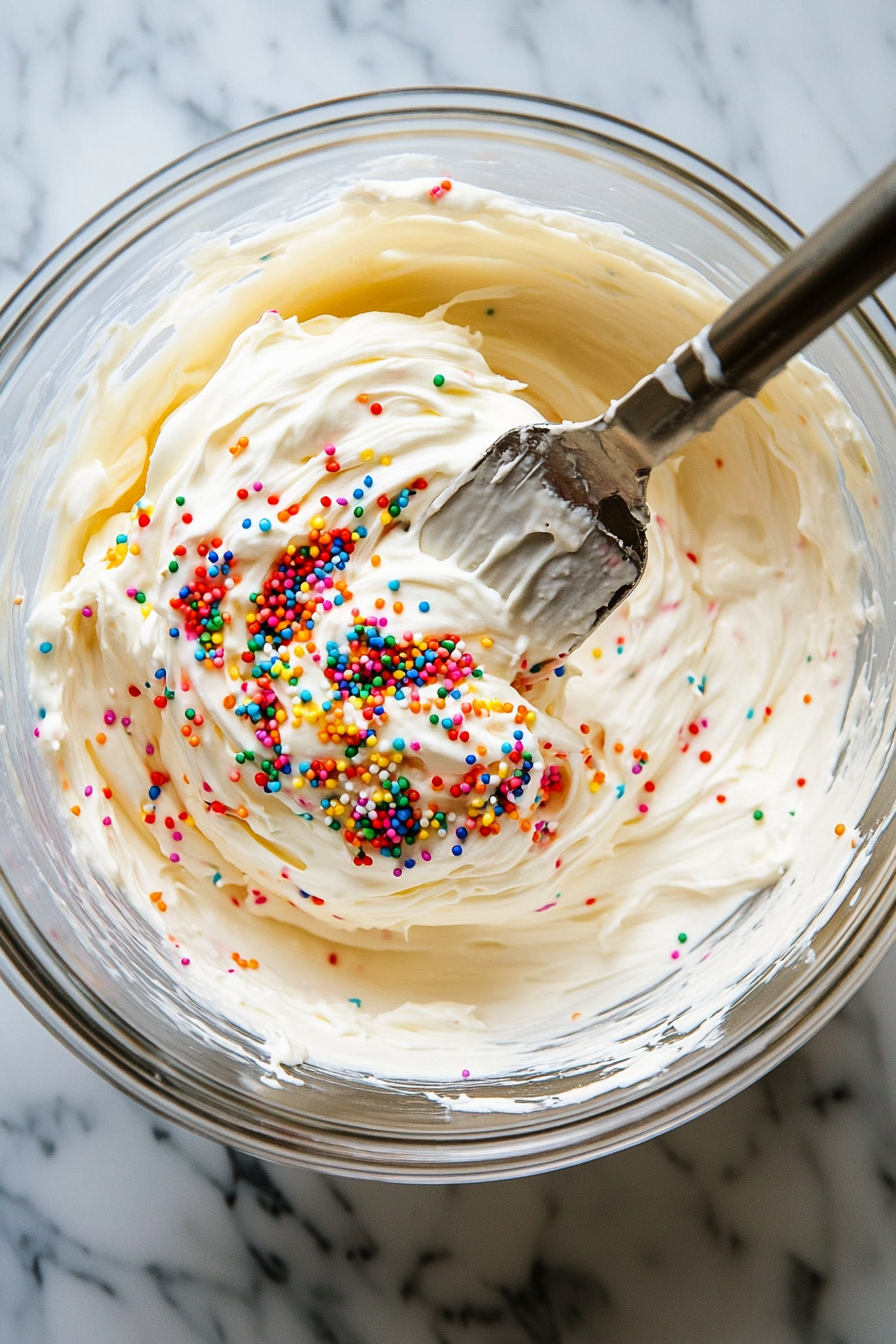
- Gently fold in sprinkles with a spoon or spatula.
Assemble and Chill:
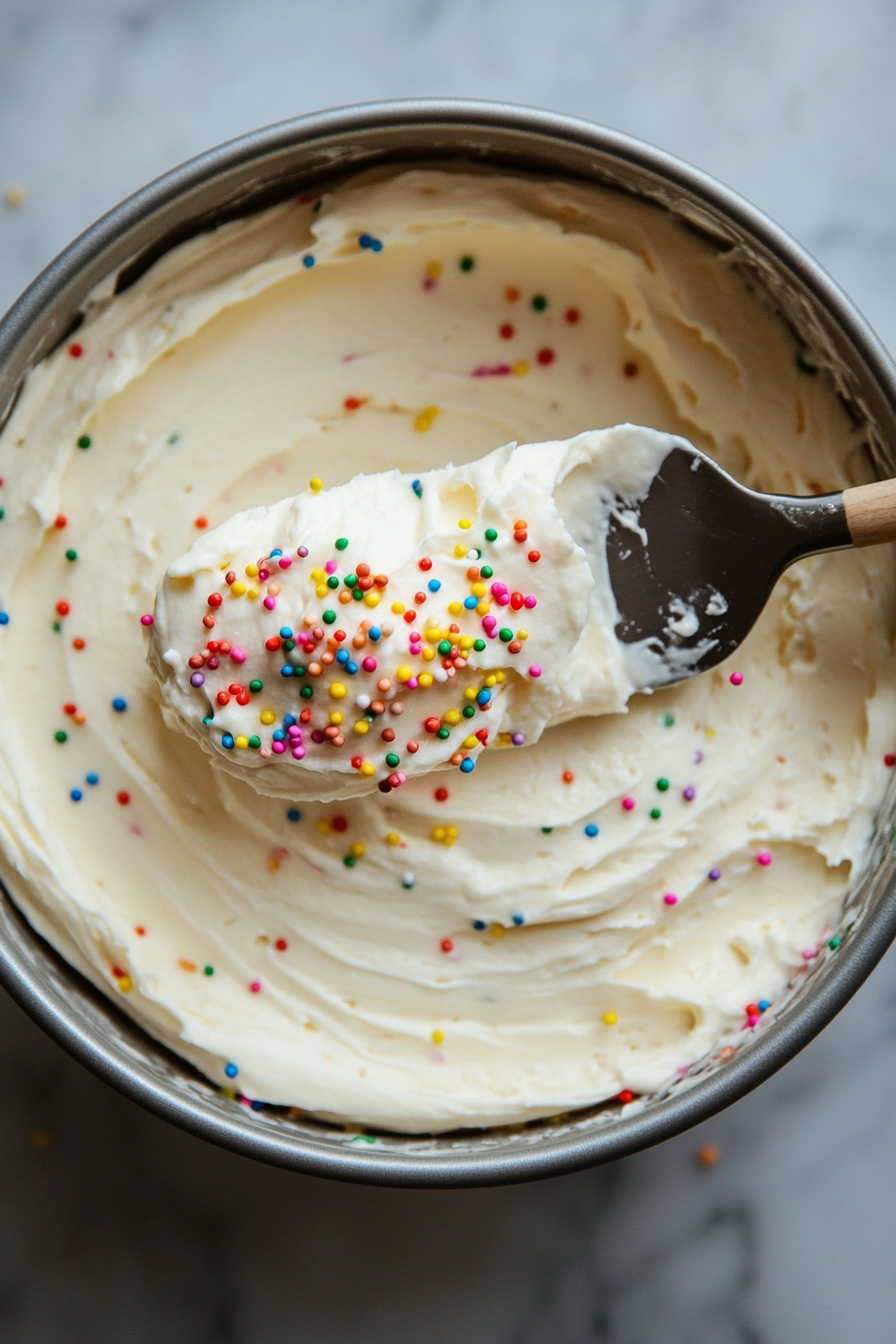
- Spread the cheesecake filling evenly over the biscuit base.
- Refrigerate for at least 4 hours or overnight to set.
Decorate:
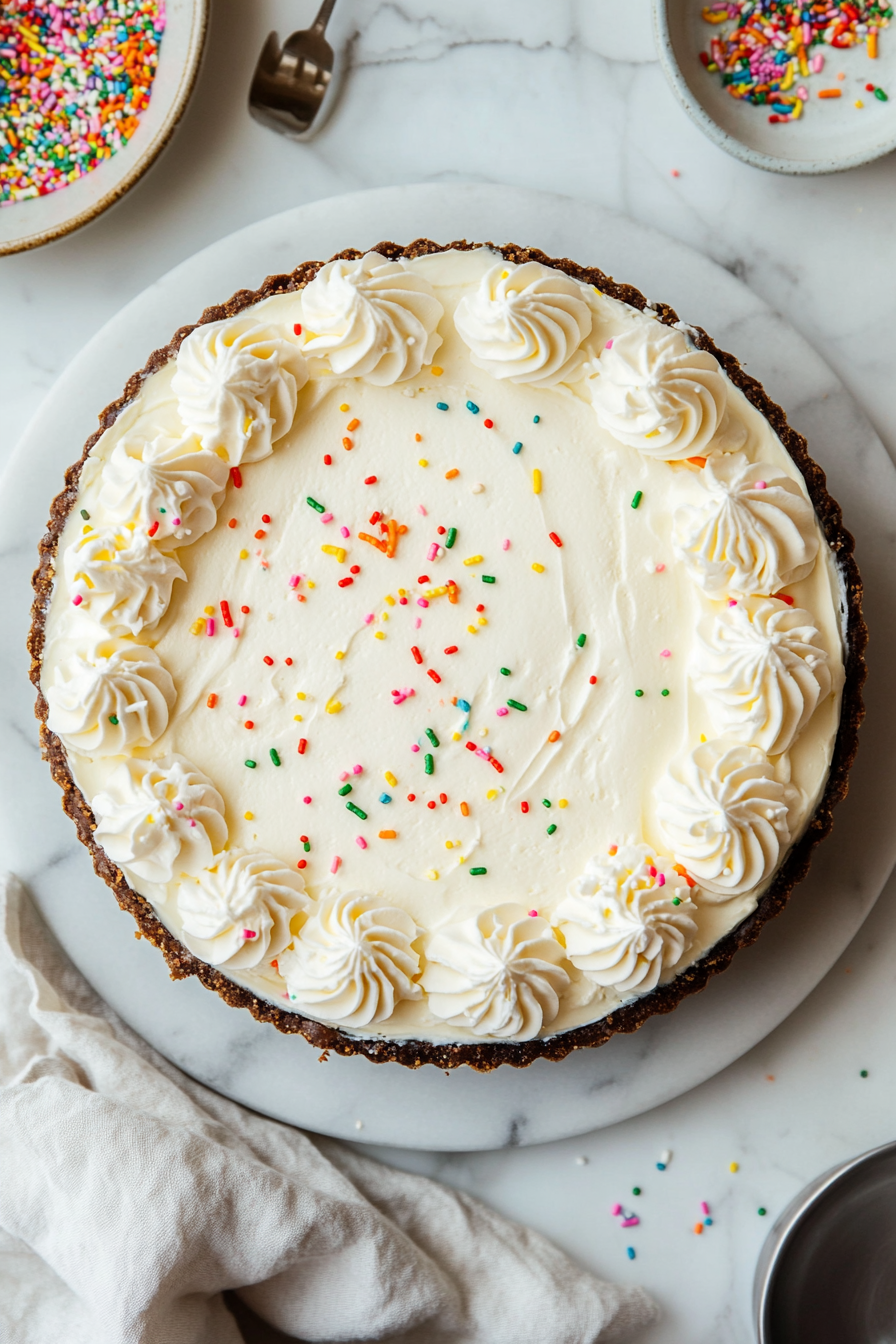
- Whip double cream with icing sugar and vanilla extract until soft peaks form.
- Pipe swirls around the edge of the cheesecake.
- Add additional sprinkles on top.
Serve:
- Remove from the tin and transfer to a serving plate.
- Store leftovers in the fridge for up to 2-3 days.
How to Put Your Spin on This Cheesecake!
Here are some fun variations you can try with this no-bake funfetti cheesecake recipe:
- Different Biscuits for the Base: Swap the digestive biscuits for graham crackers, Oreos, or even chocolate biscuits to add more flavor to the base.
- Flavored Cream Cheese: Try using flavored cream cheese like strawberry or lemon for a twist on the classic filling.
- Add Fruit: Fold in chopped strawberries, raspberries, or blueberries to give the cheesecake a fruity burst.
- Chocolate Lovers: Mix mini chocolate chips into the cheesecake filling for an extra indulgent treat.
- Sprinkles Galore: Use different types of sprinkles—pastel colors for a softer look, or chocolate sprinkles for a rich taste.
These variations allow you to play around with flavors while keeping that fun, festive feel!


