Making dinosaur cookies is like taking a trip back in time, but with a sweet twist. Whether you’re baking for a dinosaur-themed birthday party or just want to add some fun to your cookie jar, these cookies are a surefire hit with kids and adults alike. I remember the first time I made these for my nephew’s party—it was a roaring success, pun intended. The best part? These cookies are as easy to make as they are to eat.
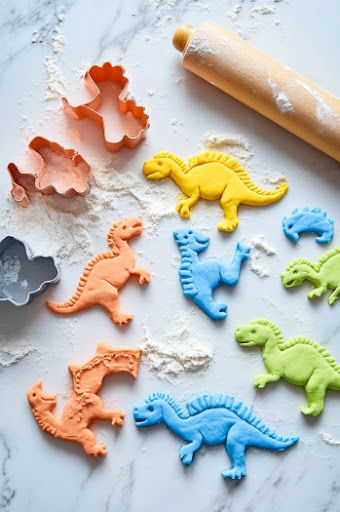
The key to these delightful cookies lies in the dough—rich, buttery, and just the right amount of sweetness. Rolling out the dough and pressing dinosaur-shaped cookie cutters into it feels like you’re creating little edible fossils.
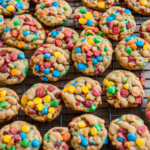
Once baked, the cookies are golden and crisp, with a melt-in-your-mouth texture that’s simply irresistible. For an extra touch of fun, you can decorate them with colorful icing or pair them with a luscious Cream Cheese Glaze. And if you’re in need of a refreshing beverage to balance the sweetness, a Mixed Berry Smoothie is the perfect companion.
These dinosaur cookies are more than just a treat; they’re a delightful way to bring a bit of prehistoric adventure into your kitchen.
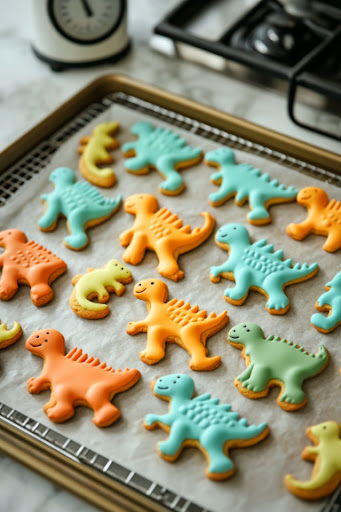
Dinosaur Cookies
Equipment
- Wooden spoon
- Weighing scales
- Measuring spoons
- Rolling Pin
- Large mixing bowl
- Whisk
Ingredients
- ¼ tsp salt leave out if using salted butter
- ¼ tsp baking powder
- ¼ tsp bicarbonate of soda
- ½ tsp vanilla extract
- 1 medium free-range eggs
- food colouring green, blue, red and yellow
- 250 g plain white flour plus extra for dusting
- 110 g margarine
- writing icing pens black, white and red
- 100 g white caster sugar
Instructions
- Preheat oven to 200°C (180°C fan).
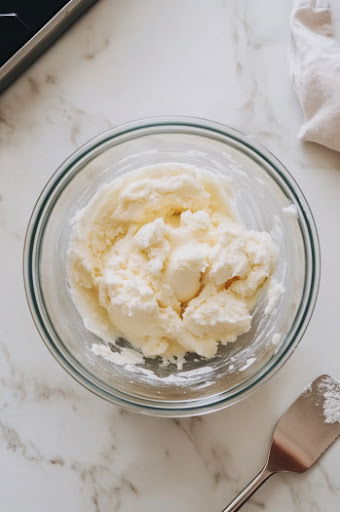
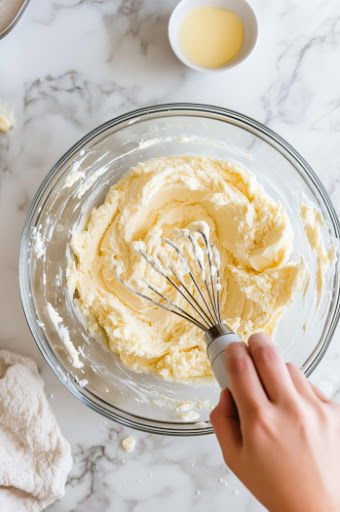
- Cream butter and sugar until fluffy, then mix in egg and vanilla.
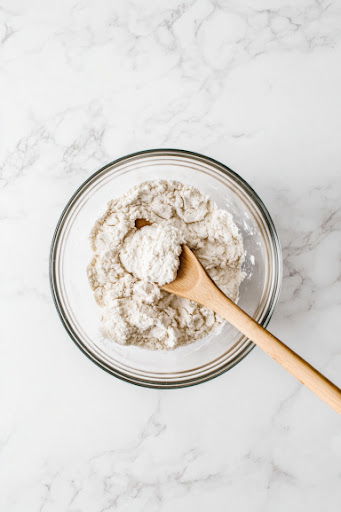
- Add flour, baking powder, baking soda, and salt, combining until dough forms.
- Divide into four discs, adding food coloring to each for different shades.
- Knead until colors distribute.

- If dough is soft, chill for 15 minutes.
- Tear pieces from each colored dough to create a camouflage pattern, gather into a slab, and roll out to 7-8mm thick.
- Cut dinosaur shapes, re-rolling as needed.
- Bake on lined sheets for 8 minutes.
- Cool on a wire rack.
Notes
- If the dough becomes too soft, refrigerate before rolling.
- Ensure even thickness for uniform baking.
| Nutrition | Value |
|---|---|
| Calories | 90 kcal |
| Carbohydrates | 12 g |
| Protein | 1 g |
| Vitamin A | 174 IU |
| Vitamin C | 1 mg |
| Iron | 1 mg |
| Sugar | 4 g |
| Calcium6 | 6 mg |
What To Serve With Dinosaur Cookies?
Frequently Asked Questions (FAQs)
How do I prevent the dough from getting too sticky?
If your dough becomes sticky, chill it in the fridge for 15-20 minutes to firm it up before rolling.
Do these cookies spread in the oven?
No, these cookies don’t spread much, so you can place them close together on the baking sheet.