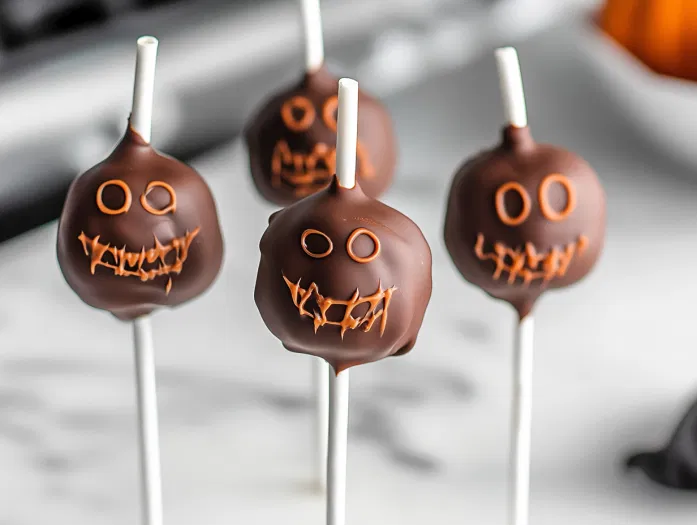
Get ready to elevate your Halloween celebrations with these adorable Halloween Cake Pops! These delightful treats are not only delicious but also a fantastic way to add a playful touch to your spooky festivities.
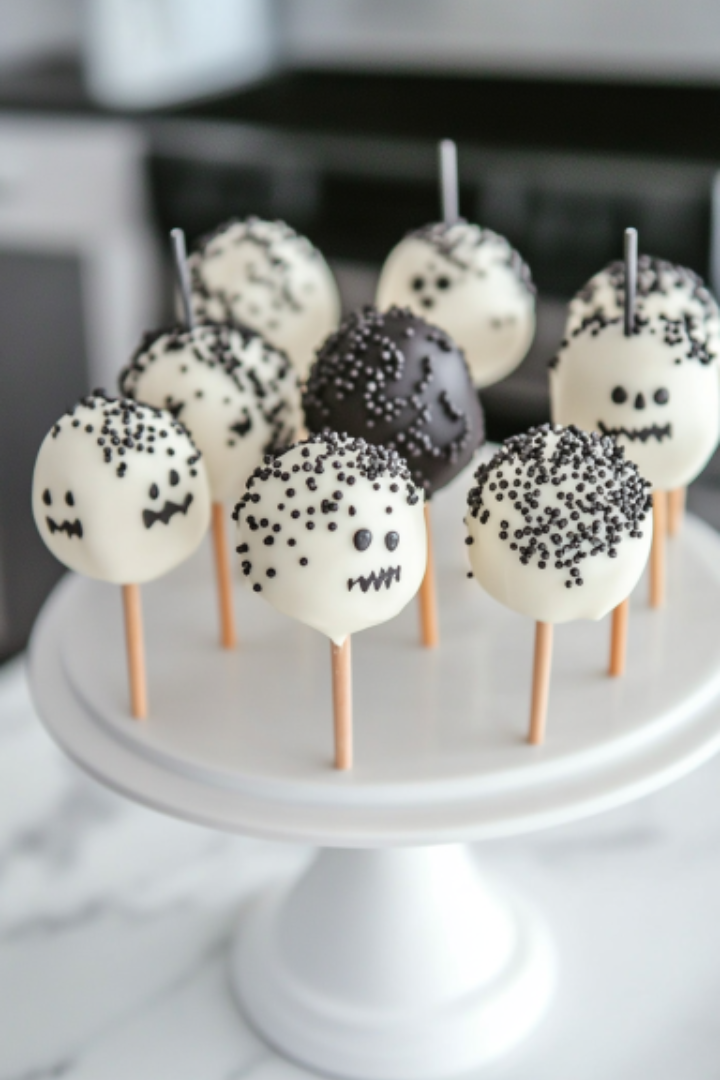
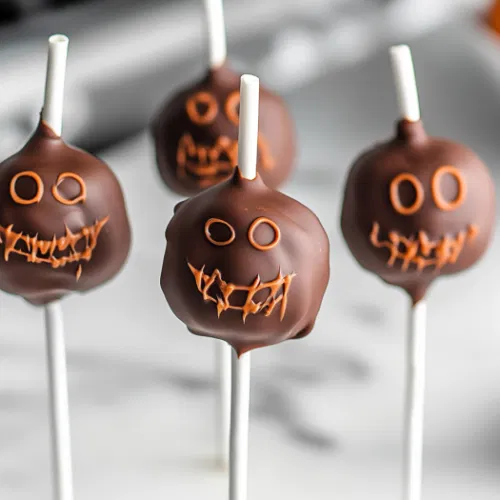
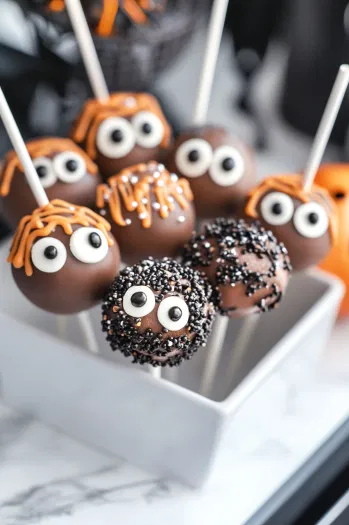
Imagine rich, moist cake crumbled and mixed with frosting, shaped into festive pops, and coated in vibrant candy melts. You can easily decorate them to resemble spooky ghosts, mischievous pumpkins, or even creepy monsters!
What makes these cake pops truly special is their versatility. They’re perfect for Halloween parties, classroom treats, or as fun snacks for your little trick-or-treaters.
Pair them with a spooky Witch’s Brew for a magical drink or serve them alongside some Halloween Cookies to create a festive dessert spread that will delight both kids and adults alike.
Why I Love This Recipe (And You Will Too)
- Easy to Customize: Use your favorite cake flavor and get creative with decorations!
- Fun for Everyone: Involve your family in decorating for a fun Halloween activity.
- Perfect for Any Gathering: These pops are easy to serve and eat, making them a crowd-pleaser.
- Deliciously Sweet: The cake and frosting combination is irresistible and perfect for satisfying your sweet tooth.
Halloween Cake Pops Recipe
Equipment
- Mixing bowls
- Electric Mixer/Stand Mixer
- Whisk
- Silicone Cake Pop Molds
- Popsicle Sticks
- Food Processor/Ziploc Bag
- Sharp Knife
- Piping bag
- Microwave-safe bowls
- Spatula
- Parchment paper
- Refrigerator
Ingredients
- 1 box chocolate cake mix
- 1 cup unsalted butter room temperature
- 2 1/4 cups confectioner’s sugar
- 2-3 Tbsp. heavy whipping cream
- 2 tsp. vanilla extract
- 2 cups white candy melts
- 1 cup orange candy melts
- 1/2 cup yellow candy melts
- 1/4 cup semi-sweet chocolate chips
- 3 1/2 Tbsp. coconut oil or vegetable oil, divided
Instructions
Bake the Cake:
- Prepare the chocolate cake mix according to package directions. Bake until a toothpick inserted comes out clean. Allow the cake to cool.

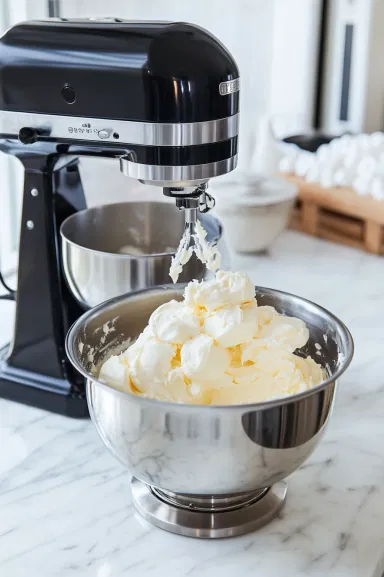
Make the Buttercream:
- Using a mixer, cream the butter and confectioner’s sugar, gradually adding in the heavy cream until light and fluffy. Mix in vanilla extract.
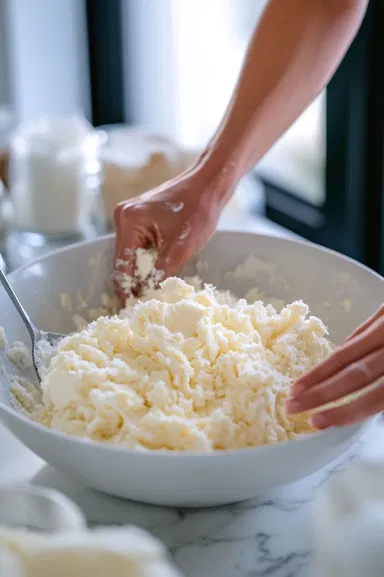
Combine Cake and Buttercream:
- Crumble the cooled cake into a bowl, add 1 cup of buttercream, and combine until smooth. If dry, add more buttercream.
Shape the Cake Pops:
- Press the cake mixture into silicone molds, pressing it into all corners. Flatten the tops, insert popsicle sticks, and let set for 4 hours or overnight.
Melt White Candy Melts:
- Melt white candy melts with 1 tablespoon of coconut oil in 30-second intervals until smooth.
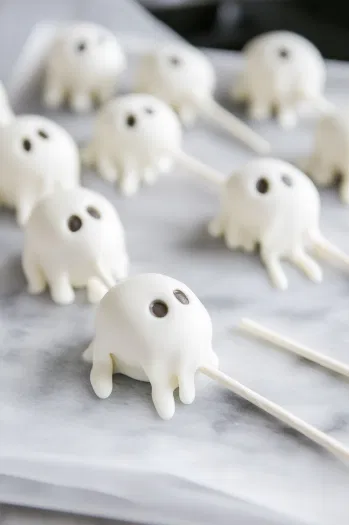
Dip Ghost Cake Pops:
- Pop the cake pops out of molds and dip them in the melted candy. Allow excess to drip off, then place them on parchment paper. Repeat for all ghost pops.
Dip Candy Corn Pops:
- Melt orange candy melts with 1 tablespoon of coconut oil and dip candy corn pops halfway through, letting the excess drip off. Once set, dip the tips in yellow candy melts.
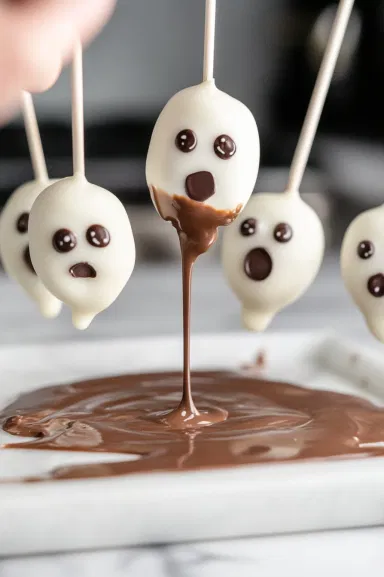
Finish Ghosts:
- Melt chocolate chips with 1/2 tablespoon of coconut oil. Use a piping bag to draw faces on the ghost pops.
Set and Serve:
- Allow everything to set in the fridge for 30 minutes before serving.
- Enjoy your spooky Halloween treats!
Nutritional Facts:
| Nutrition | Value |
|---|---|
| Calories | 210 kcal |
| Fat | 10 g |
| Cholesterol | 30 mg |
| Sugar | 18 g |
| Protein | 2 g |
Tips that Will Surely Make a Difference!
- Ingredient Quality Matters: Opt for high-quality chocolate and candy melts. They not only taste better but also melt smoothly, making for a flawless coating.
- Butter Temperature: Ensure your butter is perfectly at room temperature—soft but not melting. This helps create a light and airy buttercream that holds its shape well.
- Crumb Consistency: When crumbling the cooled cake, aim for a fine, even texture. Larger chunks can lead to uneven pops that won’t hold together as well.
- Moisture Control: If your cake mix seems dry after combining with the buttercream, add a teaspoon of heavy cream at a time until you reach the desired moistness. You want a moldable mixture, not a wet one.
- Mold Technique: When pressing the cake mixture into silicone molds, press firmly to eliminate air pockets. This ensures your pops are sturdy and hold their shape during dipping.
- Chill Time: Don’t rush the chilling process. Allow the shaped pops to set for at least four hours or overnight. This helps them firm up, making them easier to dip without falling apart.
- Melting Method: Use a microwave-safe bowl to melt your candy melts. Stir frequently to prevent overheating, which can cause the melts to seize. If they get too thick, a splash of coconut oil can help achieve the right consistency.
- Dipping Technique: When dipping the cake pops, hold the stick and rotate the pop gently to ensure even coverage. This technique helps prevent clumps and drips.
- Face Piping: For the ghost faces, use a piping bag for precise control. If you’re new to piping, practice on parchment paper first to get comfortable with the flow.
- Storage Tips: After dipping, let your pops set completely at room temperature before storing them in the fridge. This helps maintain the coating’s shine and prevents condensation from forming.