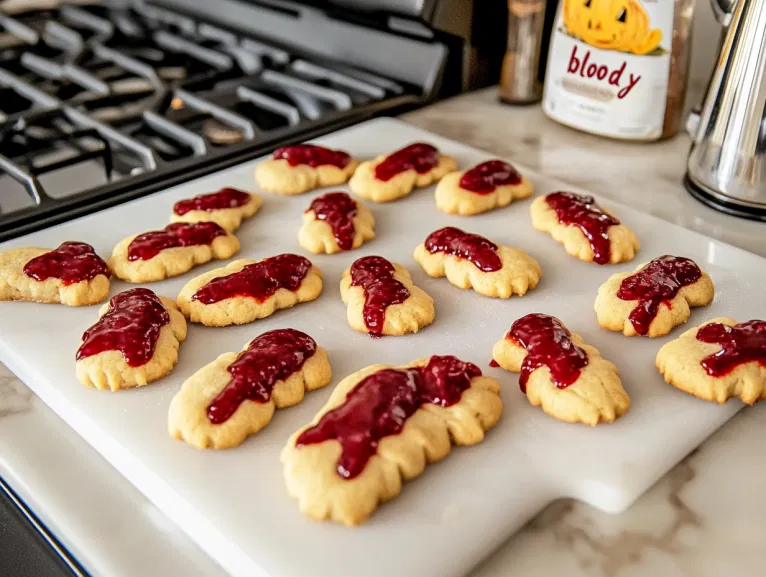
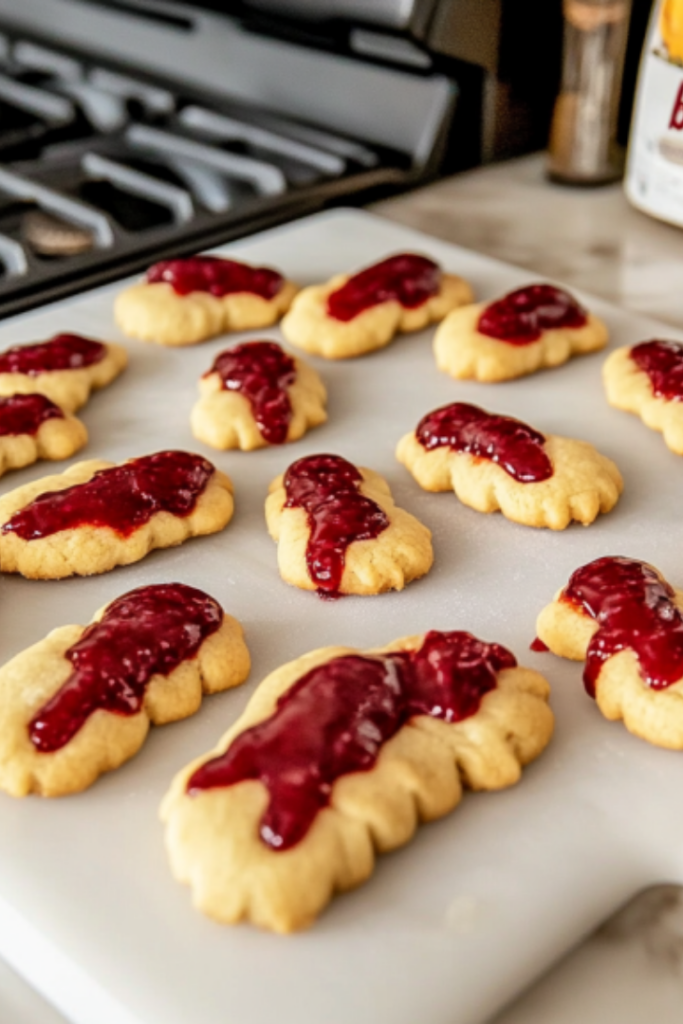
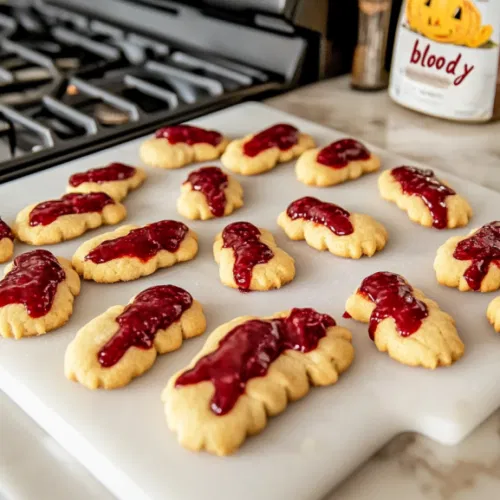
There’s nothing quite like Witch Finger Cookies to add a spooky, eerie touch to your Halloween celebrations! These buttery, almond-flavored cookies are shaped to look just like witch fingers—complete with almond “nails” and a hint of green food coloring to make them extra creepy.
They’re perfect for Halloween parties, especially when you want to surprise guests with a treat that’s as fun to look at as it is to eat. The cookies themselves are crisp on the outside, soft in the center, and have just the right balance of sweetness with a nutty twist.
Serve these alongside a cozy cup of Hot Chocolate for a warm, comforting pairing, or with a refreshing Strawberry Party Punch to add some fruity flair to your Halloween table.
Witch Finger Cookies Recipe
These spooky “finger” cookies are perfect for Halloween, with almond fingernails and oozing jam for a creepy, yet delicious effect. Perfectly fun for a themed party!
Equipment
- Necessary Equipment:
- Electric mixer
- Mixing bowls
- Waxed paper
- Baking sheets
- Measuring cups and spoons
- Sharp Knife
- Oven
Ingredients
- 1 cup butter softened
- 1 cup confectioners’ sugar
- 1 large egg
- 1 teaspoon almond extract
- 1 teaspoon vanilla extract
- 2 ⅔ cups all-purpose flour
- 1 teaspoon baking powder
- 1 teaspoon salt
- ¾ cup whole almonds
- seedless strawberry jam or red decorating gel as needed
Instructions
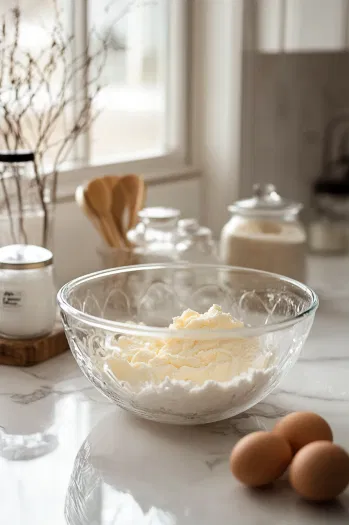
- In a mixing bowl, beat together softened butter, confectioners’ sugar, egg, almond extract, and vanilla extract until smooth.
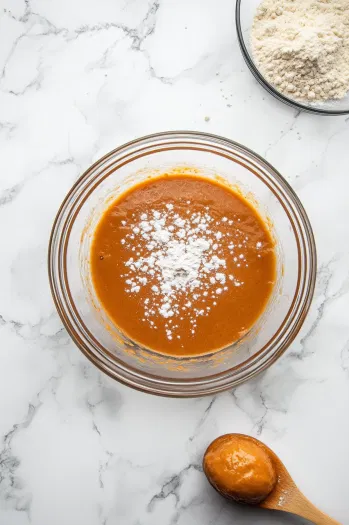
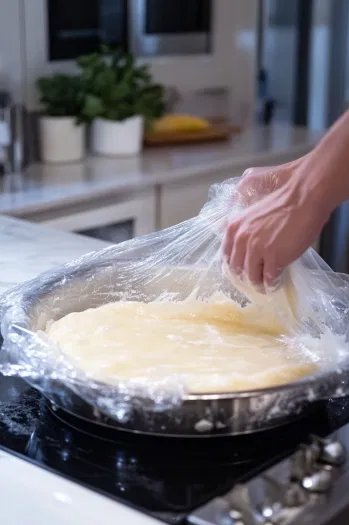
- Gradually add flour, baking powder, and salt, beating until well combined. Refrigerate the dough for 20-30 minutes.
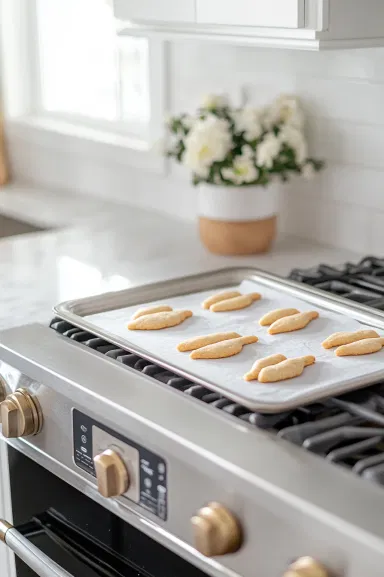
- Preheat oven to 325°F (165°C) and lightly grease baking sheets.
- Roll small portions of dough into finger shapes, press an almond into one end, and shape the knuckles with gentle squeezes and knife cuts.
- Bake for 20-25 minutes until slightly golden.
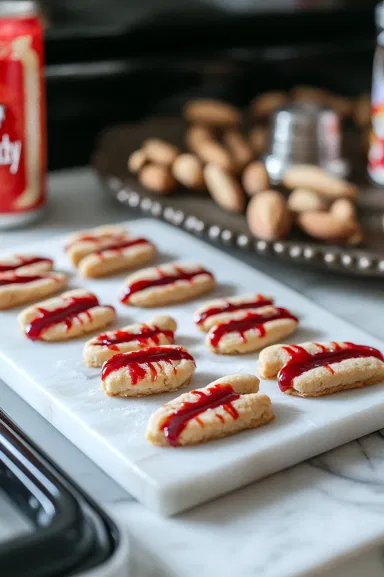
- Remove almonds, add a dab of jam or red decorating gel, and replace the almonds to create a “bloody” effect.
- Allow cookies to cool before serving.
Nutritional Facts:
| Nutrition | Value |
|---|---|
| Calories | 66 kcal |
| Fat | 4 g |
| Cholesterol | 11 mg |
| Sugar | 2 g |
| Protein | 1 g |
Tips that Are Worth Your Time!
- Nut-free? No problem: If you need to avoid nuts, skip the pistachios, almonds, and walnuts. Use large coconut flakes as the “nails” for your monster fingers instead.
- Jam options: Don’t worry if you don’t have cherry jam or don’t like it you can easily use strawberry or raspberry jam for that blood-red effect.
- Chill your dough: For your cookies to look like real fingers, chilling the dough is a must! Freezing the dough ensures the butter melts slowly in the oven, keeping the shape intact. Plus, cold dough is easier to shape and decorate, making it way easier to get those spooky, detailed cookies.