Royal Icing is the magic touch that can transform your baked goods into stunning works of art! This smooth, glossy icing is perfect for decorating everything from gingerbread houses to cookies, adding a festive flair to your holiday treats.
The beauty of royal icing lies in its versatility; it can be piped into intricate designs, flooded to create a smooth finish, or even used to assemble structures like those charming gingerbread houses we all adore.
Pair your beautifully decorated treats with Gingerbread Cookies to truly embrace the holiday spirit. The combination of spiced cookies with sweet royal icing creates a delightful flavor that’s hard to resist. For a fun twist, try topping Pancake Cupcakes with a drizzle of royal icing for a whimsical breakfast treat that’s both festive and delicious.
Why I Love This Recipe (And You Will Too)
- Endless Creativity: Royal icing opens up a world of decorating possibilities, allowing you to express your creativity.
- Perfect for the Holidays: It’s a staple for holiday baking, making your treats look professionally crafted.
- Great for All Ages: Decorating with royal icing can be a fun family activity, bringing everyone together in the kitchen.
- Sturdy and Long-Lasting: Once set, royal icing hardens perfectly, ensuring your creations stay beautiful for days.
Get ready to elevate your baking game with this easy royal icing recipe that’s sure to impress at your next holiday gathering!
Royal Icing Recipe
Equipment
- Stand mixer or large mixing bowl
- Mixing spatula
- Piping bags
- Small bowls for dyeing
- Plastic Wrap
Ingredients
- 3 egg whites
- 1 pound confectioners’ sugar 450g
- 1 teaspoon vanilla extract
Instructions
- In a stand mixer or large mixing bowl, beat the egg whites on medium-low speed until frothy, about 1 minute.
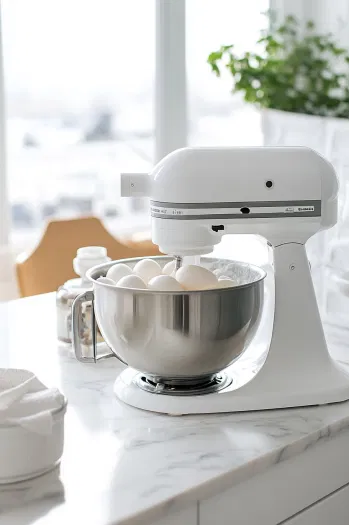
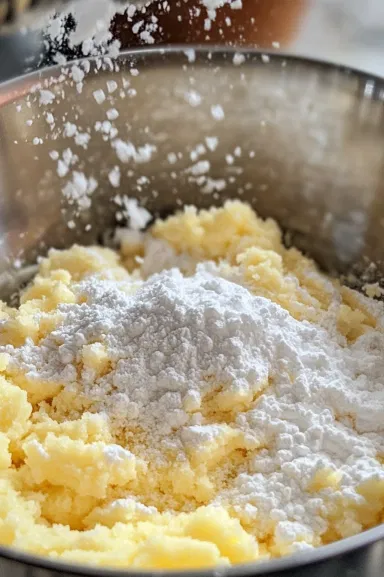
- Gradually add confectioners’ sugar and vanilla extract while the mixer is on low speed until fully incorporated.
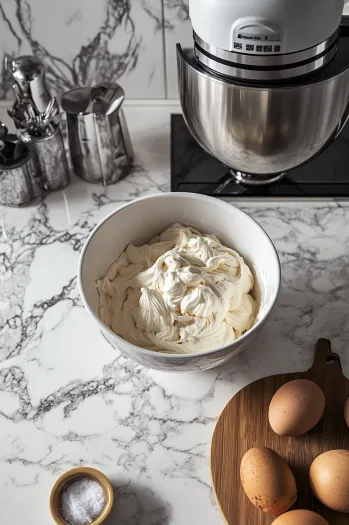
- Increase the mixer speed to medium-high and beat until stiff, shiny peaks form.
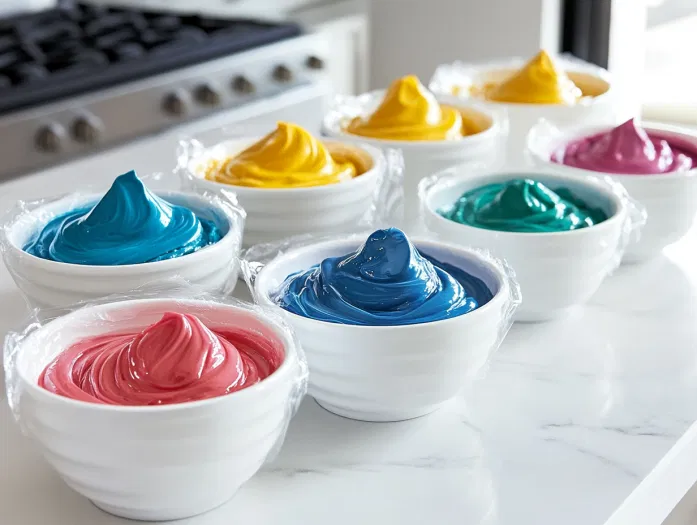
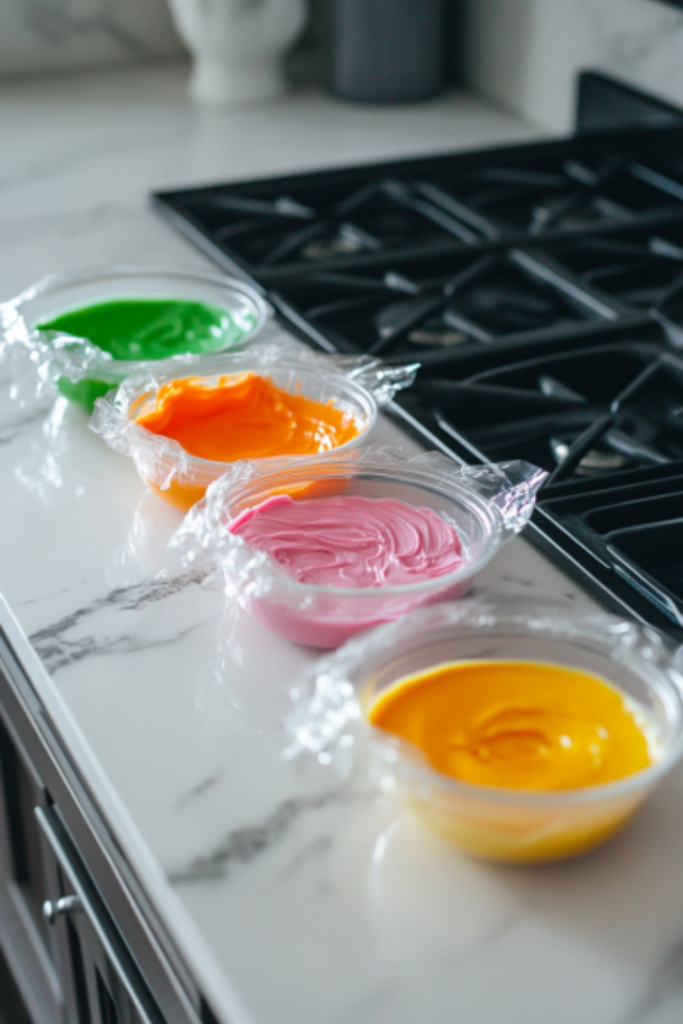
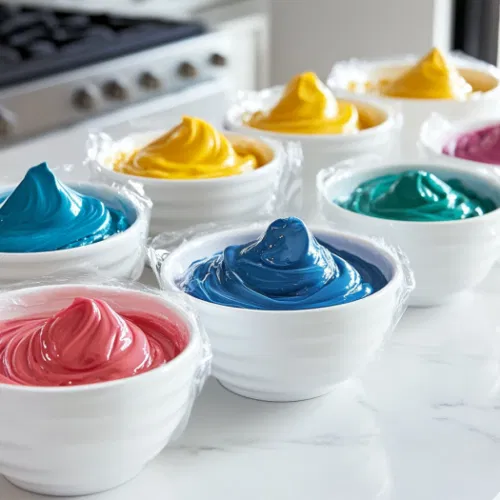
- Divide the icing into small bowls and dye with gel food coloring if desired.
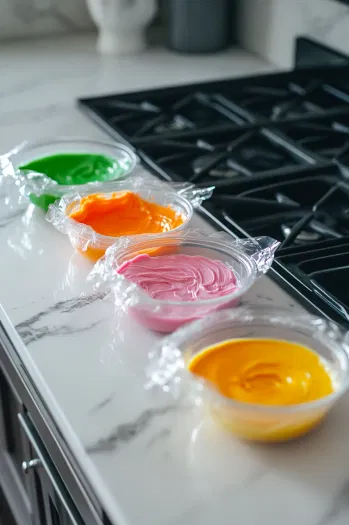
- Cover any unused icing with plastic wrap to prevent drying.
- Transfer the icing to piping bags and decorate your cookies as desired.
Nutritional Facts:
| Nutrition | Value |
|---|---|
| Calories | 50 kcal |
| Fat | 1 g |
| Carbohydrates | 13 g |
| Sugar | 12 g |
| Protein | 1 g |
Variations that Must Be Tried!
- Flavor Infusions: Beyond vanilla, try experimenting with different extracts. Almond, lemon, or even peppermint extracts can add a delightful twist to your icing. Just remember to adjust the quantity based on the strength of the extract—start with half a teaspoon and taste as you go.
- Texture Modifications: If you prefer a thicker icing for piped designs, consider adding a bit of meringue powder to your icing mix. This will help stabilize the icing, allowing for sharper edges and more intricate details in your decorations.
- Color Mixing Techniques: For a more sophisticated color palette, use a combination of gel food coloring to create custom shades. Start with primary colors and mix them to achieve desired hues. For a marbled effect, mix in your colors lightly with a toothpick rather than fully combining them.
- Metallic Finishes: Add a touch of elegance by using edible luster dust or metallic food sprays after the icing has dried. This can create a beautiful sheen that elevates the presentation of your decorated cookies, making them stand out for special occasions.
- Themed Icing: Tailor your icing for specific holidays or events by adding a few drops of food-safe flavoring that matches the season. For example, add cinnamon or nutmeg for fall-themed cookies or coconut for tropical designs.
- Textured Icing: To create texture in your icing, consider using a fork or a toothpick to swirl different colors together on the cookie. This technique can create beautiful patterns that mimic natural elements like marble or watercolor.
- Dried Fruits and Nuts: After icing your cookies, consider adding small pieces of dried fruits or finely chopped nuts as a topping. This not only enhances flavor but also adds a delightful crunch and visual interest.
- Stenciling and Painting: Use royal icing to create a smooth base layer on your cookies, allowing them to dry completely. Then, use a fine brush to paint additional designs or stencils with diluted gel food coloring or a mix of vodka and food coloring for more intricate artistry.
- Layering Techniques: For cookies with multiple colors, allow the first layer of icing to dry before adding the next. This technique allows for more complex designs, such as outlining shapes and then filling them in without the colors bleeding together.
These variations will not only enhance your royal icing but also allow your creativity to shine through in your cookie decorating!
