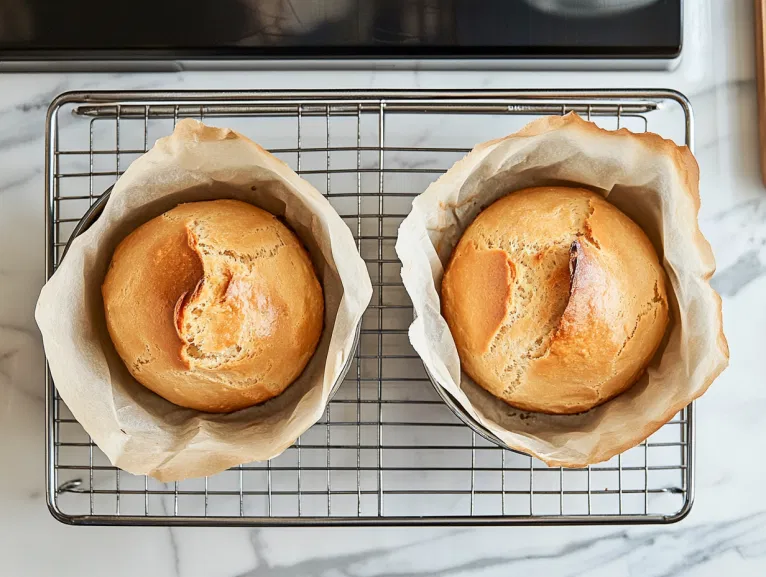
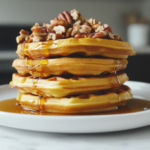
Baking babka at home is a delightful experience that brings a little piece of Eastern European tradition right into your kitchen. This rich, sweet bread is swirled with chocolate or cinnamon and boasts a beautifully braided appearance, making it not only delicious but also a stunning centerpiece for any dessert table. Whether you enjoy it for breakfast, brunch, or a cozy afternoon treat, homemade babka is sure to impress!
What makes this recipe truly special is its versatility. While classic chocolate babka is a favorite, you can easily customize it with your preferred fillings. Serve a slice warm, fresh from the oven, and watch as the chocolate or cinnamon oozes from the layers. For an even more indulgent experience, pair it with Arroz Con Leche—the creamy rice pudding adds a comforting touch that complements the sweet, rich flavors of the babka perfectly.
Don’t forget to top your slice with a scoop of Oat Milk Ice Cream for a delightful contrast in temperatures and textures. The creamy, dairy-free ice cream melts beautifully over the warm bread, creating a truly indulgent treat.
Why I Love This Recipe (And You Will Too)
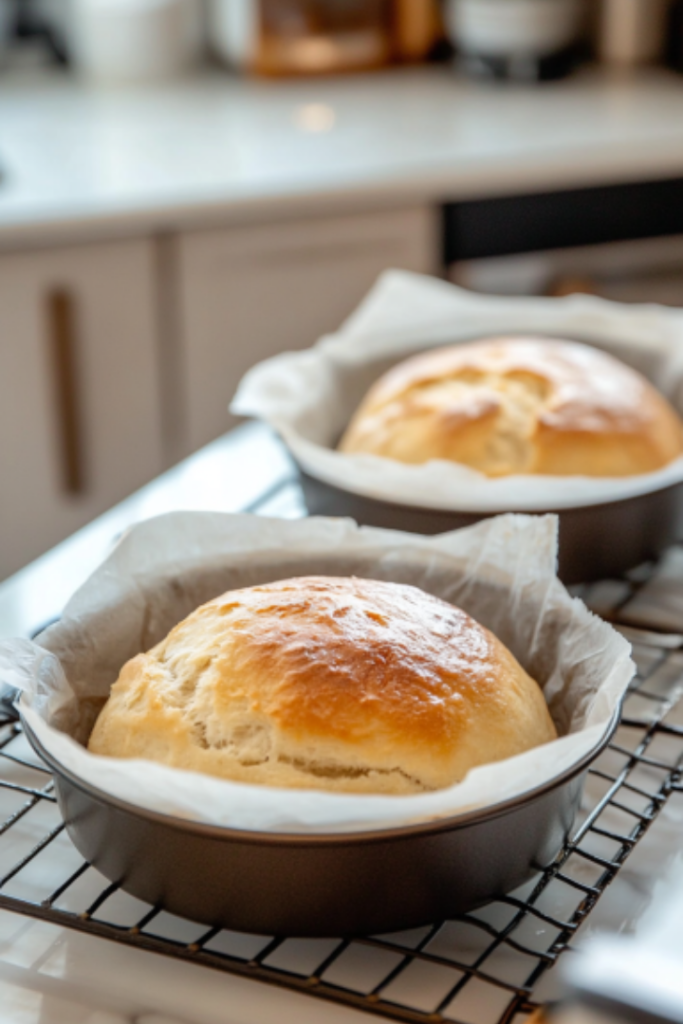
- Crafting Tradition: Making babka connects you to a rich cultural heritage with each twist and braid.
- Delicious Fillings: Customize with your favorite flavors, from chocolate to fruit jams.
- Impressive Presentation: The braided look is visually stunning and makes for a show-stopping dessert.
- Perfect Pairings: Enjoy it with Arroz Con Leche or Oat Milk Ice Cream for a truly satisfying dessert experience.
Once you try this babka recipe, you’ll understand why it’s such a beloved treat. Happy baking!
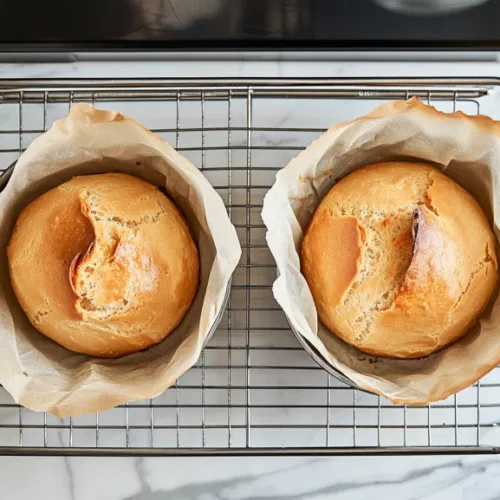
Babka Recipe
Equipment
- Small Bowl
- Stand mixer with paddle attachment
- Dough Hook Attachment
- Large bowl
- Rolling Pin
- 9×5-inch Loaf Pans
- Parchment paper
- Sharp Knife or Dough Scraper
- Towel
- Meat thermometer
- Wire Rack
Ingredients
- ½ cup white sugar
- ¼ cup butter
- 1 teaspoon salt
- 1 cup hot milk 185°F or 85°C
- 2 .25 ounce packages active dry yeast
- ¼ cup warm water 110°F or 43°C
- 2 large eggs
- 4 ½ cups all-purpose flour
- Walnut Filling Ingredients:
- 3 large eggs
- 1 cup packed light brown sugar
- ⅓ cup butter melted
- 1 ½ teaspoons ground cinnamon
- 1 teaspoon vanilla extract
- 4 cups walnuts chopped
- 2 tablespoons butter melted
Instructions
Prepare the Dough:
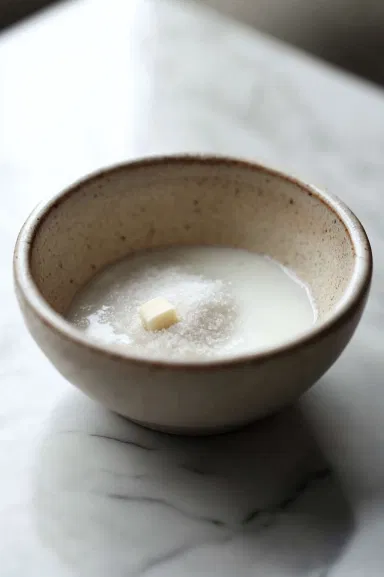
- Stir white sugar, ¼ cup butter, and salt into the hot milk in a small bowl until the butter is melted and the mixture is lukewarm.
- In the work bowl of a stand mixer fitted with a paddle, sprinkle yeast over warm water and stir to dissolve.
- Stir the milk mixture into the yeast mixture. Add 2 eggs and 2 ½ cups of the flour; beat on high until combined. With the mixer on low, add the remaining 2 cups flour, ½ cup at a time.
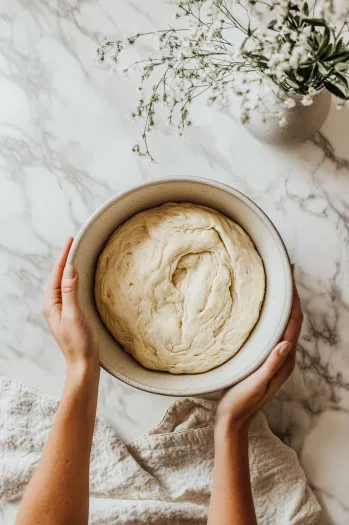
- Switch to the dough hook and mix until the dough leaves the sides of the bowl, about 5 minutes. Set the dough in a large, lightly greased bowl, turning it to coat the top. Cover with a towel and let rise in a warm spot until doubled, about 1 hour.
Prepare Walnut Filling:
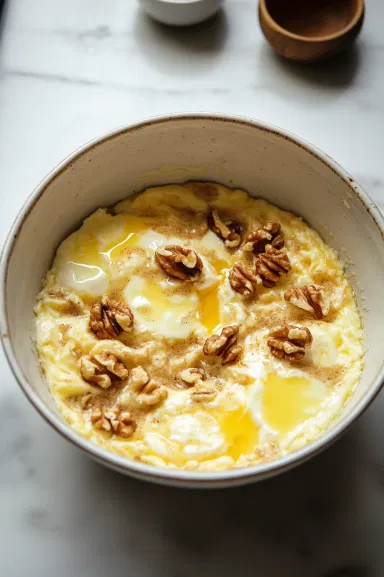
- While the dough rises, lightly beat 3 eggs in a large bowl. Stir in brown sugar, ⅓ cup melted butter, cinnamon, and vanilla extract. Fold in chopped walnuts.
Shape the Dough:
- Punch the dough down. Turn it out onto a large, lightly floured surface, cover with the bowl, and let rest for 10 minutes. Line three 9×5-inch loaf pans with parchment paper, leaving a 2-inch overhang on long sides.
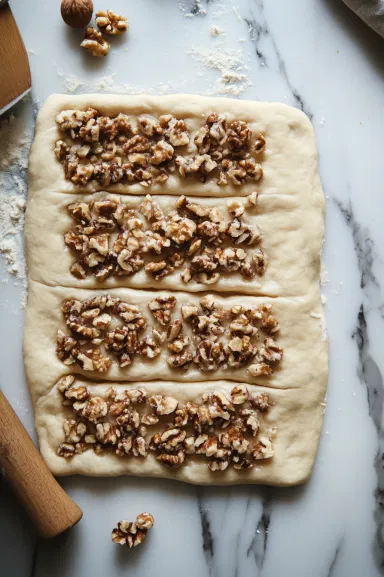
- Divide the dough into thirds; roll each third out to a 12-inch square on a lightly floured surface. Spoon 1/3 of the walnut filling onto each dough square and spread it to within ½ inch of the edges. Roll up each square tightly like a jelly roll. Pinch ends and seams closed to seal.
Twist the Dough:
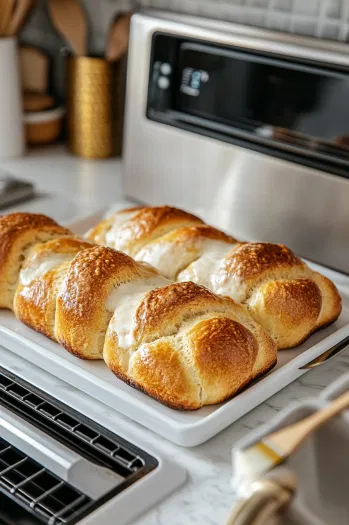
- With your palms, roll the logs back and forth until uniformly round. Cut 1 log in half lengthwise to form 2 striped strands. Quickly twist strands loosely together with cut sides facing out, making 2 or 3 wide, horizontal twists. Fit into one of the prepared pans, patting back any loose filling and tucking ends under if needed.
Final Rise:
- Repeat with the remaining logs and pans. Cover the pans with a towel and let rise in a warm spot until doubled in size, about 1 hour. Loaves should not rise above the top edges of pans.
Bake:
- Preheat the oven to 350°F (175°C). Brush the loaf tops with the remaining 2 tablespoons melted butter. Bake loaves until puffed, well browned, and a thermometer inserted in the centers registers 200°F (93°C), about 35 to 45 minutes. Tent with foil if tops brown before loaves are done.
Cool and Serve:
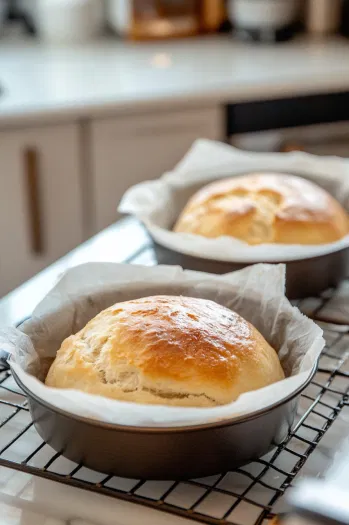
- Cool in pans for 10 minutes, then use parchment to lift from pans and transfer to a wire rack. Cool completely, about 1 hour. Glaze if desired, then slice crosswise to serve.
- Enjoy your delicious walnut bread!
Nutrition Facts:
| Nutrition | Value |
|---|---|
| Calories | 338 kcal |
| Carbohydrates | 35g |
| Fat | 20g |
| Fiber | 2g |
| Calcium | 52mg |
| Iron | 2mg |
Tips that Are Purely Bliss!
- Milk Temperature Matters: Make sure your milk is hot enough (around 185°F or 85°C) when you combine it with the sugar, butter, and salt. This helps the butter melt fully and allows the mixture to cool to a lukewarm temperature, which is ideal for adding to the yeast without affecting its activity.
- Use a Warm Environment for Rising: Bread dough loves a cozy, warm spot. If your kitchen is on the cool side, place your dough in a slightly warmed (but turned-off) oven or near a warm stove area to ensure a good rise. Aim for a temperature around 75-80°F for optimal yeast activity.
- Kneading Tips: When you switch to the dough hook, pay attention to the texture rather than just the clock. Your dough should feel smooth and pull away from the sides of the bowl without sticking excessively. This stage may take more or less than 5 minutes, depending on your mixer and humidity.
- Get the Filling Just Right: Chop the walnuts to a medium-fine consistency so they blend smoothly with the filling and spread evenly across the dough. This will give the dough a more uniform flavor and a better twist without big chunks that might tear it.
- Master the Twist: When cutting the dough log, use a sharp serrated knife and make a clean, firm cut. Twisting the two strands with the cut sides facing out will give a beautiful marbled effect on the top of each loaf, and it helps the filling bake into the dough layers without spilling out.
- Achieve a Perfect Bake: Bread can look done on the outside before it’s actually fully baked on the inside. Use an instant-read thermometer to check that the internal temperature has reached 200°F (93°C) before pulling the loaves out of the oven. If the tops brown too quickly, tent the loaves with foil.
- Cool Completely Before Slicing: For best results, resist slicing until the loaves are completely cool. This allows the crumb to be fully set, making for clean slices and helping to retain the beautiful layers inside.

