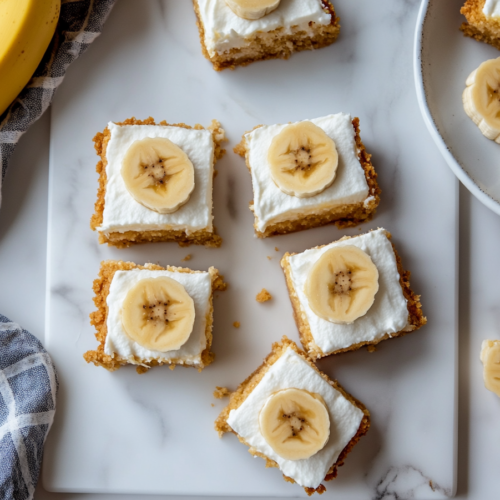
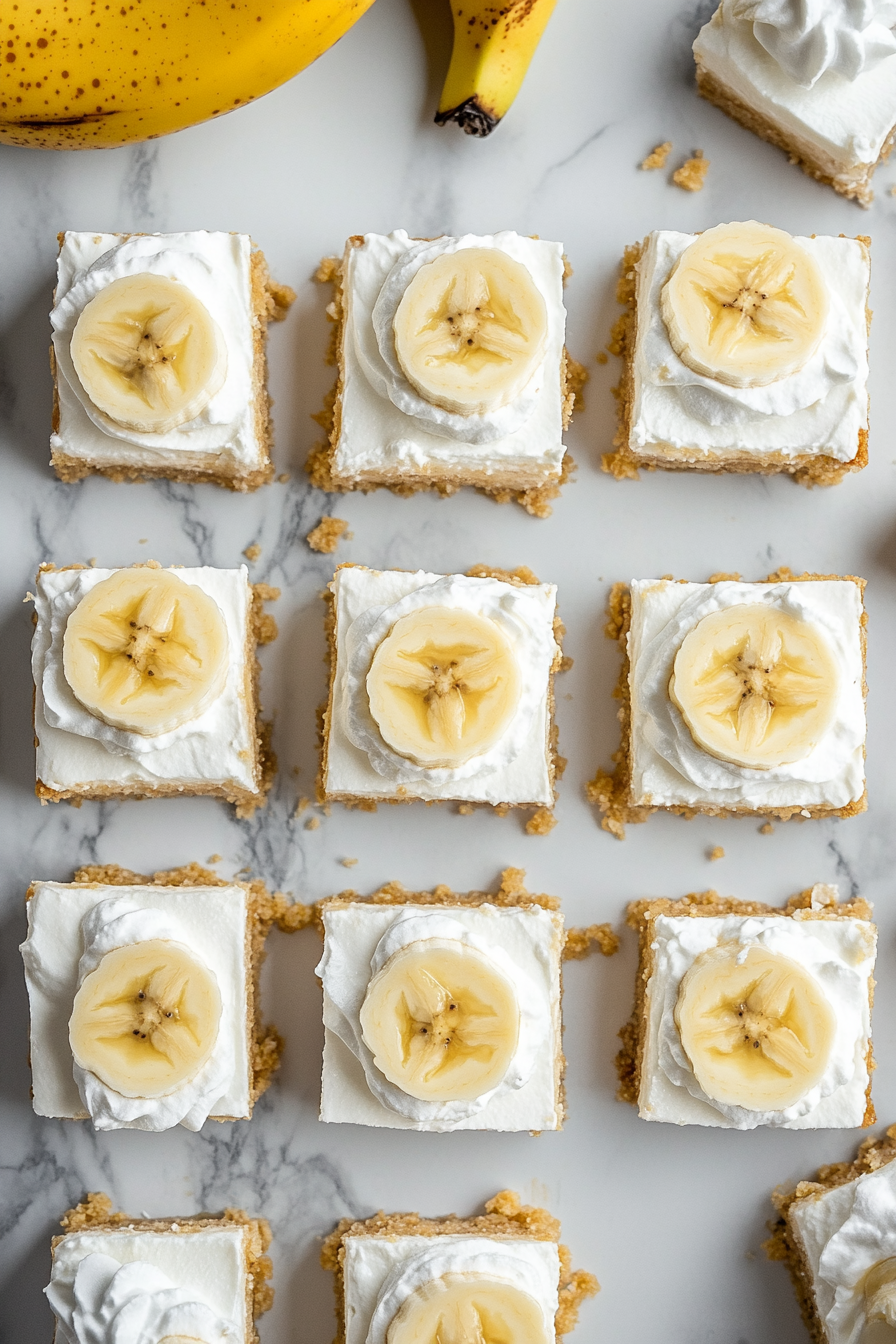
Banana Cheesecake Bars
Banana cheesecake bars blend creamy cheesecake with ripe bananas, creating a luscious, sweet treat. With a buttery crust and a smooth, banana-infused filling, these bars offer a perfect balance of flavors and textures for a delightful dessert experience.
Equipment
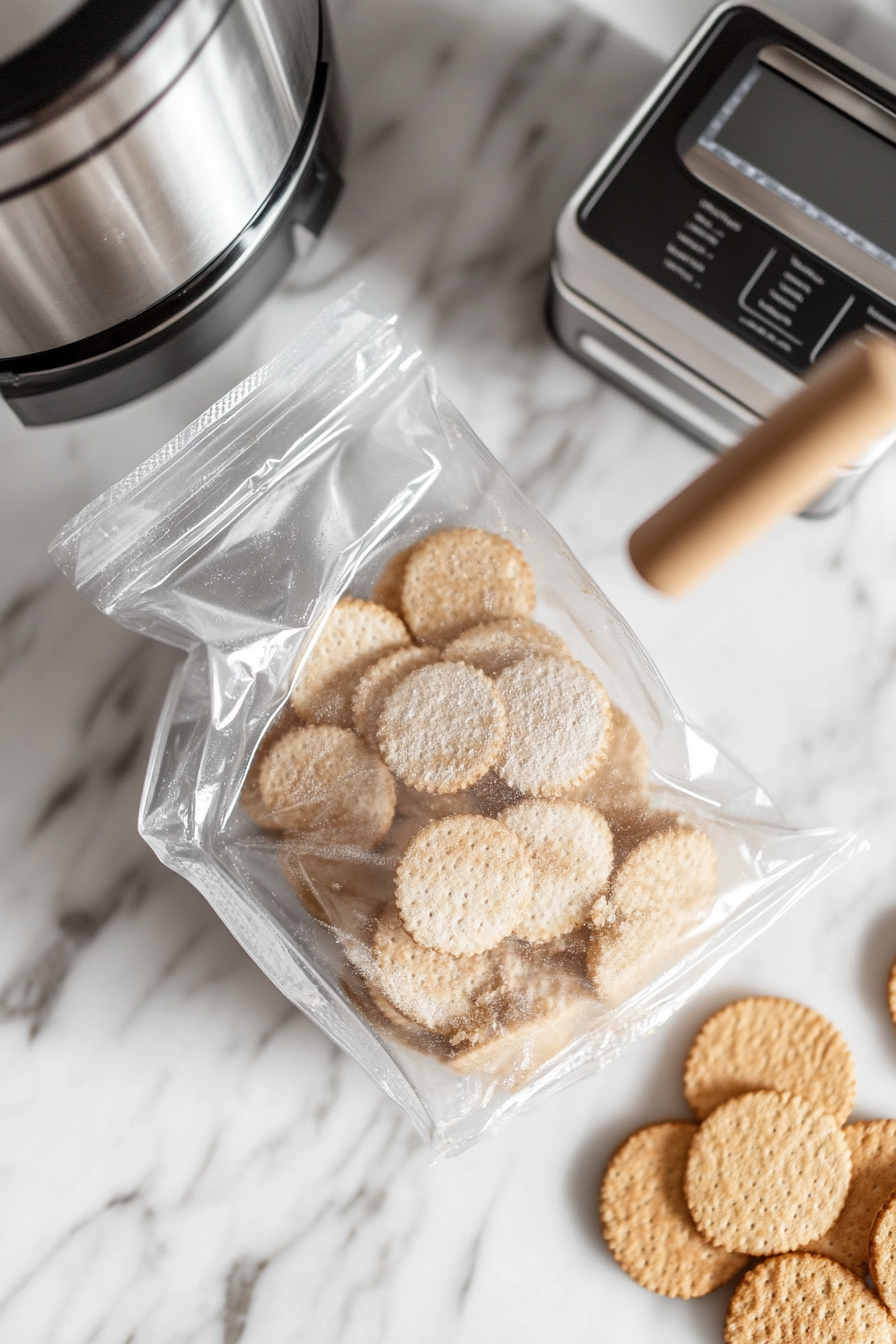
- Mini Food Processor
- Large Zip Lock Bag
- Rolling Pin
- Plastic Wrap
- Parchment paper
- 9×9 or 9×13-Inch Pan
- Electric mixer
- Electric mixer
Ingredients
- optional garnish: banana slices and whipped topping
- 2 instant banana cream pudding mix
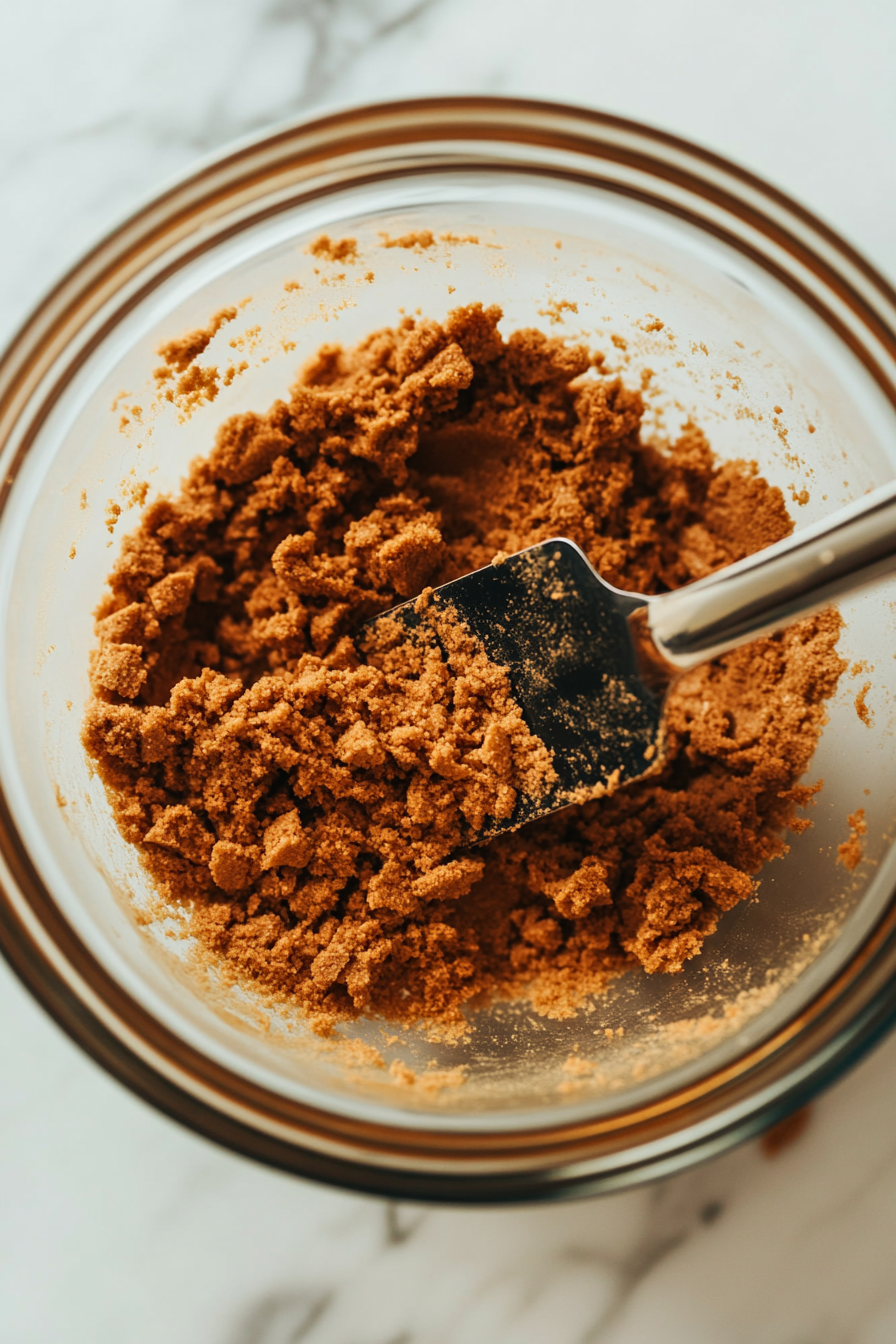
- ½ cup unsalted butter melted
- 3 boxes of cream cheese softened
- 1 pint heavy whipping cream
- ¾ cup granulated sugar
- 1 box Nilla Wafer cookies
Instructions
- Crush the Nilla Wafers using a mini food processor or by placing them in a large zip lock bag and rolling over them with a pin.
- In a medium bowl, mix the crushed Nilla Wafers with melted butter.
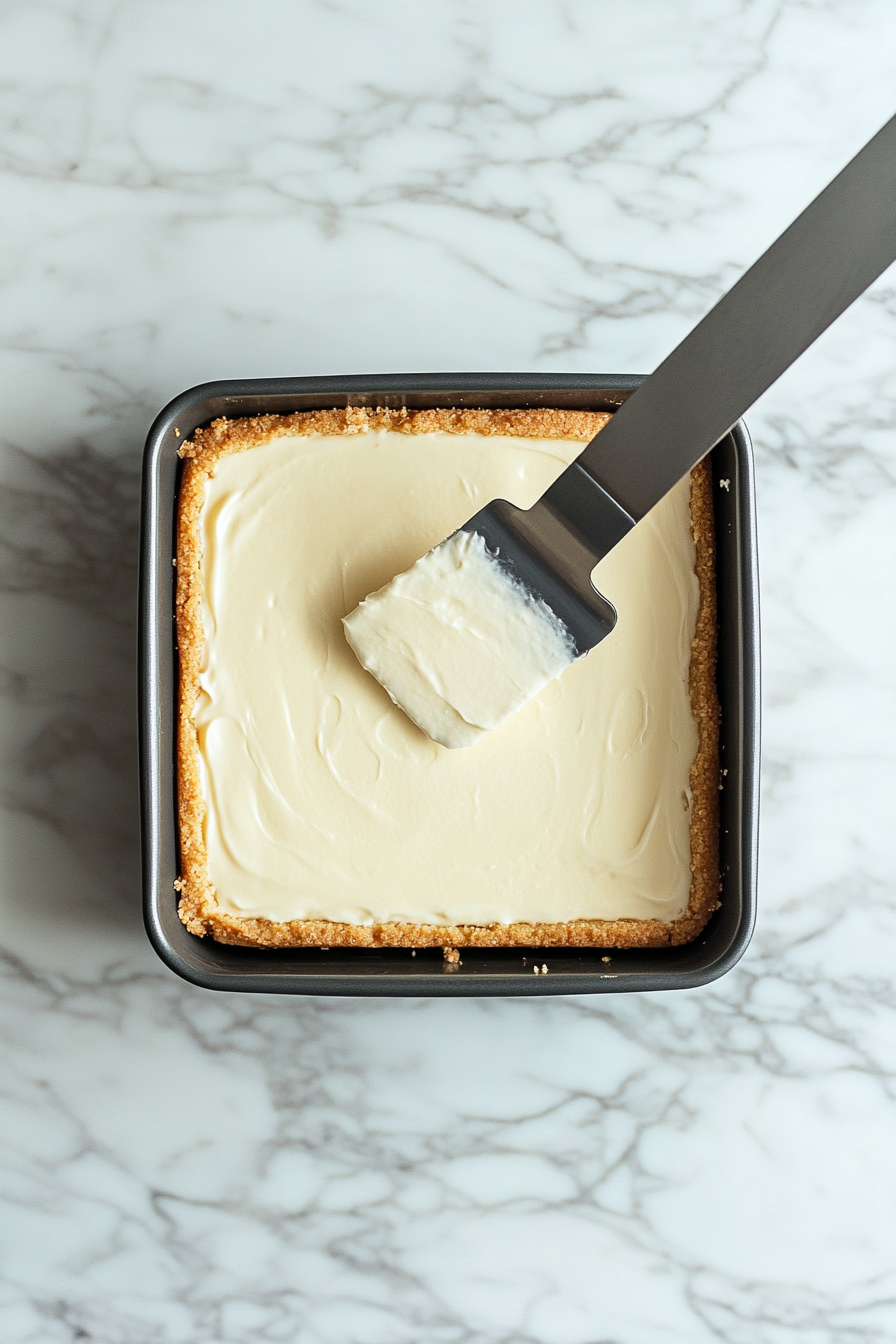
- Press the mixture into the bottom of a 9×9-inch pan (for thicker bars) or a 9×13-inch pan lined with parchment paper.
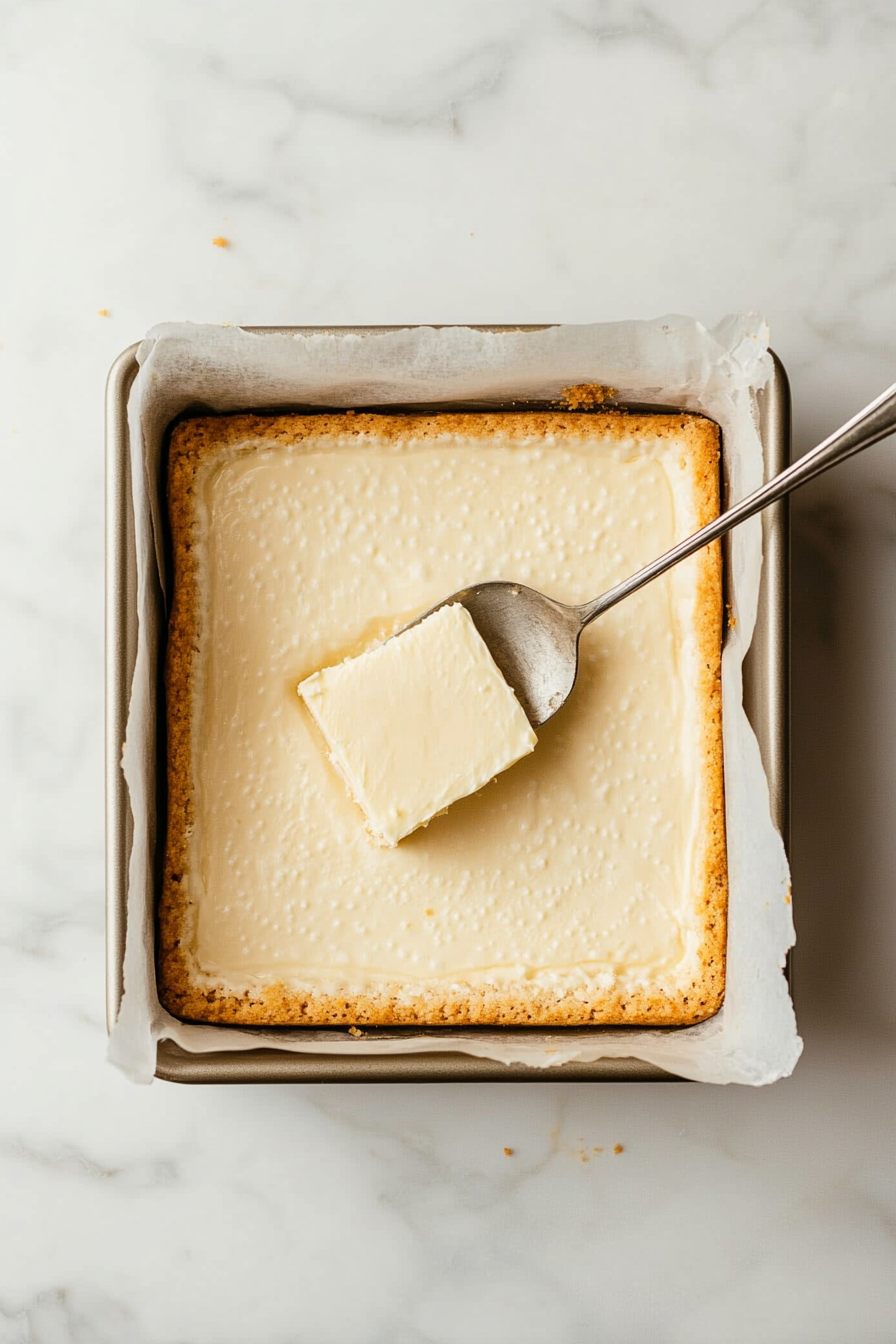
- Chill the crust in the refrigerator or freezer while you prepare the filling.
- Place a large metal bowl in the freezer for about 10 minutes to chill.
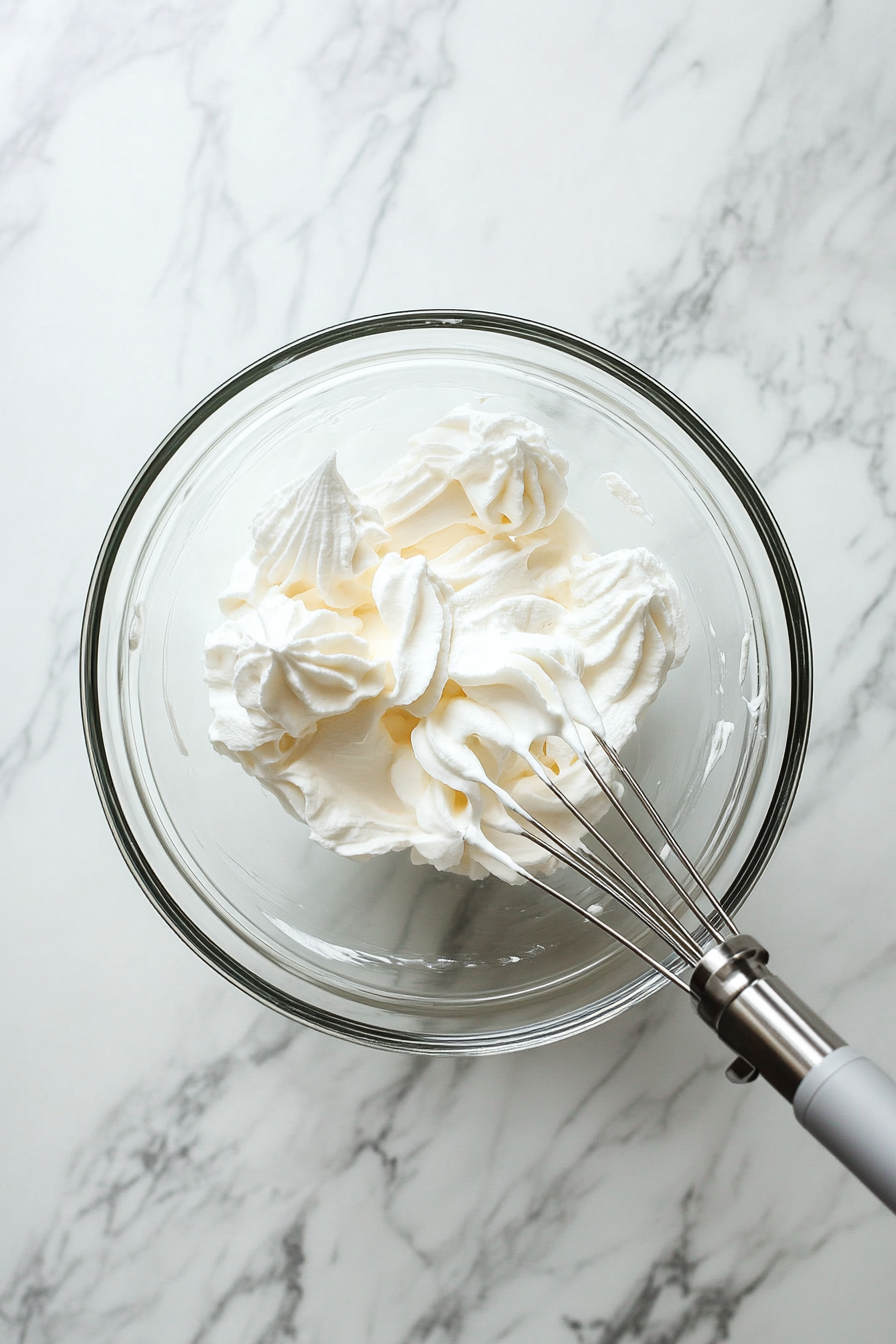
- Using an electric mixer on medium speed, whip the heavy cream and sugar until stiff peaks form and set aside.
- In another large bowl, beat the softened cream cheese with an electric mixer on medium speed until smooth.
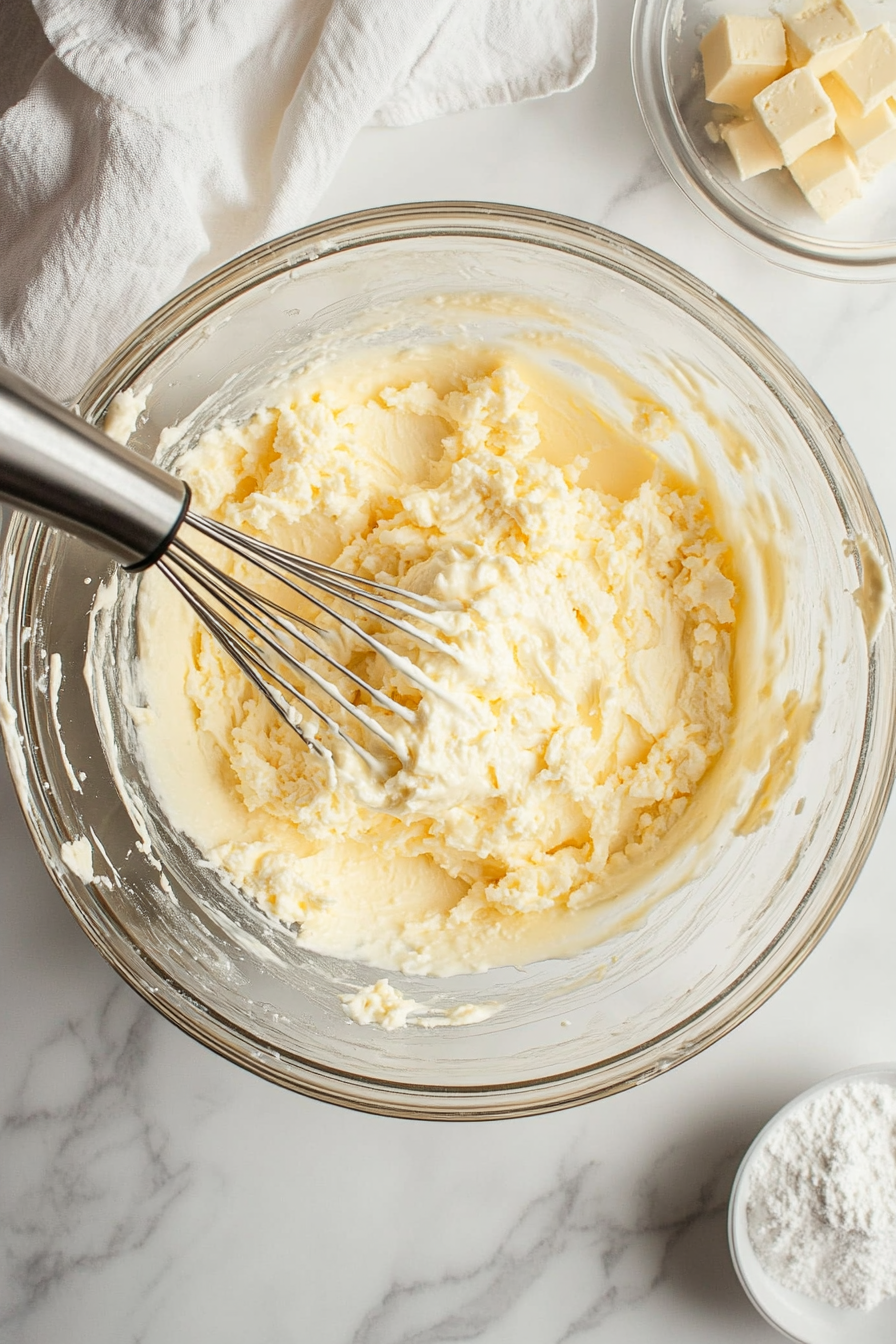
- Gradually add the dry pudding mixes, beating well after each addition.
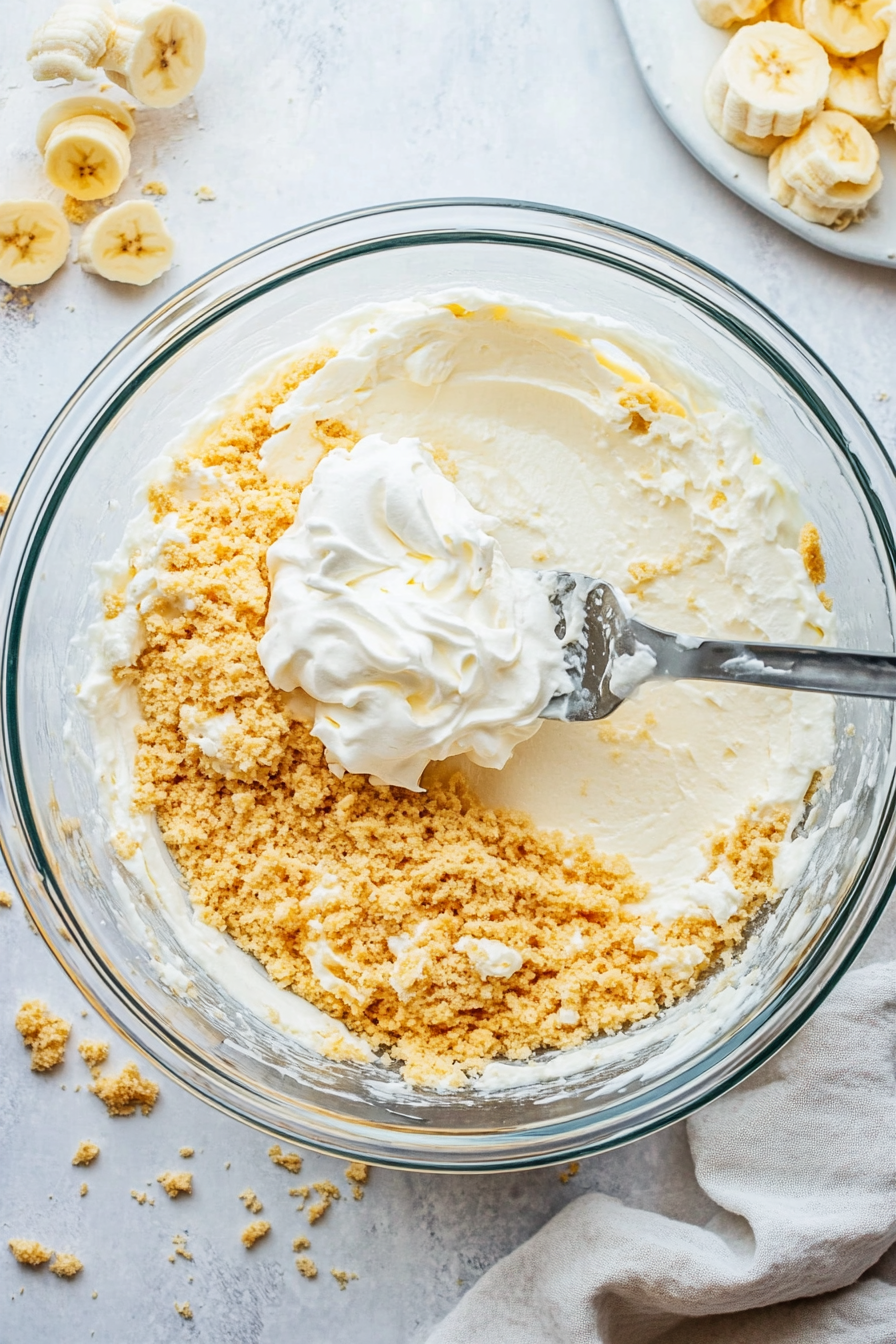
- Fold in the whipped cream until the mixture is smooth.
- Spread the cheesecake filling evenly over the chilled crust.
- Cover with plastic wrap and refrigerate for at least 8 hours, or overnight.
- Once chilled, cut the cheesecake into squares and, if desired, top with whipped cream and banana slices.
- Serve cold.
Notes
- Cover with plastic wrap and refrigerate for up to three days. Serve chilled.
- For longer storage, wrap the cheesecake tightly in plastic and freeze for up to 3 months. Thaw in the refrigerator overnight before serving.
- Alternatively, coat completely with chocolate ganache and serve directly from the freezer.