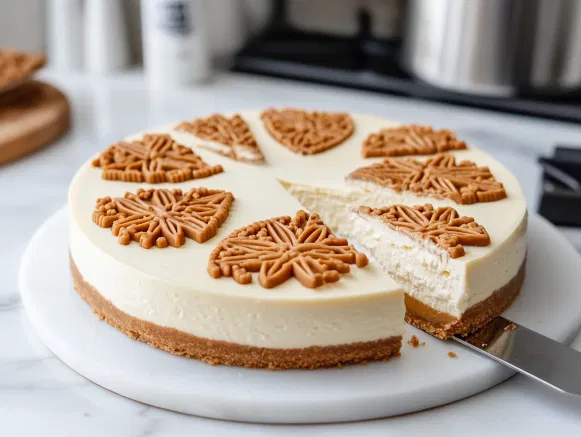
Biscoff Cheesecake
This No-Bake Biscoff Cheesecake is an easy and indulgent dessert with a creamy, Biscoff-flavored filling, a buttery biscuit base, and a rich Biscoff topping. It's perfect for fans of the iconic spiced cookie flavor!
Equipment
- Springform tin (20cm/8 inches)
- Mixing bowls (at least two)
- Electric whisk or hand whisk
- Spatula
- Measuring cups and spoons
- Small saucepan
- Food processor or plastic bag with rolling pin
- Spoon
- Refrigerator space
- Sharp Knife
Ingredients
- For the Base:
- 200 g Biscoff biscuits crushed
- 80 g unsalted butter melted
- For the Cheesecake Mixture:
- 300 ml double cream
- 400 g full-fat cream cheese
- 200 g Biscoff spread
- For the Topping:
- 150 g Biscoff spread melted
- 50 g Biscoff biscuits crushed (for decoration)
Instructions
Prepare the Base:
- Combine the crushed Biscoff biscuits with melted butter until evenly mixed. Press this mixture firmly into the base of a springform tin (about 20cm/8 inches in diameter). Place it in the fridge to chill while you prepare the cheesecake filling.
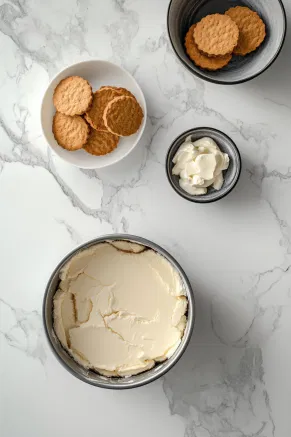
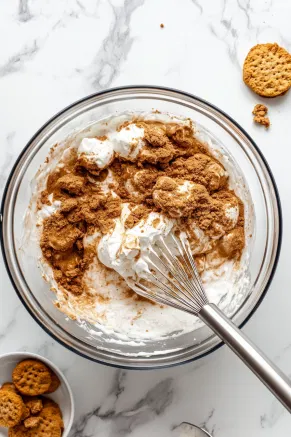
Make the Cheesecake Filling:
- In a large mixing bowl, add double cream, cream cheese, and Biscoff spread. Whisk until the mixture is very thick and holds its shape well (like ice cream). An electric whisk makes this step quicker and easier.
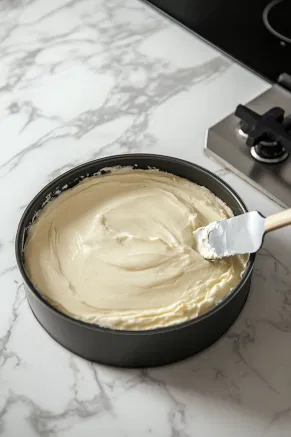
Assemble the Cheesecake:
- Remove the chilled base from the fridge and spoon the cheesecake mixture on top, spreading it evenly. Smooth the top with a spatula. Place the cheesecake back in the fridge for at least 3 hours (overnight is even better for firm slices).
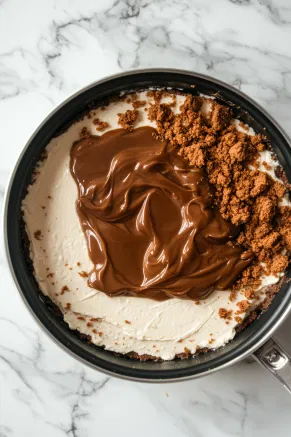
Add the Topping:
- When ready to serve, gently melt the Biscoff spread in a small pan on low heat until it becomes pourable. (Avoid letting it get too hot.) Remove the cheesecake from the fridge, and while it’s still in the tin, pour the melted Biscoff spread over the top, spreading it gently with the back of a spoon. Sprinkle the remaining crushed biscuits around the edge.
Chill and Serve:
- If possible, return the cheesecake to the fridge for an additional hour to let the topping set. Slice with a sharp knife, wiping it clean between cuts for neat slices.
- Enjoy this creamy, spiced, and absolutely delicious cheesecake! Perfect for any Biscoff lover.