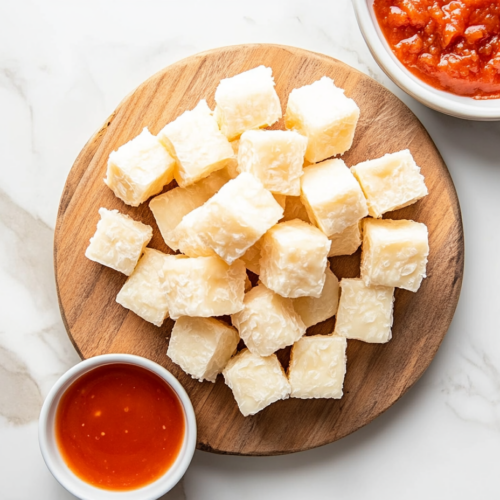
Homemade Cheese Curds
Homemade cheese curds are delightfully fresh, tangy, and squeaky treats made from curdled milk. Perfect for snacking or adding to dishes, these bite-sized morsels offer a savory flavor and satisfying texture that's far superior to store-bought varieties.
Equipment
- Sterilized pot
- Large pot for water bath
- Strainer
- Cheese cloth
- Thermometer
Ingredients
- kosher salt
- 1 gallon whole milk
- ¼ tsp liquid rennet
- ½ cup water, divided
- ½ tsp calcium chloride crystals
- ⅛ tsp mesophilic culture
Instructions
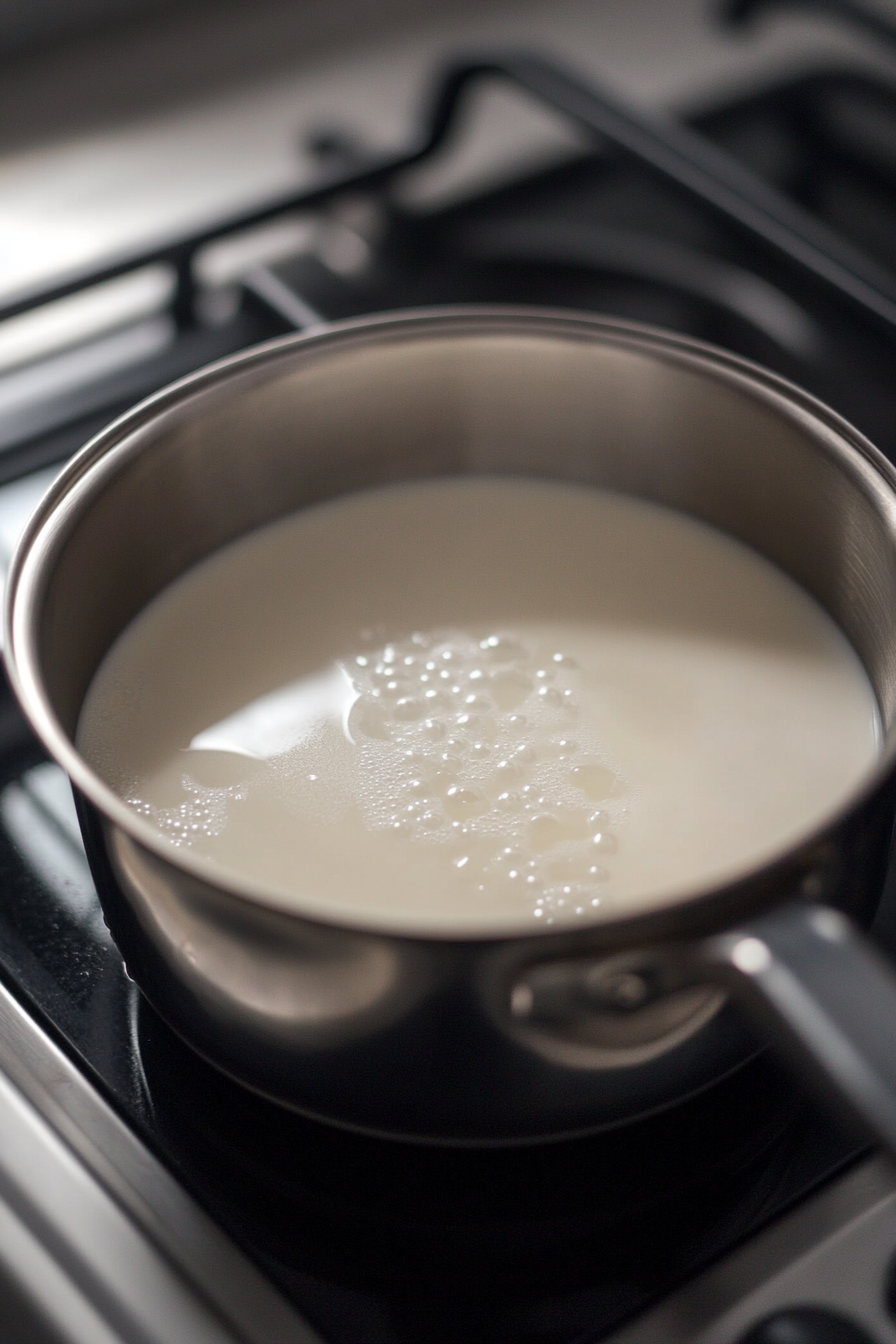
- Pour milk into a sterilized pot and place it in a larger pot with a few inches of water.
- Heat the milk, stirring occasionally, until it reaches 90°F (32°C), then remove from heat.
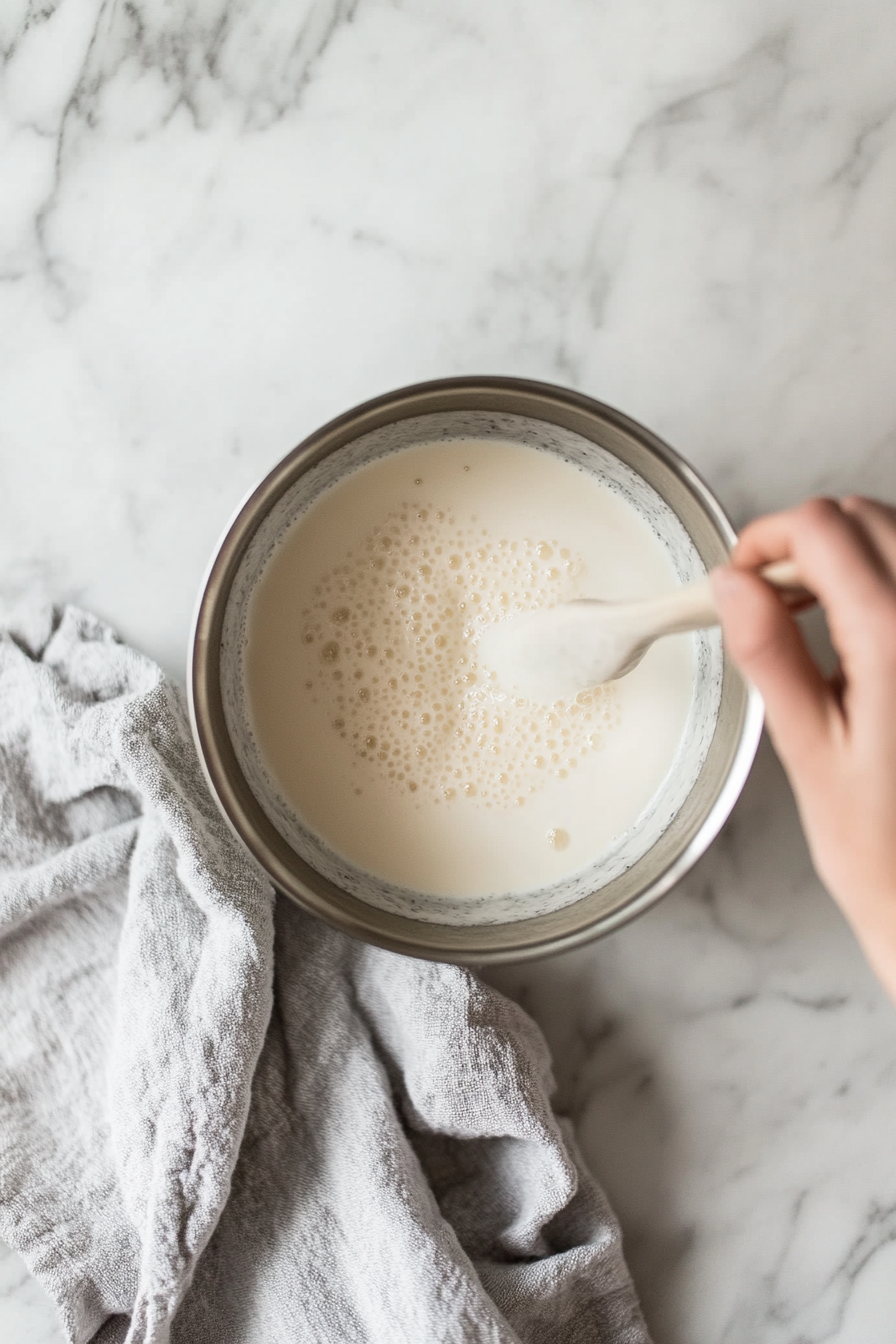
- Mix calcium chloride with 1/4 cup water and stir into the milk.
- Sprinkle mesophilic culture on the milk's surface, let sit for 1 minute, then stir gently for 1 minute.
- Cover and let it ripen for 35 minutes.
- Dilute rennet with 1/4 cup water, stir into the milk mixture for exactly 1 minute, then cover and let sit until the curd can be cut cleanly with a knife, about 45 minutes.
- Cut curd into 1/2- to 1-inch cubes and let sit for 5 minutes.
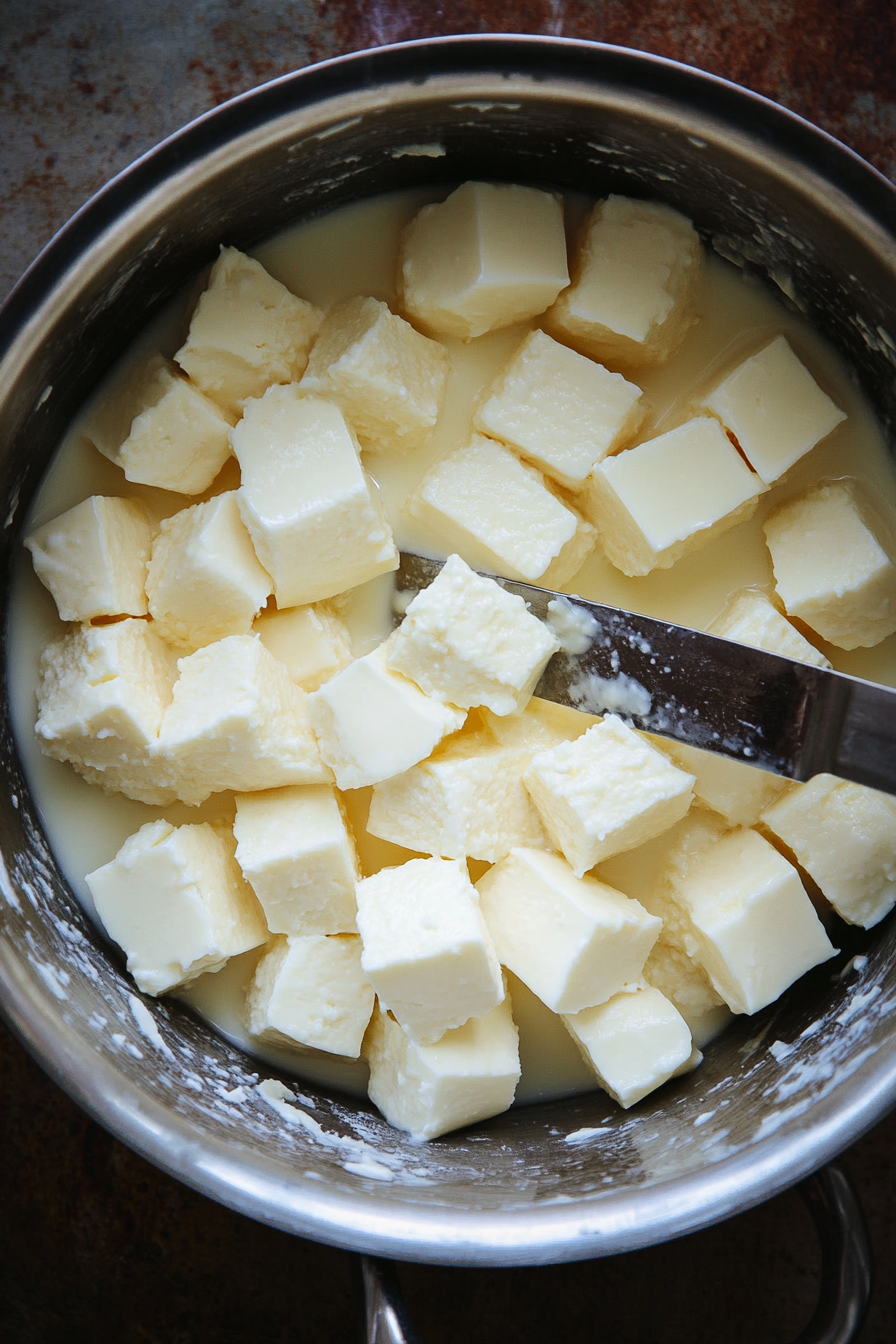
- Cover and heat curds, stirring every 10 minutes, to 98°F (37°C) over about 90 minutes.
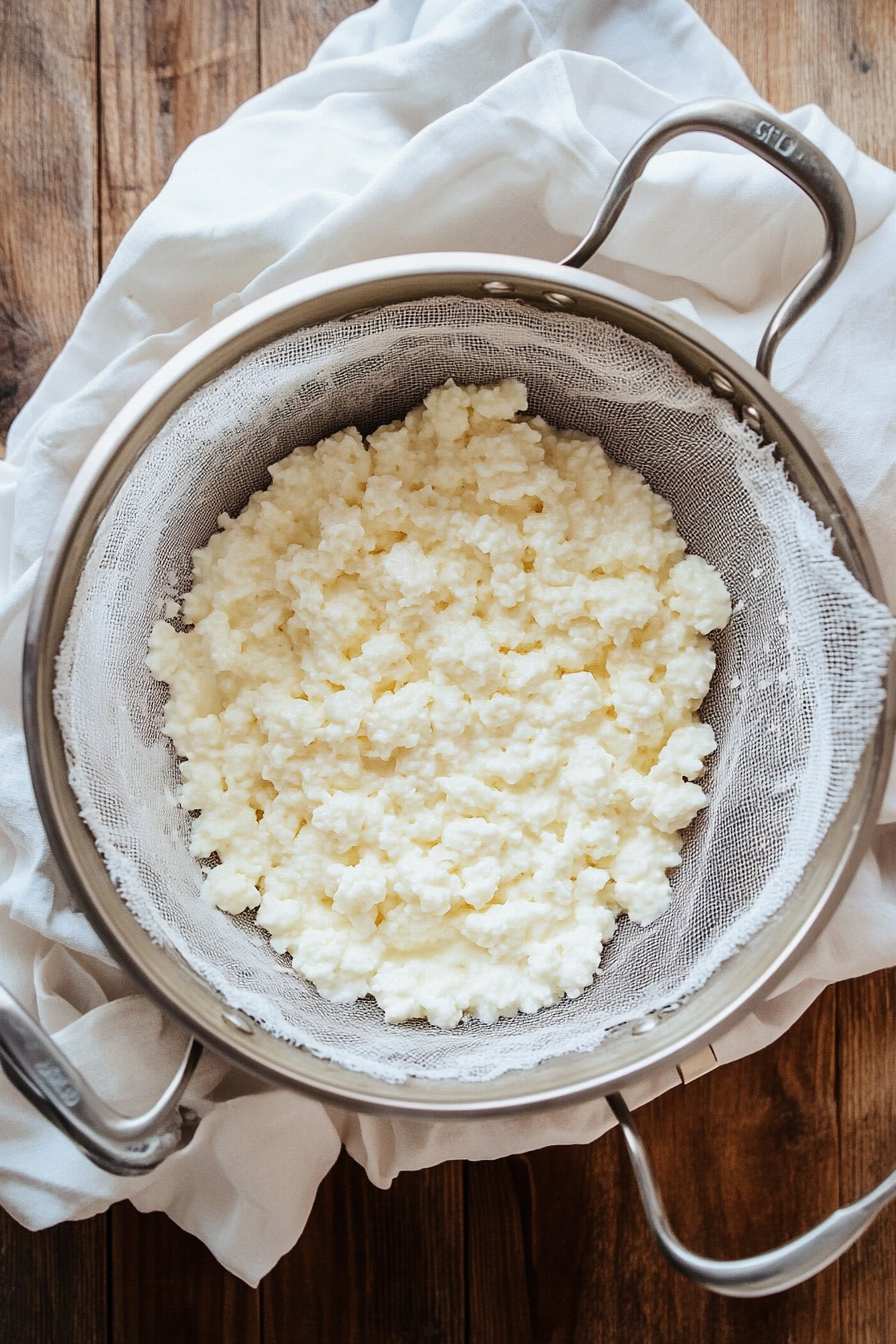
- Check if curds stick together, then drain them into a cheesecloth-lined strainer.
- Pour enough whey over the curds to cover them by 3 inches.
- Let drain for 1 minute, cover with cheesecloth and a lid, and keep the whey at 112–115°F (44–46°C) for 10 minutes.
- Cut the curd slab in half and let drain for another 10 minutes.
- Flip and re-wrap curds, draining for an additional 10 minutes at the same temperature.

- Cut the slab into smaller pieces, stack them in the cloth, and continue draining, flipping, and rearranging every 15 minutes for about 1 hour.
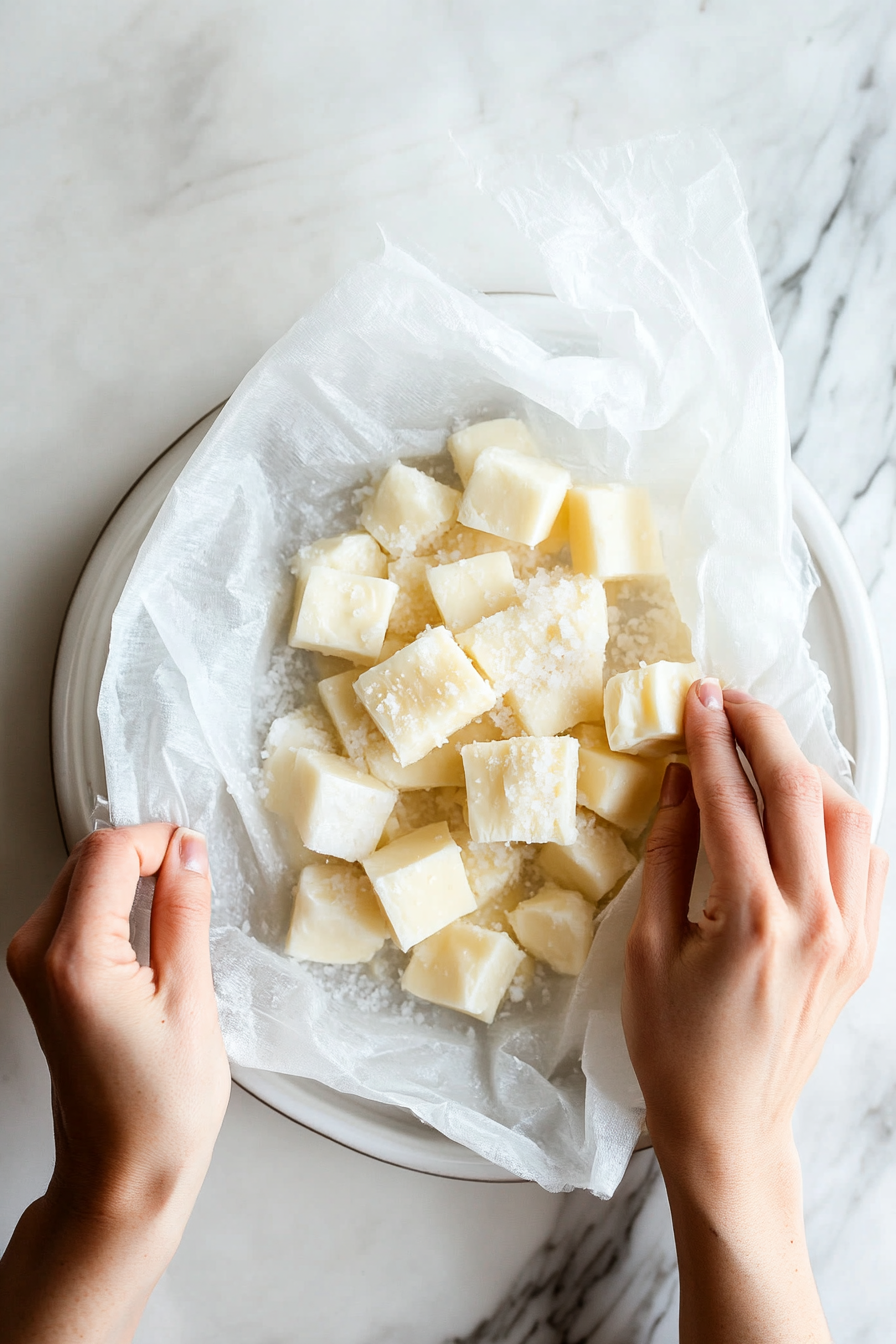
- Unwrap the curds, let them rest on a paper towel-lined plate for a few minutes, then cut into cubes.
- Place in a zip-top bag, add half of the salt, shake to coat, then add the remaining salt and shake again.

Notes
- Ensure the milk and utensils are thoroughly sterilized to prevent unwanted bacteria and ensure proper curd formation.
- Maintain precise temperatures throughout the process to achieve the correct curd consistency and texture.
- Stir gently to avoid breaking up the curds and ensure they form properly during cooking and draining.
- Adjust the amount of salt to taste, depending on whether you prefer a milder or saltier cheese curd.