Go Back
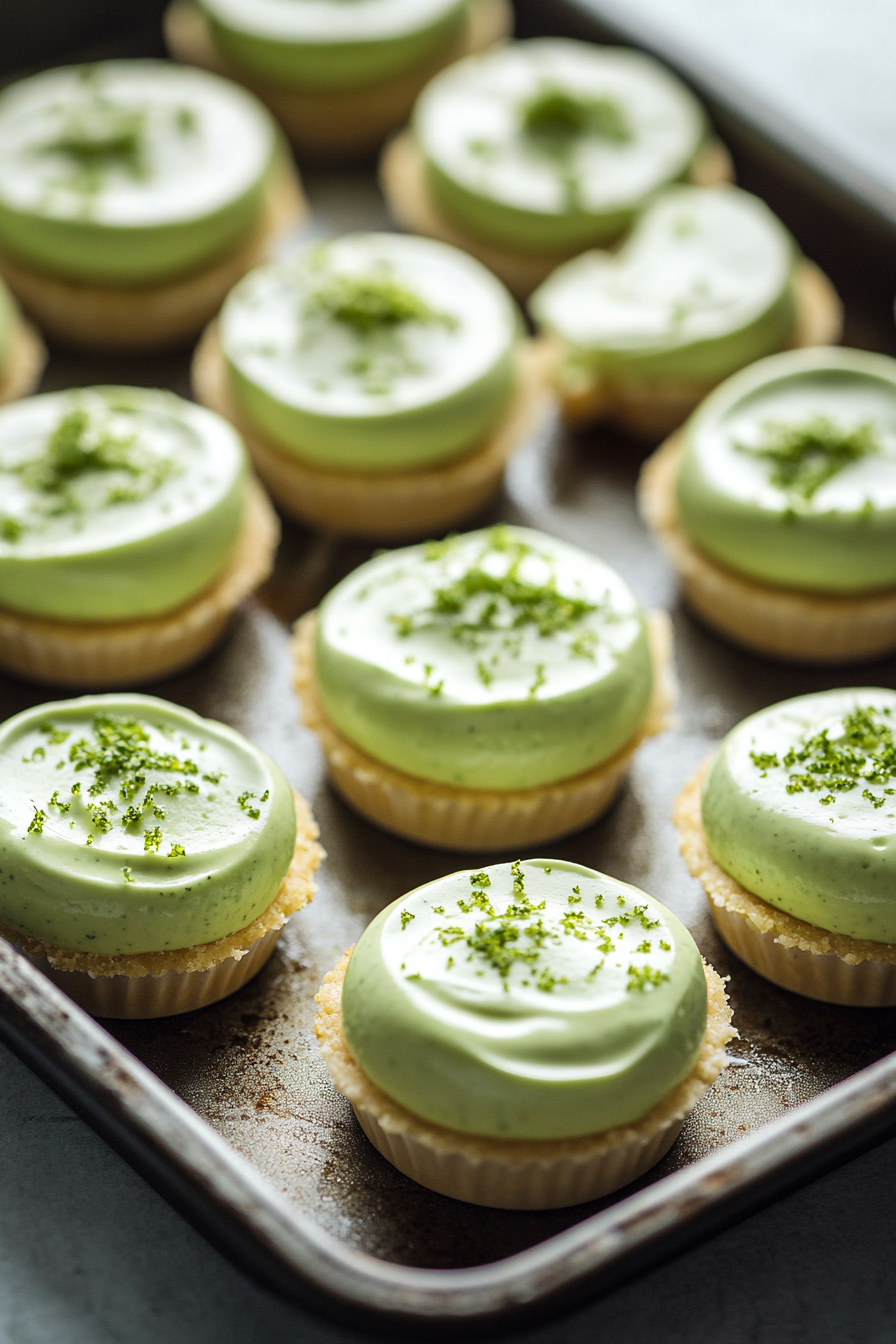
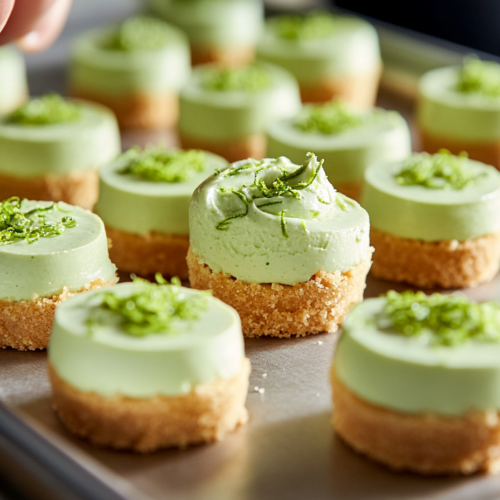
The mini cheesecakes are carefully removed from the pan and placed on a serving tray. They are topped with a smooth, green-colored filling, neatly plated, with a light golden-brown crust visible at the bottom, ready to be served.

Mini Key Lime Cheesecakes Recipe

These Mini Key Lime Cheesecakes are creamy, tangy, and packed with zesty lime flavor, perfect for a refreshing dessert. The buttery graham crust pairs beautifully with the smooth, citrusy filling.
Prep Time 20 minutes
Cook Time 20 minutes
Chill Time 4 hours
Total Time 4 hours 40 minutes
Course Dessert
Cuisine American
Servings 12
Calories 300 kcal

Equipment

  • 12-count Mini Cheesecake Pan or regular muffin pan with cupcake liners
  • Blender or food processor
  • Mixing bowls (2)
  • Stand or Hand Mixer
  • Spatula
  • Measuring cups and spoons
  • Oven
  • Plastic Wrap
  • Cooling rack

Ingredients
  

  • For the crust:
  • 6 full-sheets 90 grams graham crackers (or 3/4 cup graham cracker crumbs)
  • 3 tablespoons 45 grams butter , melted
  • 2 tablespoons 25 grams granulated sugar
  • For the key lime cheesecake filling:
  • 12 ounces brick-style cream cheese softened to room temperature
  • 1/4 cup 60 grams sour cream
  • 1/2 cup 100 grams granulated sugar
  • 3 tablespoons 45 ml key lime juice
  • 1 teaspoon key lime zest or regular lime zest
  • 1 teaspoon vanilla extract
  • 1 drop green food dye
  • 1 large egg room temperature

Instructions
 

  • Preheat oven to 325°F and prepare a mini cheesecake pan with nonstick spray or muffin pan with liners.
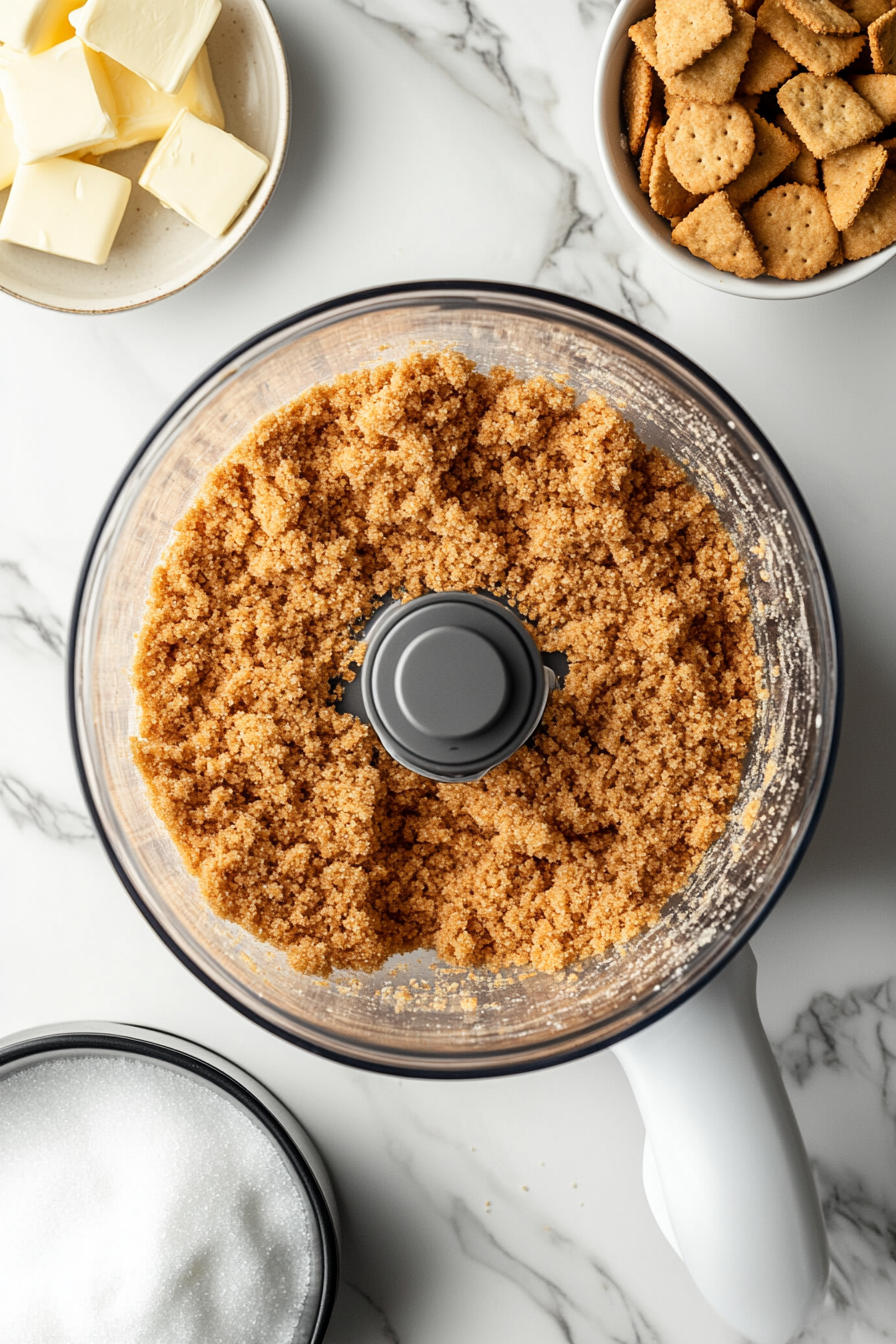
  • Process graham crackers into crumbs.
    A food processor sits on the white marble cooktop, with graham crackers being processed into fine crumbs. A small bowl of granulated sugar and melted butter sits beside the food processor, ready to be mixed with the crumbs. The graham cracker crumbs are evenly processed, creating a uniform texture, waiting to be pressed into the pan.
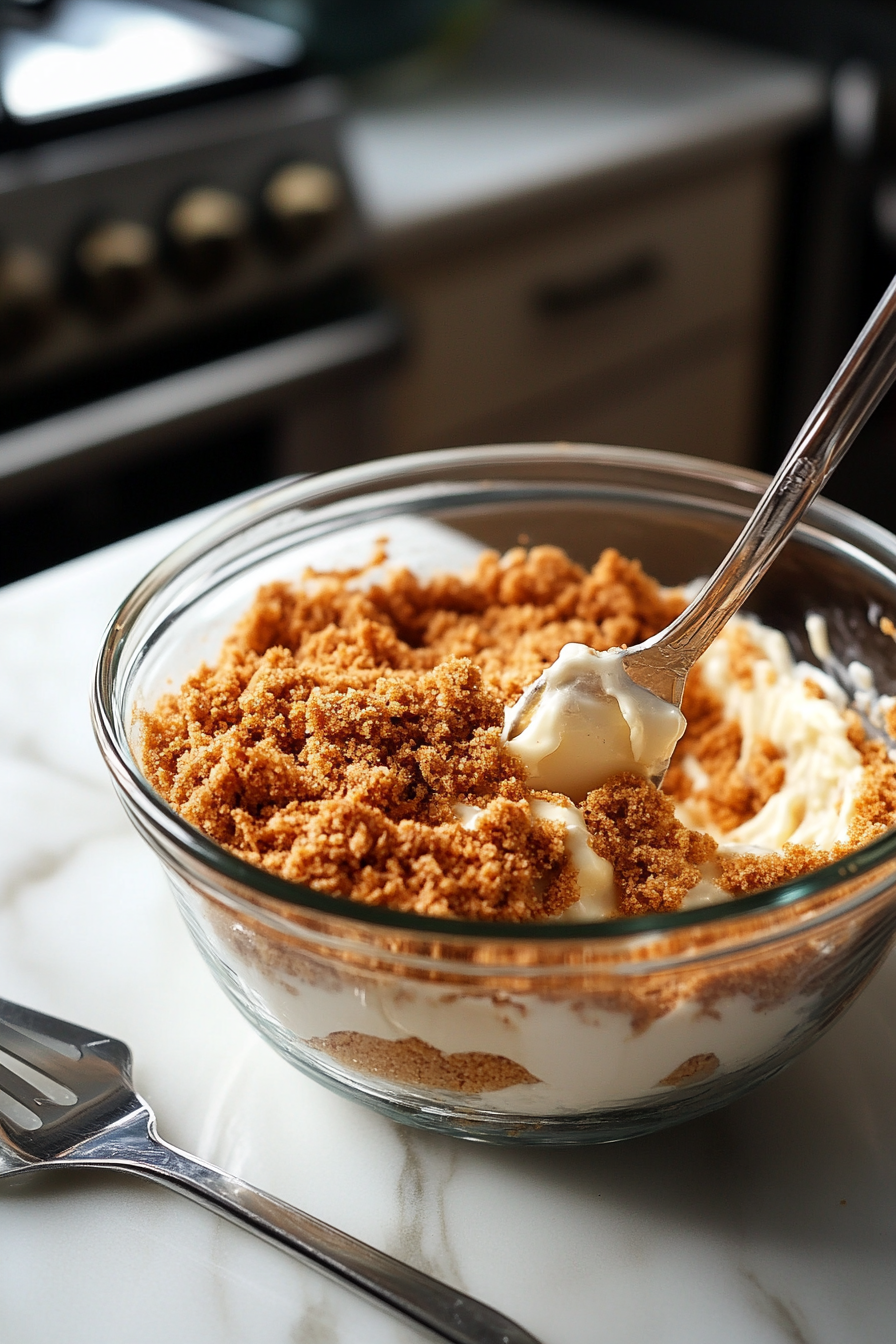
  • Mix with melted butter and sugar.
    A glass mixing bowl on the white marble cooktop contains the graham cracker crumbs, melted butter, and sugar being mixed together with a spoon. The mixture is coming together, with the crumbs coated in a golden sheen from the butter. A small spatula rests nearby, ready to assist with the mixture.
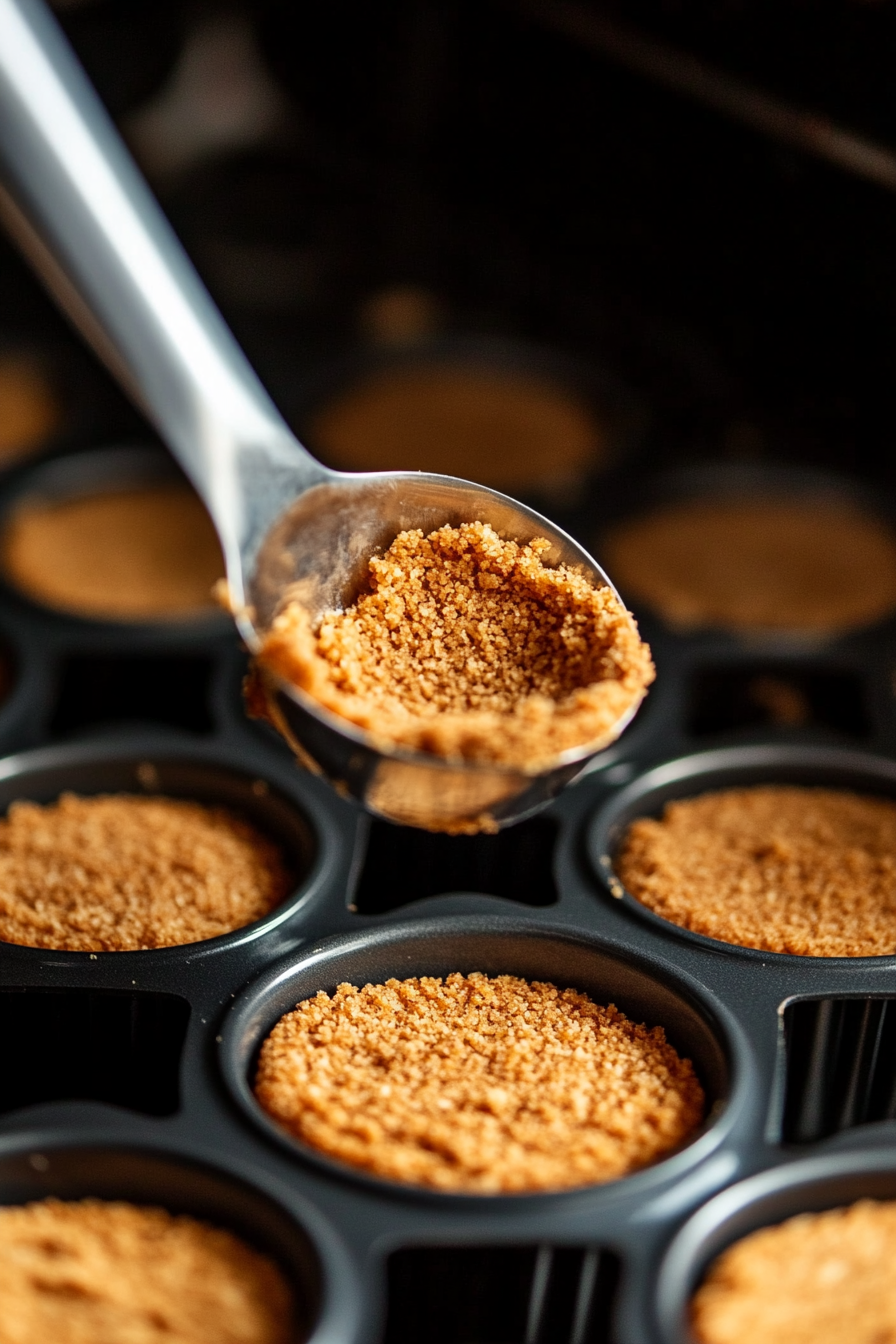
  • Press into the pan's cavities and bake for 5 minutes and cool.
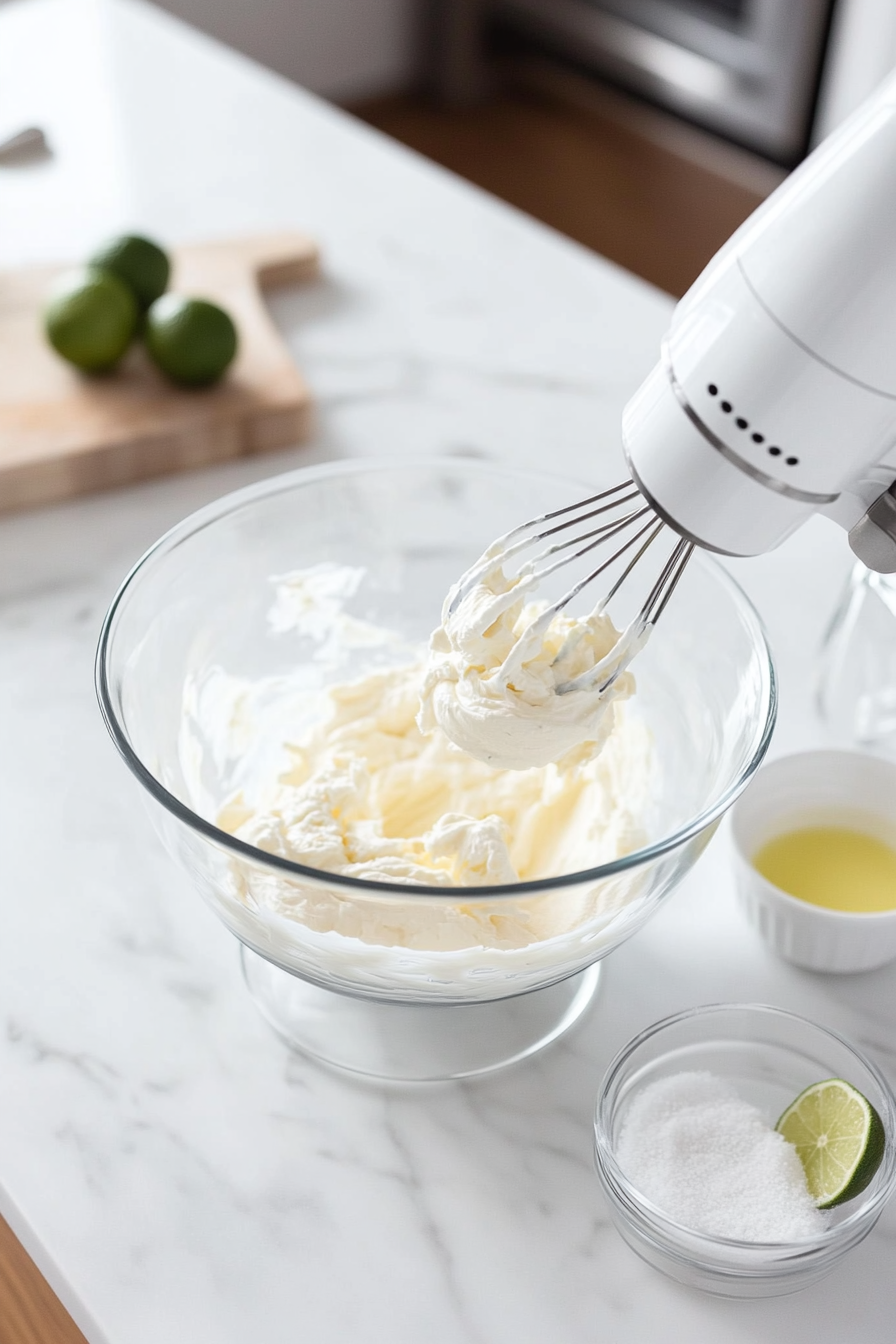
  • Beat cream cheese until smooth.
    A glass mixing bowl on the white marble cooktop holds softened cream cheese being beaten with a hand mixer. The cream cheese is smooth and creamy, with a few lumps visible as the mixer is lifted. A small bowl of sour cream, granulated sugar, and key lime juice sits nearby, ready to be added to the mixture.
  • Mix in sour cream, sugar, lime juice, zest, vanilla, and food dye.
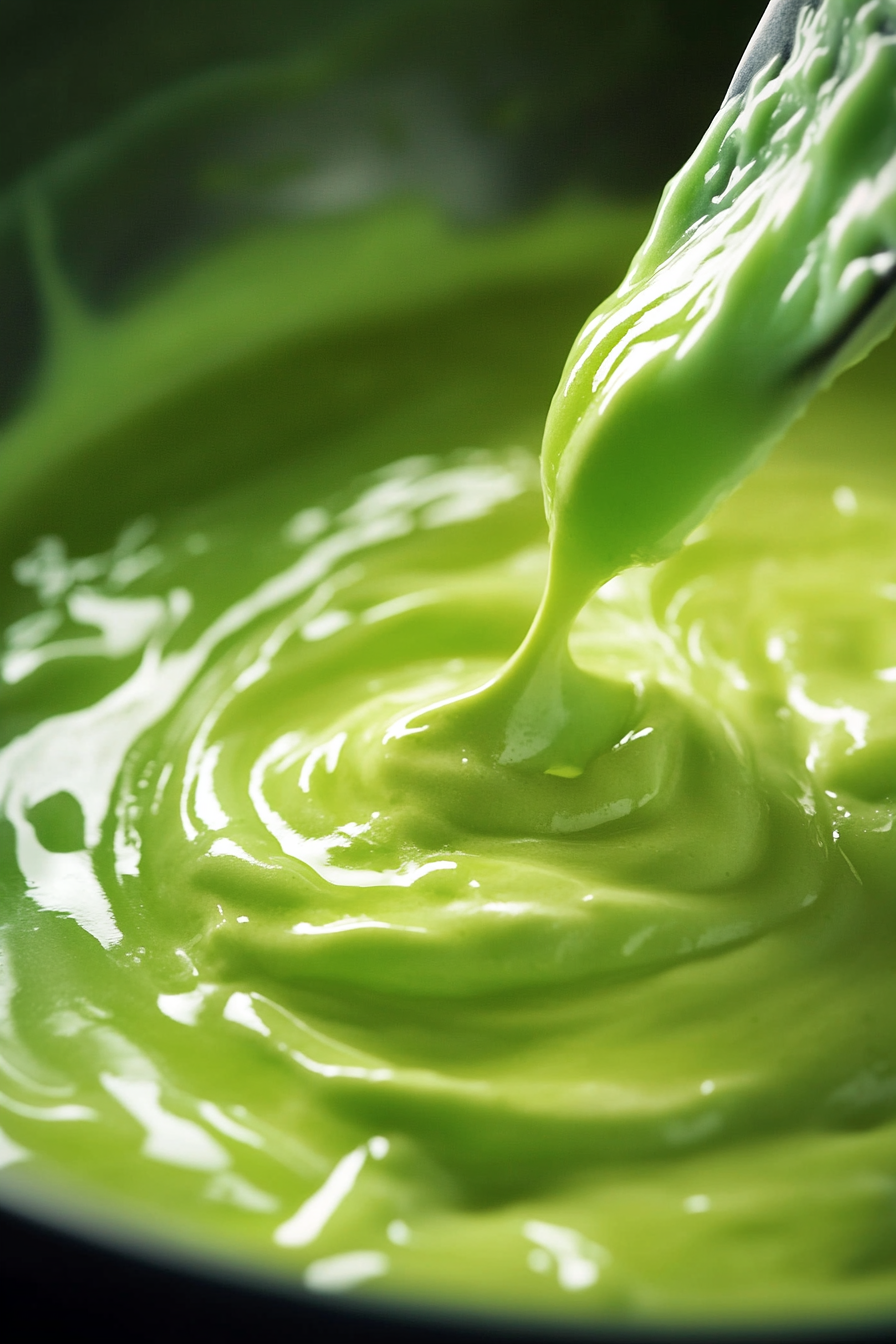
    The cream cheese mixture is being stirred with a spatula as sour cream, granulated sugar, key lime juice, zest, vanilla, and a drop of green food dye are added. The mixture is smooth, vibrant, and lime green, ready to be incorporated for the next step in the cheesecake filling.
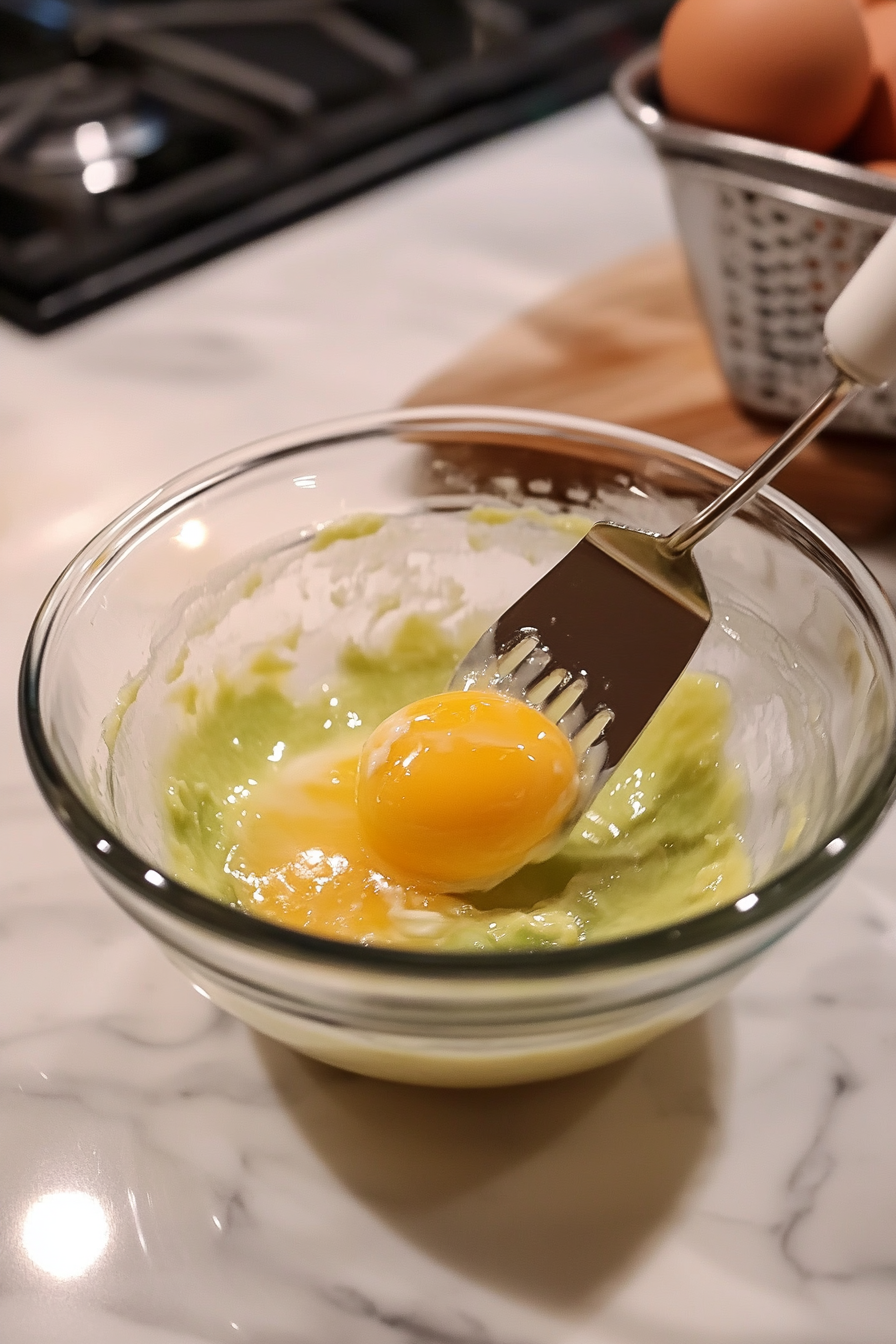
  • Add egg and combine on low speed.
    A large egg is being added to the cream cheese mixture in a glass bowl on the white marble cooktop. The mixture is combined with a hand mixer on low speed, creating a smooth, creamy texture with a slight green hue. A spatula is poised to scrape the bowl clean after the ingredients are fully combined.
  • Divide cheesecake filling evenly into the crusts and bake for 15-18 minutes at 325°F, until the tops are set.
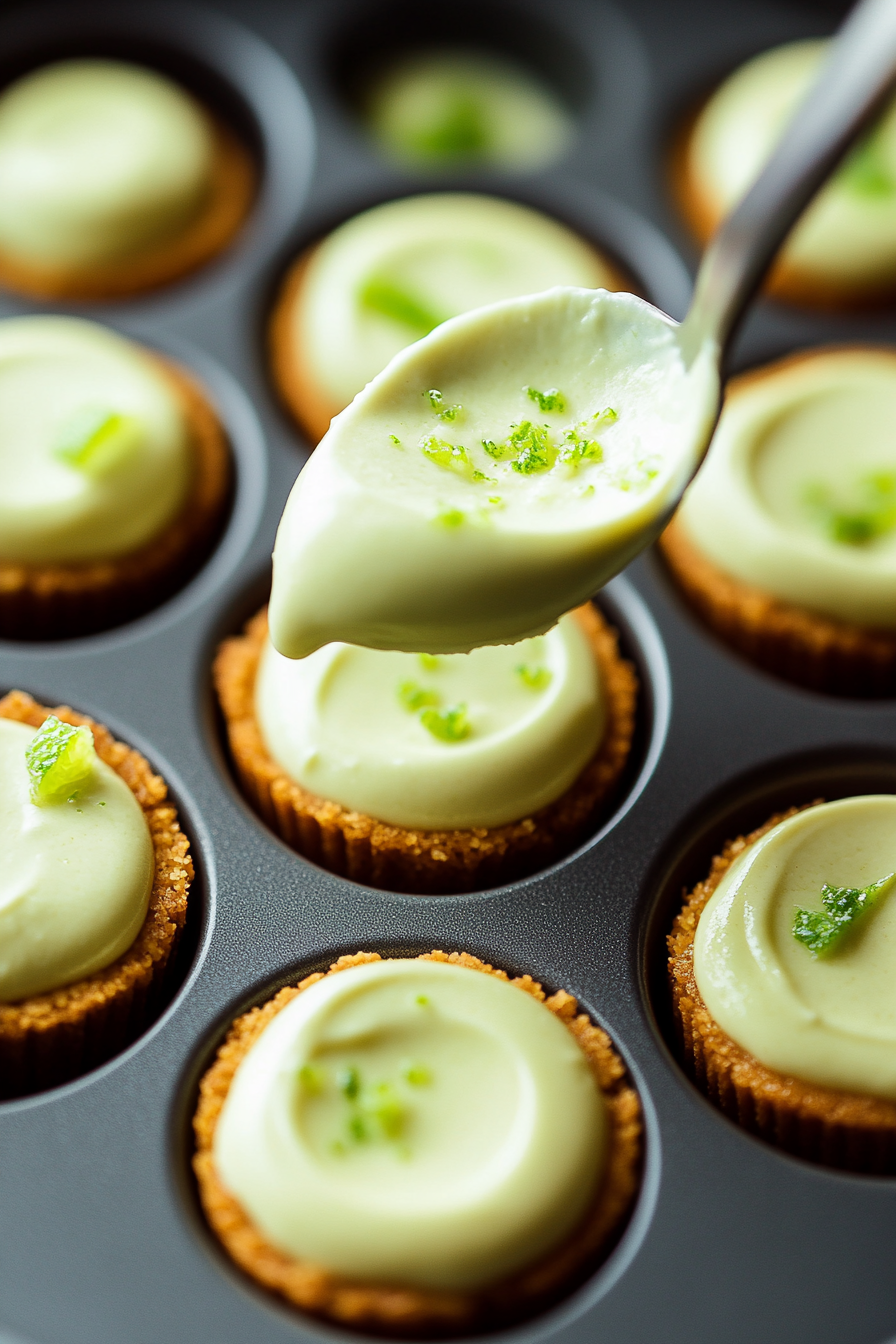
    The creamy cheesecake filling is carefully spooned into each cavity of the mini cheesecake pan, filling the graham cracker crust evenly. The smooth and fluffy filling, with a vibrant green color from the lime zest and food dye, is placed into the pan, ready for baking.
  • Cool at room temperature for 1 hour. Cover and chill in the refrigerator for at least 3-4 hours or overnight.
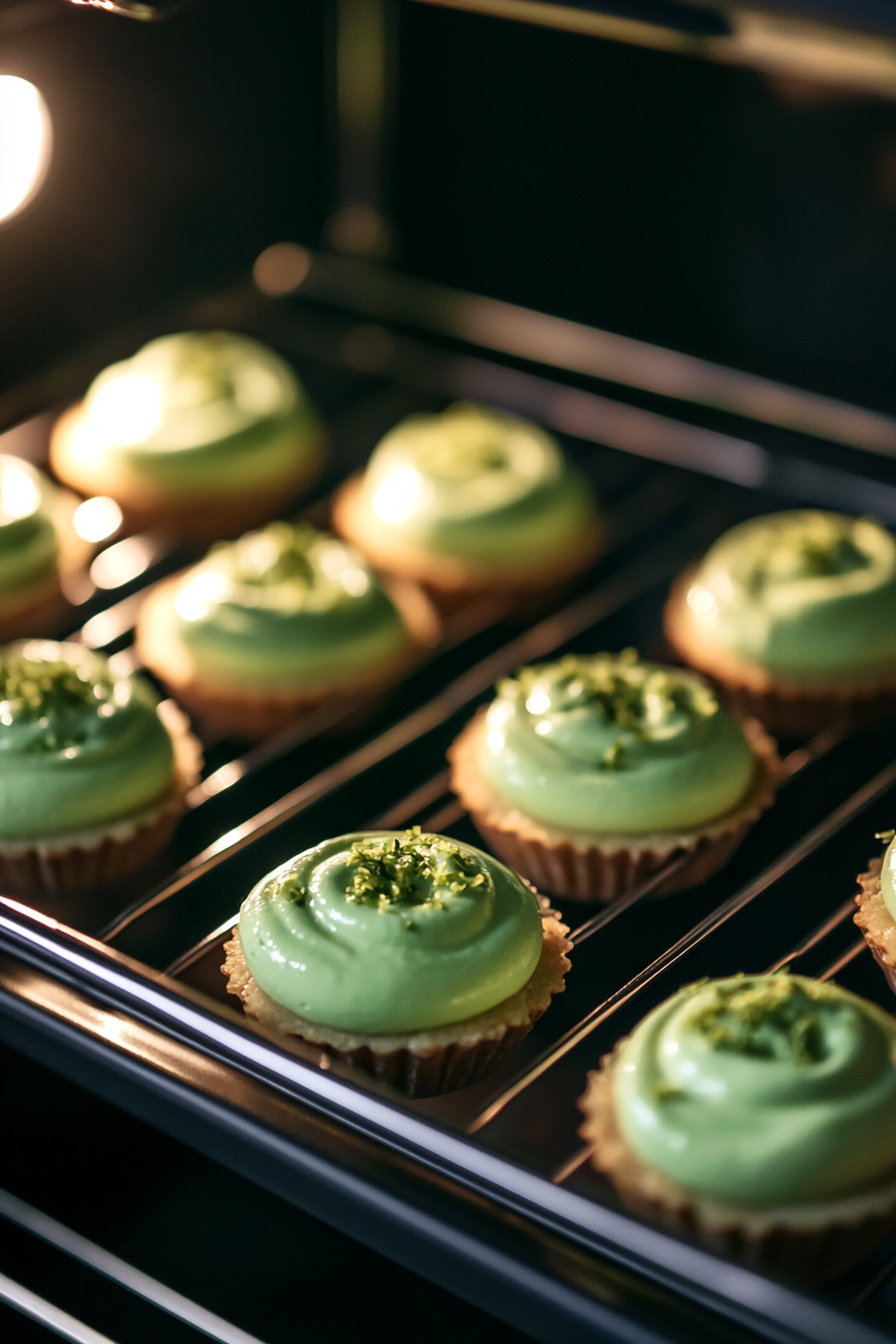
    The mini cheesecake pan sits in the oven, with the tops of the cheesecakes just set and slightly puffed. The oven light glows softly, illuminating the pan resting securely on the oven rack, capturing the mini cheesecakes still in the process of baking.
  • Remove cheesecakes from the pan, serve, and enjoy!