Go Back
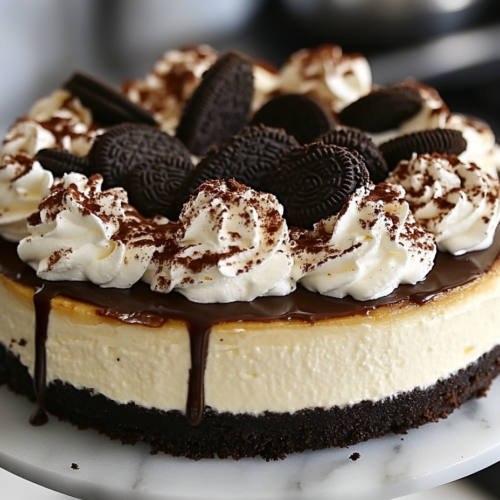
The cheesecake sits on the white marble cooktop, with freshly whipped cream elegantly piped onto the top. Crushed Oreos are sprinkled over the whipped cream, and a drizzle of hot fudge sauce is added as a decorative garnish. The finished cheesecake looks decadent and ready to be served.

No-Bake Chocolate Oreo Cheesecake Recipe

This indulgent no-bake Oreo cheesecake is a creamy dream! With a rich chocolatey filling, crunchy Oreo crust, and fluffy whipped cream topping, it's a dessert that satisfies every sweet tooth.
Prep Time 30 minutes
Chill Time 4 hours
Total Time 4 hours 30 minutes
Course Dessert
Cuisine American
Servings 8
Calories 1086 kcal

Equipment

  • 9-inch springform pan
  • Parchment paper
  • Food processor or blender
  • Mixing Bowls (3)
  • Electric mixer
  • Whisk or spatula
  • Microwave Safe Bowl
  • Piping Bag with Round Tip
  • Refrigerator

Ingredients
  

  • For the crust:
  • 1 package Oreos 14.3 oz./ 405g
  • ½ cup 113g unsalted butter, melted
  • For the cheesecake filling:
  • 4 ounces 113g dark chocolate bar
  • 1 ¼ cups 295ml heavy whipping cream
  • ½ cup 65g powdered sugar
  • 16 ounces 452g full-fat cream cheese, at room temperature
  • ½ cup 95g granulated sugar
  • 2 tablespoons 10g cocoa powder
  • 2 teaspoon 10ml pure vanilla extract
  • 20 Oreos crushed
  • For the topping:
  • 1 cup 236ml heavy whipping cream
  • ½ cup 65g powdered sugar
  • Additional Oreos for garnish
  • Hot fudge sauce for garnish optional

Instructions
 

For the Crust

  • Prepare a 9-inch springform pan by greasing lightly and lining the bottom with parchment paper.
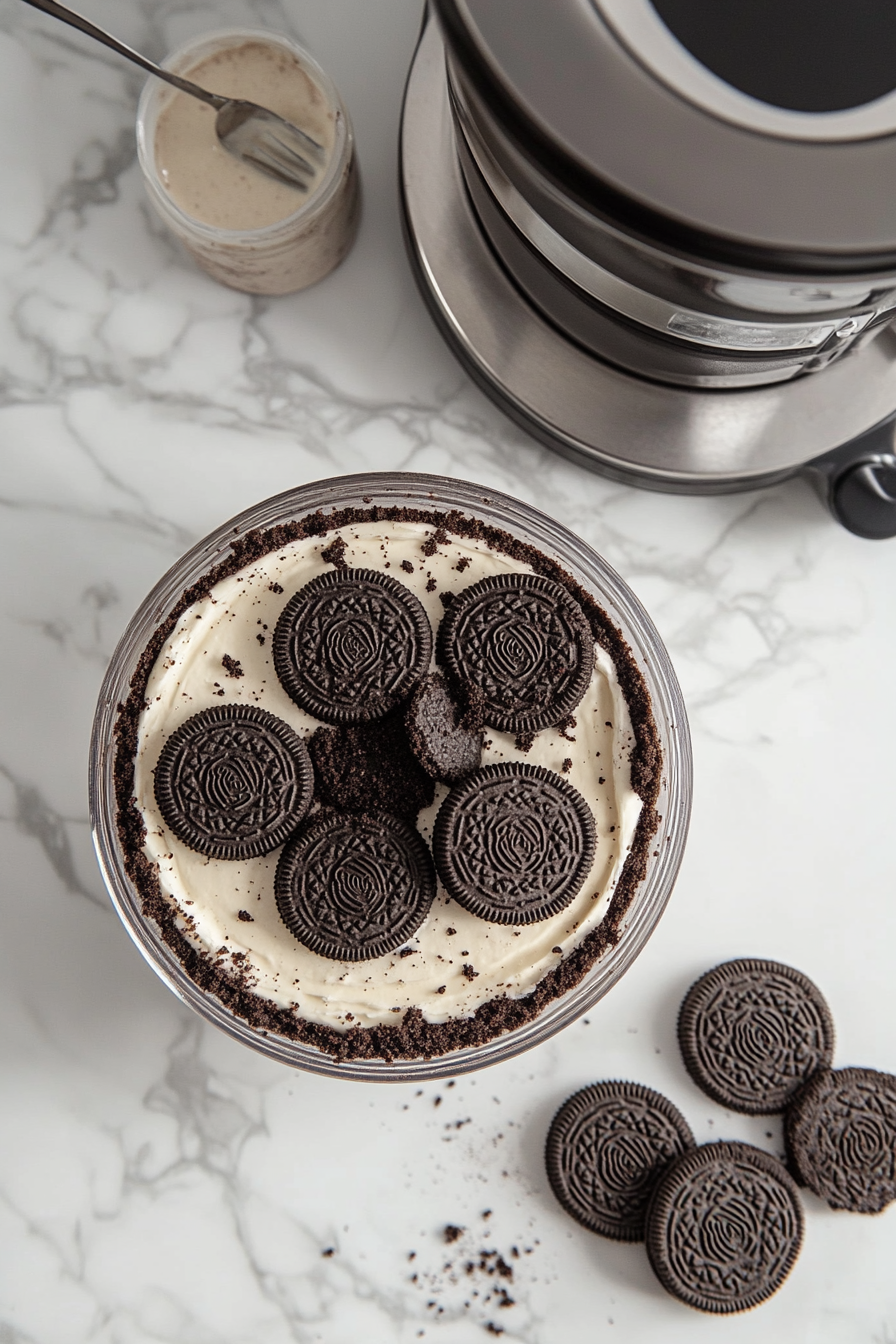
    A 9-inch springform pan sits on the white marble cooktop, lightly greased and lined with parchment paper. A package of Oreos is placed beside the pan, with the cookies being crushed into fine crumbs using a food processor. The crumbs are mixed with melted butter and are being pressed evenly into the bottom and sides of the pan, forming a solid crust base.
  • Crush Oreos into fine crumbs, mix with melted butter, and press into the pan's bottom and sides. Chill in the refrigerator.

For the Cheesecake Filling

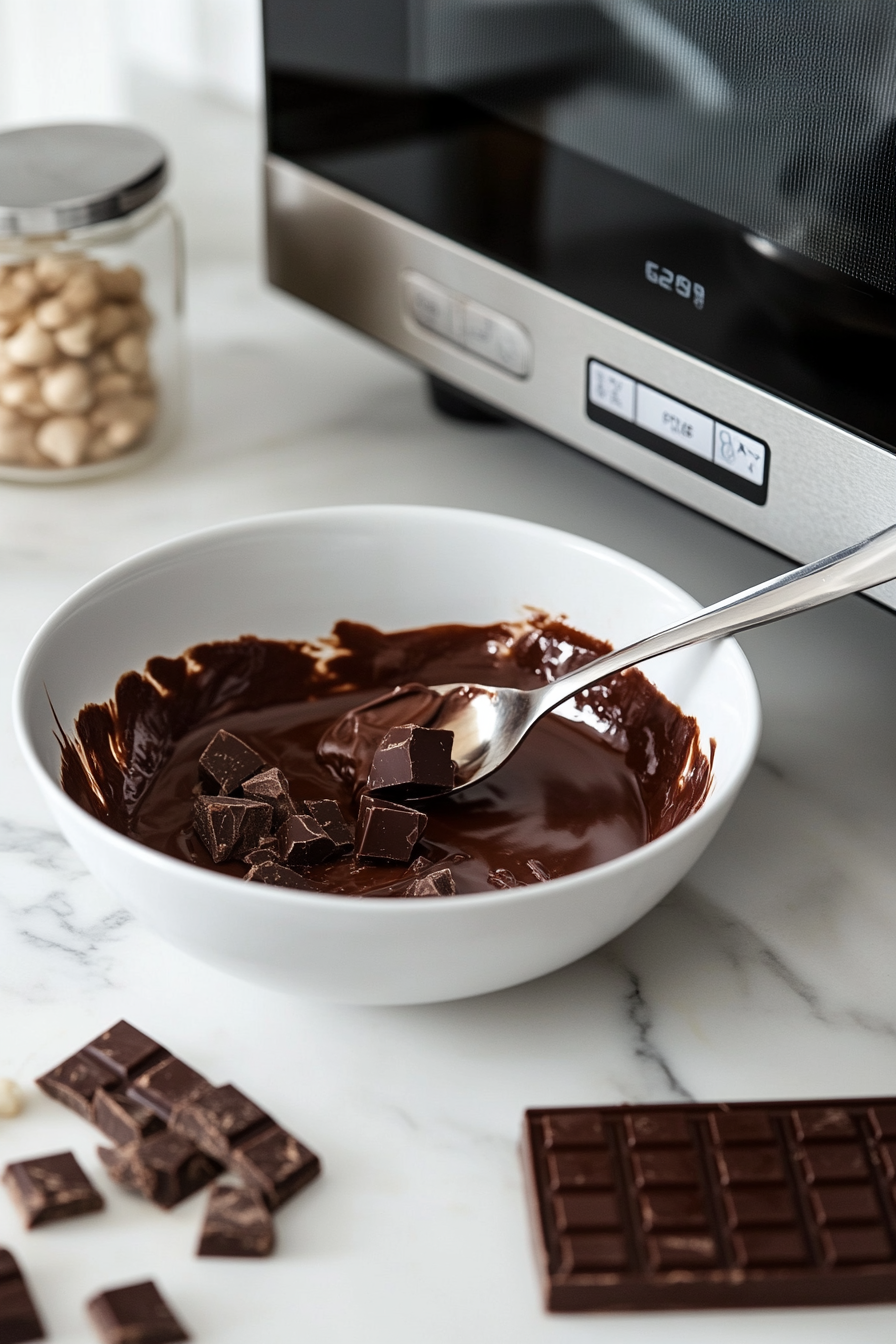
  • Melt chocolate in the microwave, stirring until smooth.
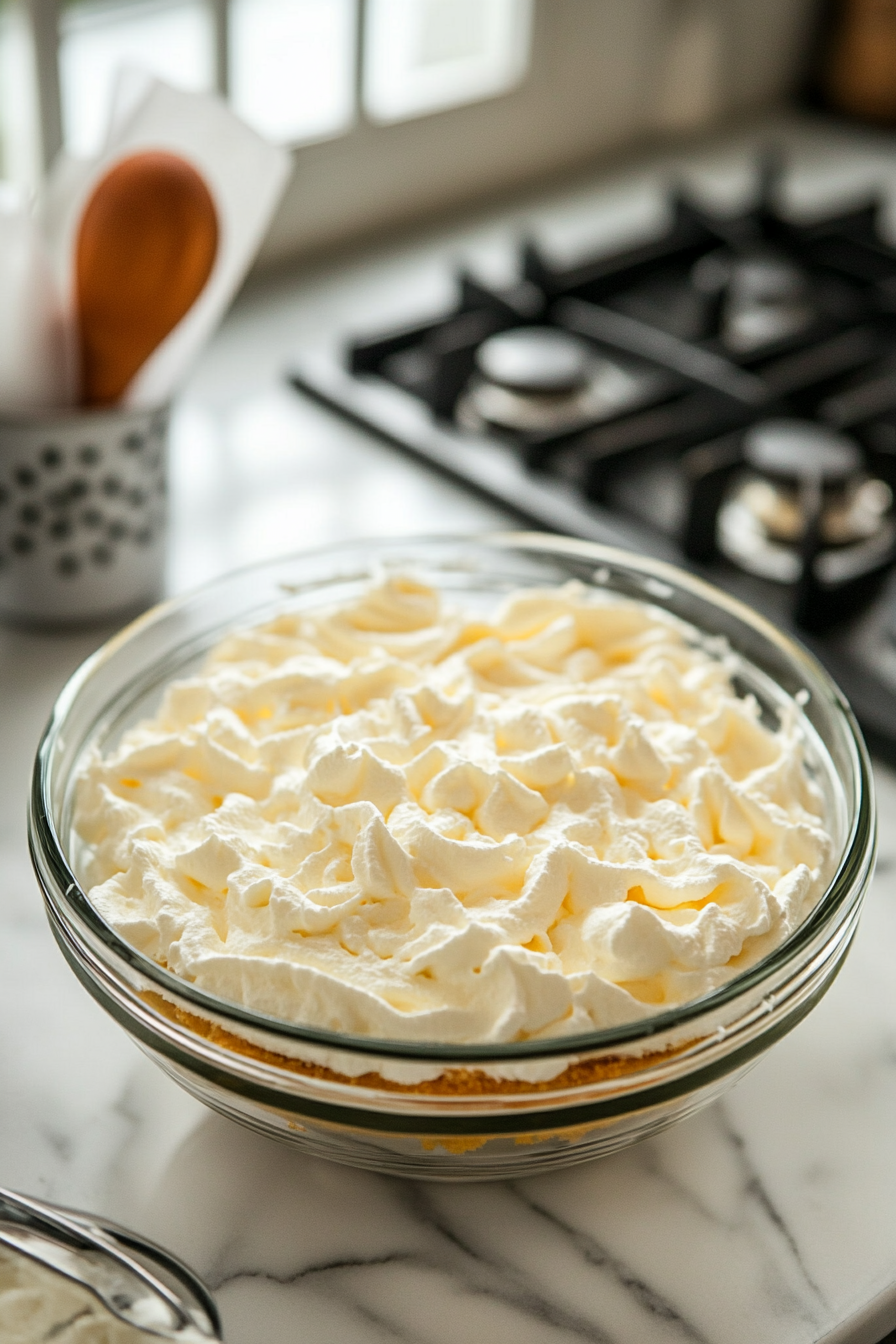
  • Whip 1 ¼ cups heavy cream until stiff peaks form; add powdered sugar and set aside.
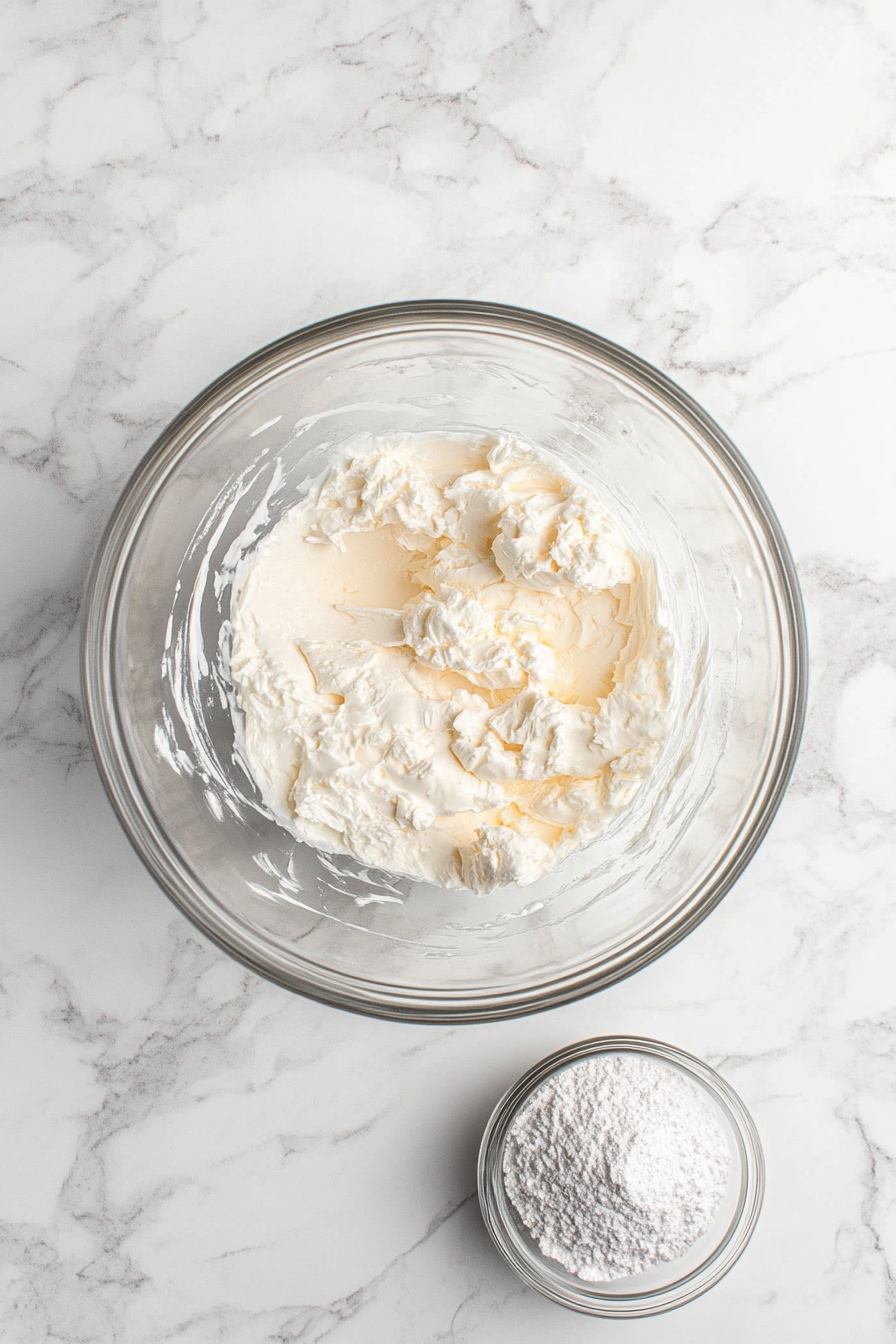
    A large glass mixing bowl on the white marble cooktop holds heavy whipping cream, being whipped with an electric mixer. The cream is beginning to form stiff peaks, with a small bowl of powdered sugar resting beside it. The scene is filled with the soft, fluffy texture of the whipped cream forming in the bowl.
  • Beat cream cheese, granulated sugar, cocoa powder, and vanilla until smooth.
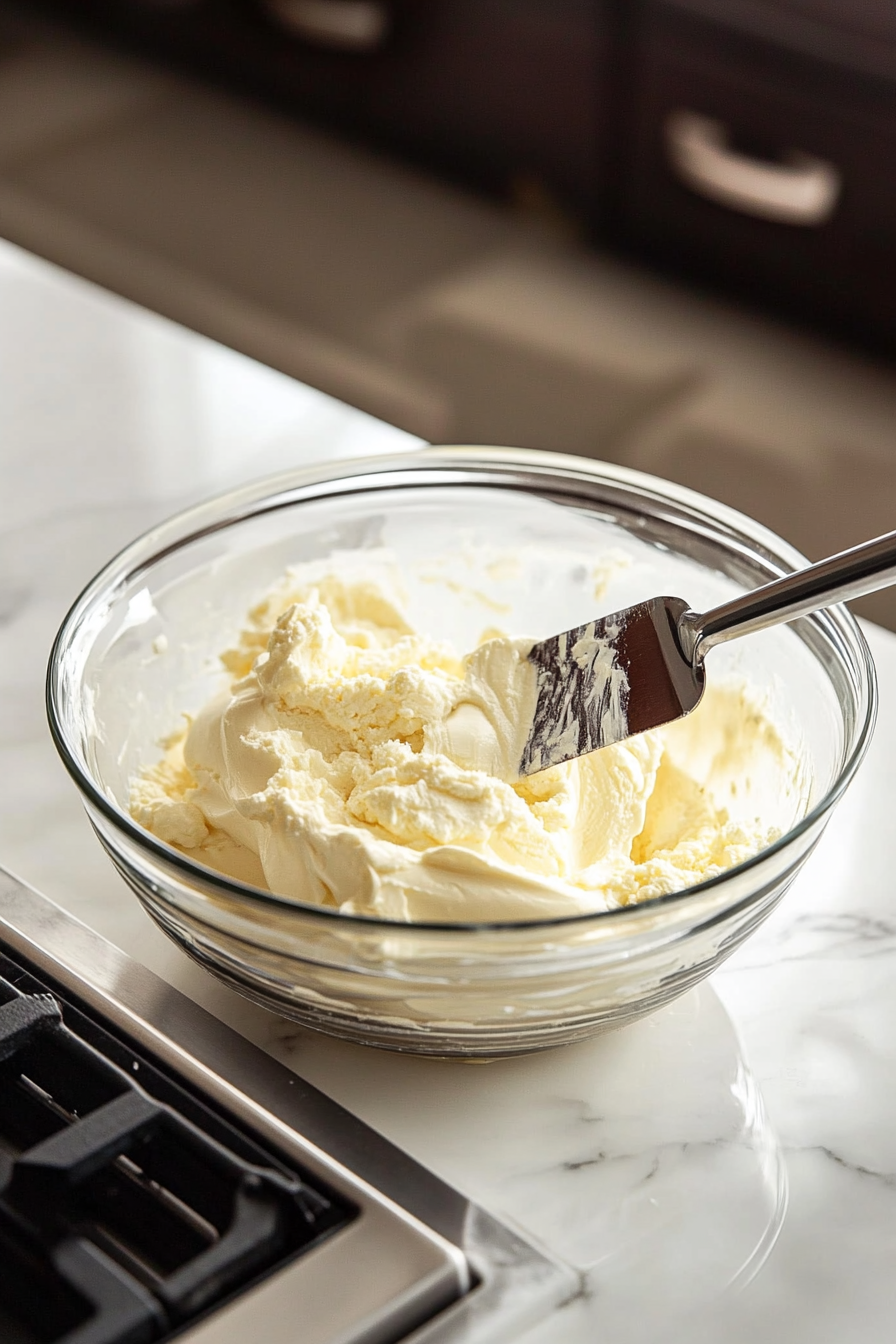
    A large glass mixing bowl on the white marble cooktop contains room-temperature cream cheese, being beaten with granulated sugar, cocoa powder, and vanilla extract until smooth. A spatula is used to stir the mixture, ensuring all ingredients are well incorporated and the mixture is creamy.
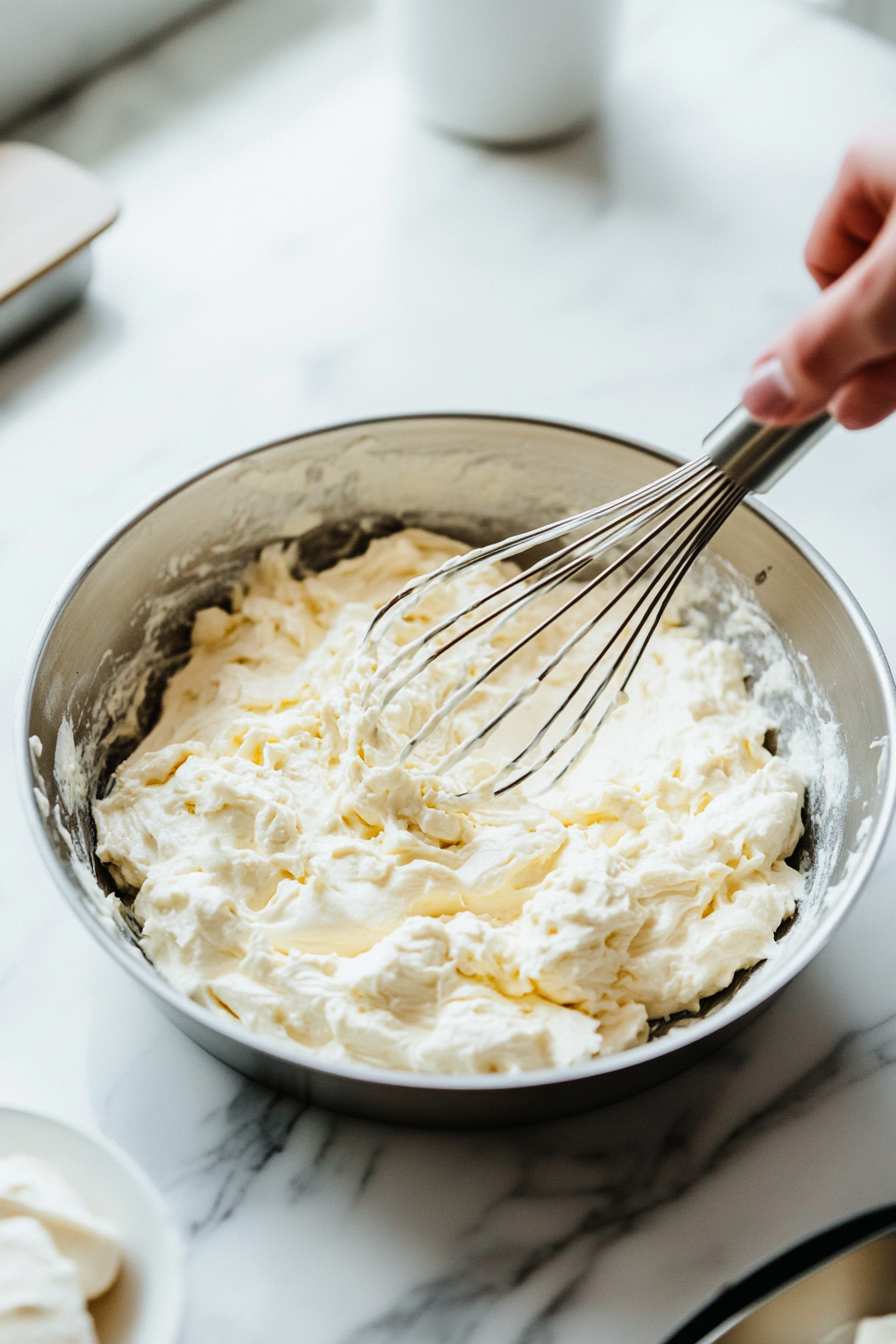
  • Mix in melted chocolate.
    The smooth, melted dark chocolate is being poured into the cream cheese mixture in the glass bowl on the white marble cooktop. A whisk is mixing the chocolate into the cream cheese filling until it is smooth and evenly incorporated, creating a rich, chocolatey mixture.
  • Gently fold in whipped cream, then stir in crushed Oreos.
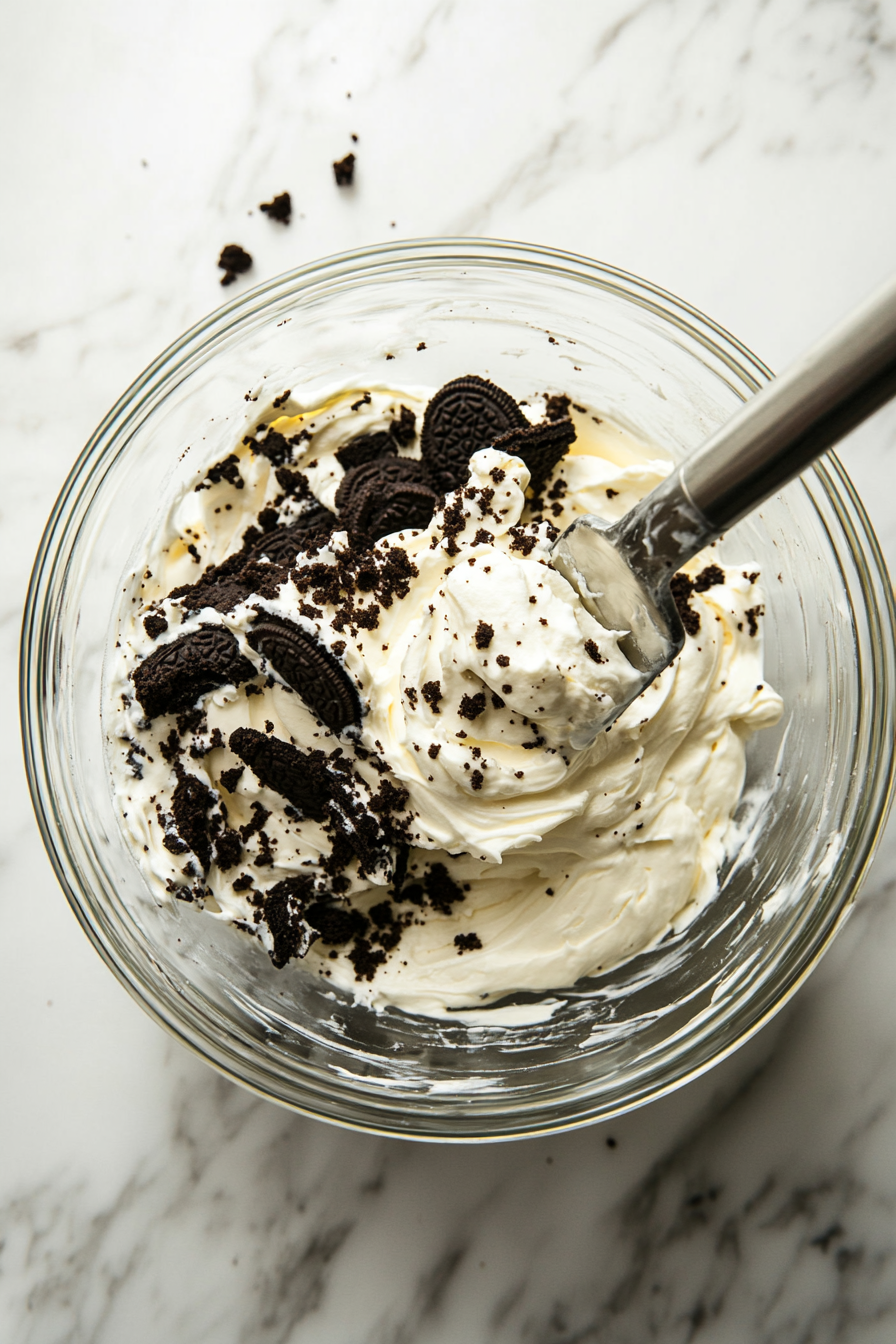
  • Spread the filling evenly into the crust and chill for 3-4 hours.
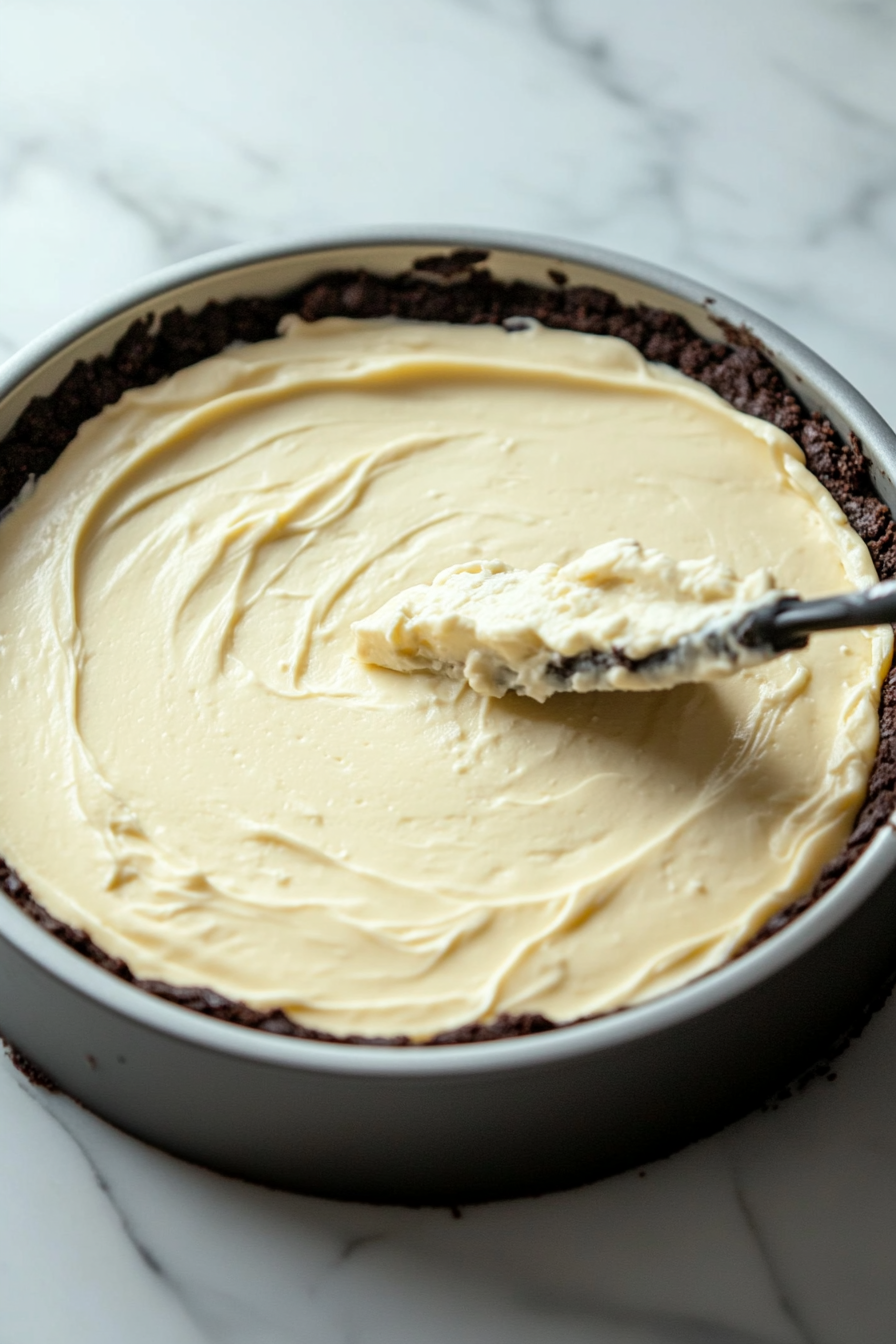
    The creamy cheesecake filling is being spread evenly into the prepared Oreo crust in the springform pan, sitting on the white marble cooktop. A spatula ensures the filling is level and smooth. The pan is now ready to be chilled in the refrigerator.

For the Topping

  • Whip 1 cup heavy cream with powdered sugar until stiff peaks form. Pipe whipped cream onto the cheesecake.
  • Garnish with additional crushed Oreos and optional hot fudge. Serve and enjoy!
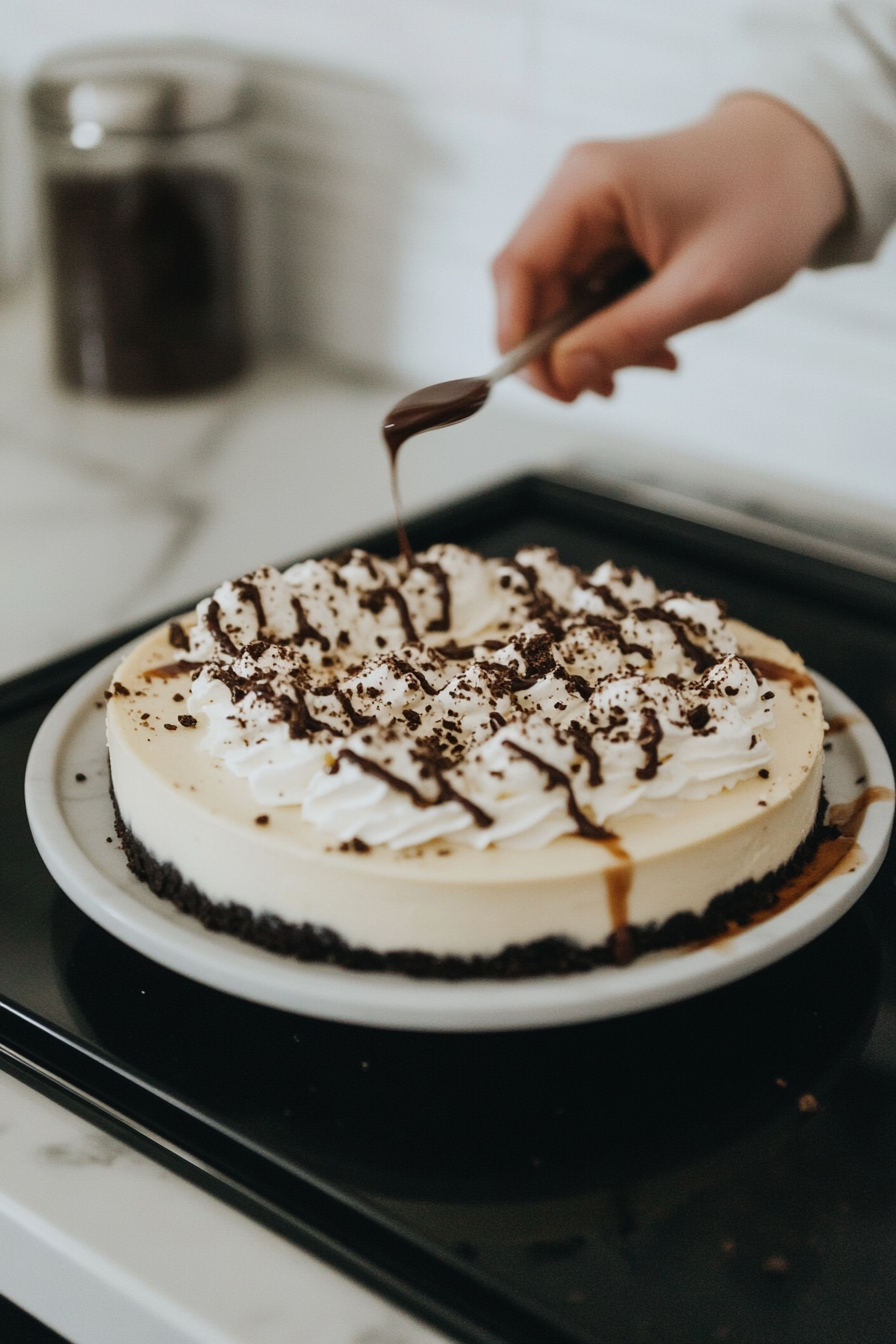
    The cheesecake sits on the white marble cooktop, with freshly whipped cream elegantly piped onto the top. Crushed Oreos are sprinkled over the whipped cream, and a drizzle of hot fudge sauce is added as a decorative garnish. The finished cheesecake looks decadent and ready to be served.