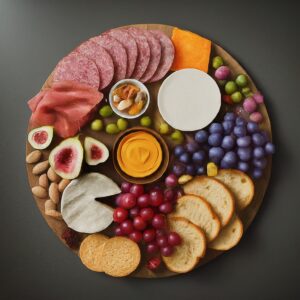
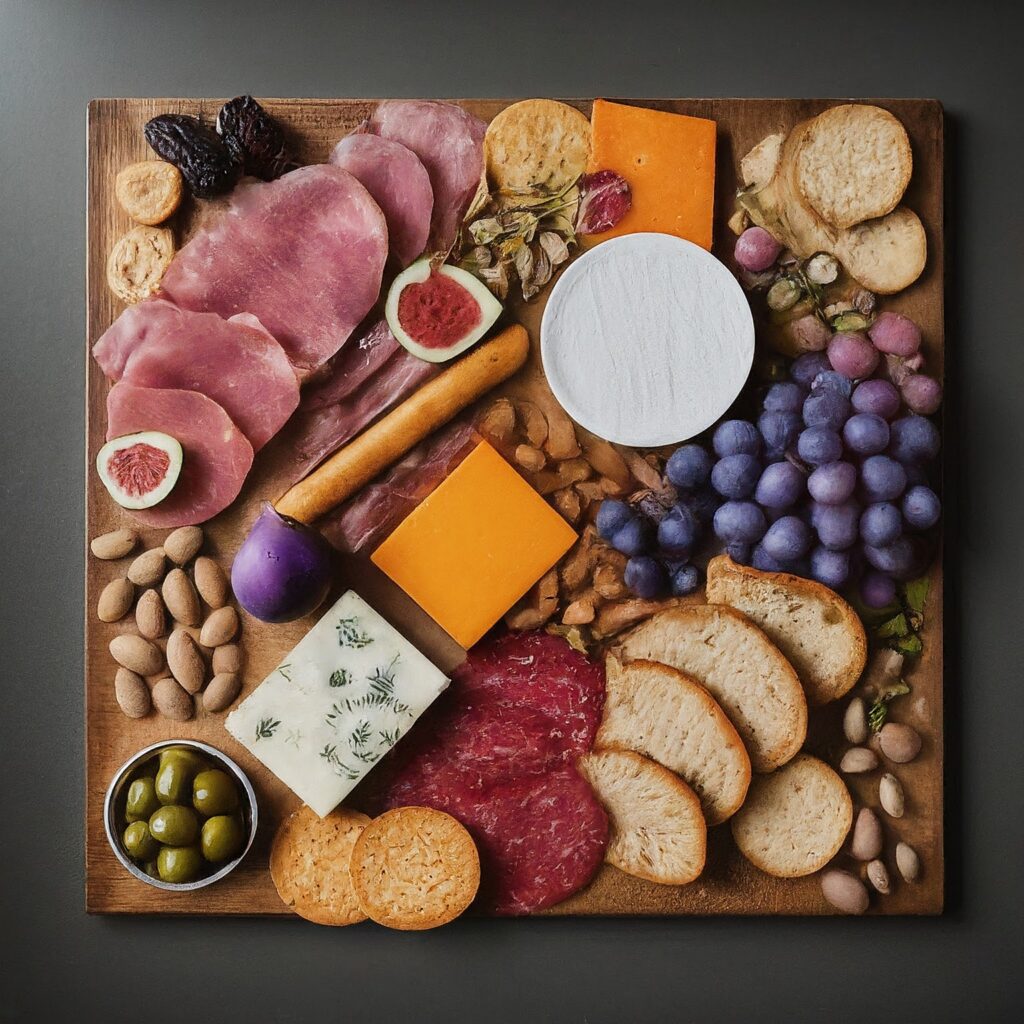
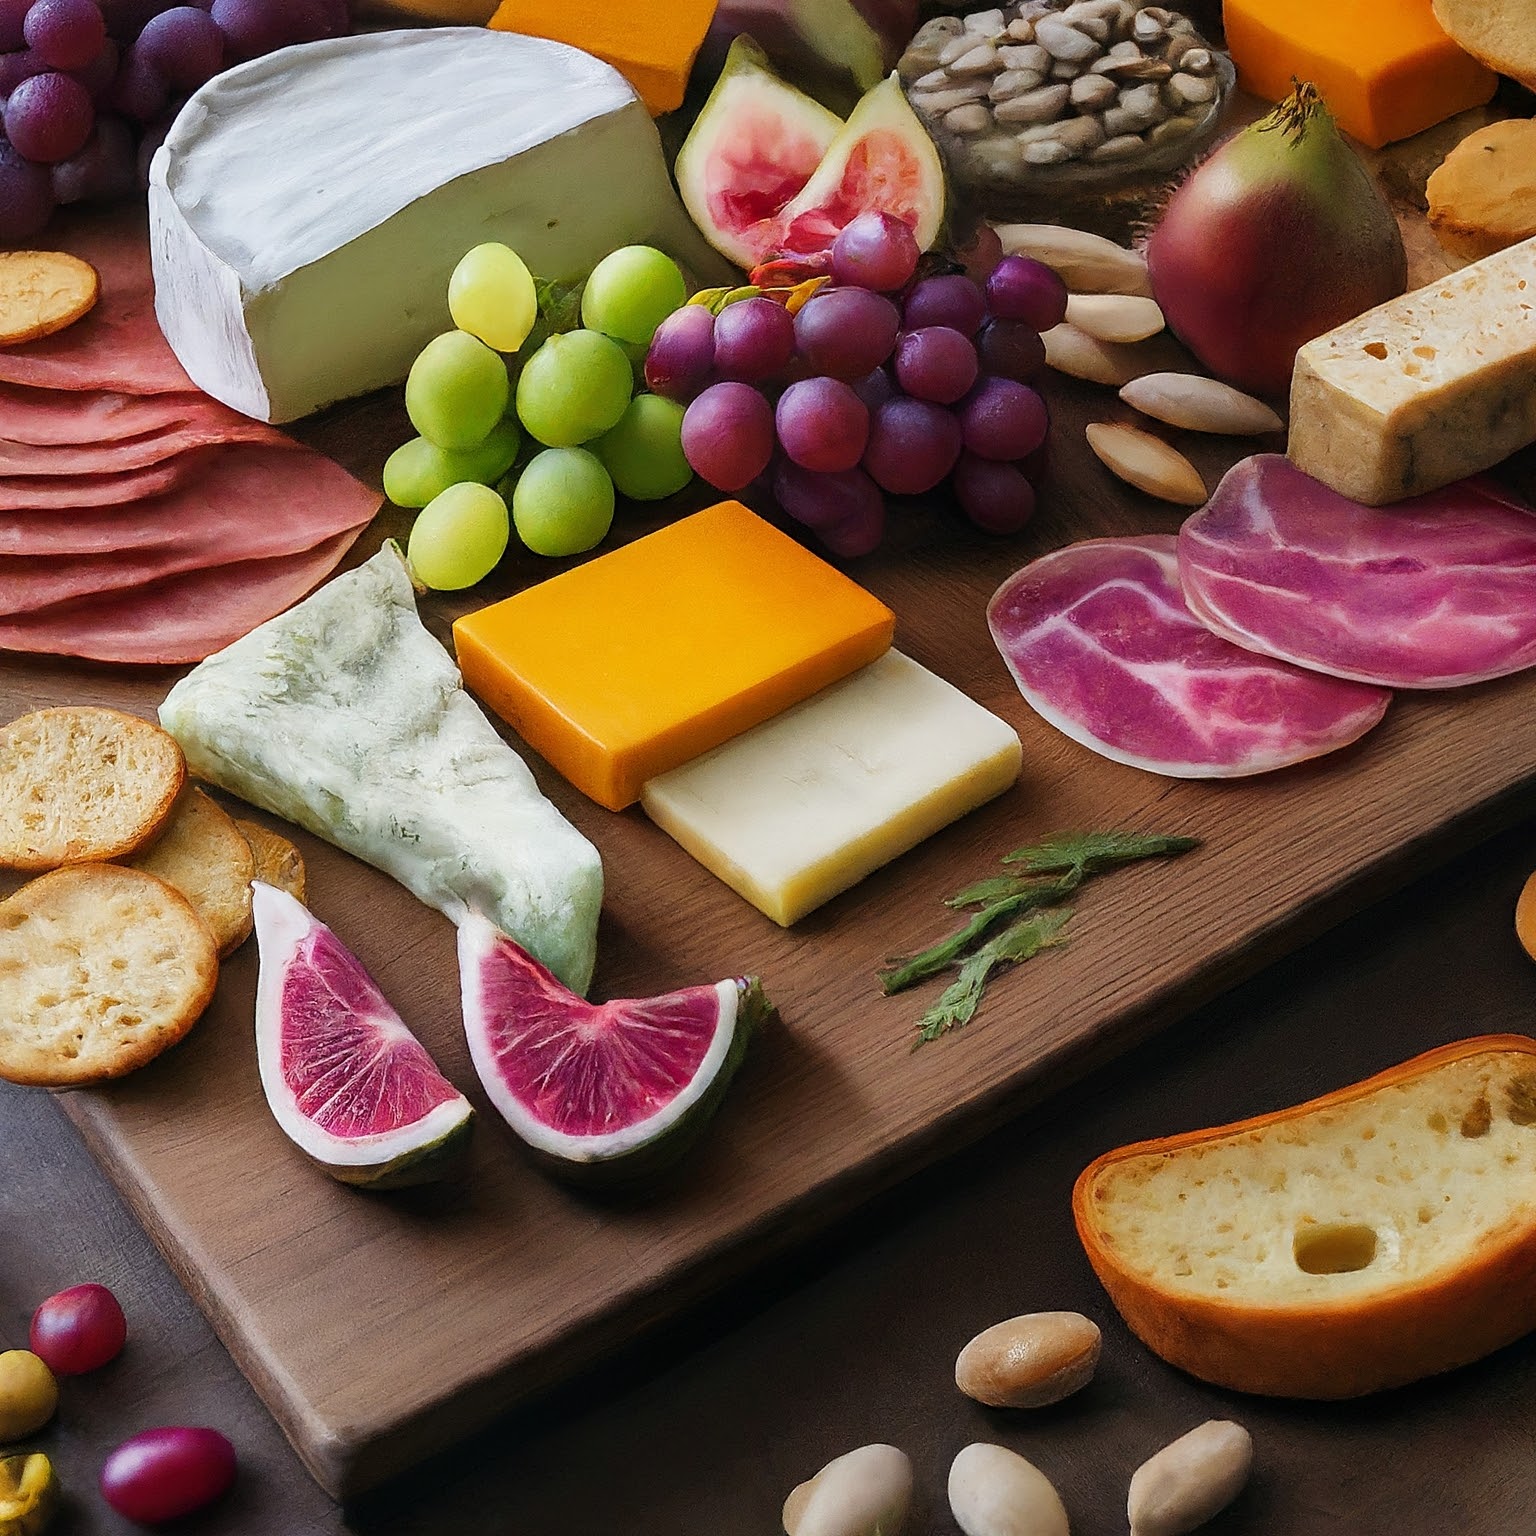
Welcome to the world of charcuterie, where culinary elegance meets artisanal indulgence. Originating from France, charcuterie boards have become a versatile and sophisticated way of showcasing a variety of flavors and textures. In this guide, we’ll explore the art of crafting the perfect charcuterie board, from selecting the finest ingredients to arranging them in a harmonious display. Get ready to embark on a journey of flavor and creativity that promises to delight the senses and ignite the palate.

Captivating Charcuterie Board Recipe
Equipment
- 1 Large Wooden Board
- 1 Small Bowl
- 1 Sharp Knife
- 1 Cheese Knives
Ingredients
- 1 cup Cured Meats
- 1 cup Cheeses
- 1 cup Fruits
- 1 cup Nuts
- 1 cup Condiments
- 1 cup Bread and Crackers
- 1 cup Garnish
- 1 tbsp Olives
Instructions
- Begin by selecting a large wooden board or serving platter as the base for your charcuterie presentation, ensuring it’s clean and dry.
- Slice the cured meats and cheeses into bite-sized pieces using a sharp knife, arranging them in small clusters or piles on the board with some space between each variety.
- Wash and dry any fruits, slicing them if necessary, and then position them in small bowls or scatter them around the board alongside the nuts.
- Place small bowls or ramekins on the board for condiments, spooning in whole grain mustard, Dijon mustard, fig jam, honey, olive tapenade, and balsamic glaze, positioning them strategically on the board.
- Arrange the bread and crackers on the board, either stacking them or fanning them out, and tuck them into empty spaces between other ingredients.
- Optionally, garnish the board with fresh herbs such as rosemary or thyme sprigs for added visual appeal, and consider adding edible flowers for decoration.
- Complete the presentation by adding extras like olives, cornichons, or pickled onions to complement the flavors on the board.
- Once assembled, the charcuterie board is ready to be served and enjoyed, ideally paired with your favorite wine or beverages for a delightful culinary experience.
- If not serving immediately, cover the charcuterie board with plastic wrap and refrigerate it. Remove it from the fridge about 30 minutes before serving to allow the cheeses to come to room temperature and the flavors to meld together.
- After enjoying your charcuterie board, clean the serving platter and utensils thoroughly with warm, soapy water, and dry them completely before storing them for future use.
Notes
- Leaner Meats: Opt for leaner cuts of cured meats such as turkey or chicken instead of higher-fat options like salami or prosciutto.
- Reduced-Fat Cheeses: Choose lower-fat cheeses such as reduced-fat versions of Brie or Camembert, or opt for lighter options like goat cheese or feta.
- Fresh Fruits and Vegetables: Include plenty of fresh fruits and vegetables on the board, such as apple slices, carrot sticks, and cucumber rounds, to add volume and fiber without excess calories.
can i make a vegan alternative of this?

For a vegan version of a charcuterie board, you can still create a beautifully presented and delicious spread using plant-based alternatives. Here’s how you can adapt the traditional ingredients:
- Plant-Based Meats: Include a variety of vegan deli slices or plant-based meats such as seitan, tempeh, or tofu. Look for options flavored with herbs and spices to mimic the flavors of traditional cured meats.
- Non-Dairy Cheeses: Select from a range of vegan cheeses made from nuts (like cashews or almonds), soy, or coconut. Choose varieties such as vegan Brie, Camembert, cheddar, or blue cheese to provide a similar texture and taste experience.
- Assorted Fresh and Dried Fruits: Include a colorful array of fresh fruits such as grapes, sliced apples, pears, berries, and figs. Dried fruits like apricots, cranberries, or dates also add sweetness and texture to the board.
- Assorted Nuts and Seeds: Offer a selection of raw or roasted nuts and seeds such as almonds, walnuts, cashews, pumpkin seeds, or sunflower seeds for added crunch and protein.
- Crackers and Bread: Choose vegan-friendly crackers and bread made without animal products. Look for options labeled as vegan or check the ingredient list to ensure they don’t contain any dairy, eggs, or honey.
- Assorted Pickles and Olives: Include an assortment of marinated vegetables such as pickles, olives, artichoke hearts, or roasted peppers for added flavor and variety.
- Hummus and Dips: Serve a variety of hummus flavors (such as classic, roasted red pepper, or garlic) along with other vegan dips like baba ganoush or spinach artichoke dip for dipping the crackers and bread.
- Garnishes: Garnish the board with fresh herbs like parsley, basil, or dill, as well as edible flowers, to add color and visual appeal.
how do i store the leftovers from the charcuterie board?
Storing leftovers from a charcuterie board depends on the specific ingredients used. Here are some general guidelines for storing common components:
- Cured Meats: Place any leftover cured meats in an airtight container or wrap them tightly in plastic wrap. Store them in the refrigerator and consume them within 3-5 days.
- Cheeses: Wrap leftover cheeses tightly in plastic wrap or place them in an airtight container. Store them in the refrigerator, but be aware that some cheeses may dry out or change texture over time. Consume them within 3-7 days, depending on the type of cheese.
- Fruits and Vegetables: Store leftover fresh fruits and vegetables in airtight containers or resealable bags in the refrigerator. Dried fruits can also be stored in airtight containers at room temperature or in the refrigerator. Consume them within a few days to maintain freshness.


