
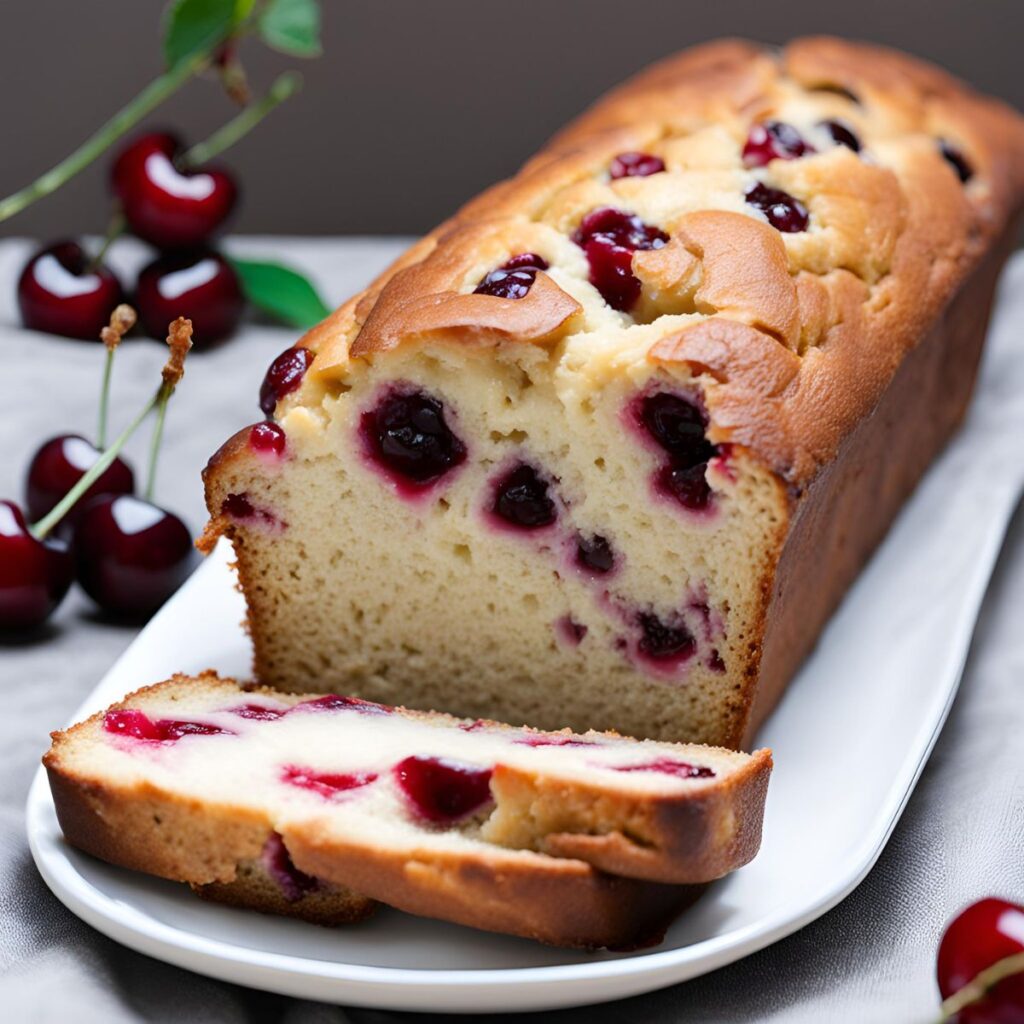
This Cherry Bread with Cherry is a breeze to whip up and perfect for special occasions like Valentine’s Day, Easter, or Mother’s Day! Who doesn’t love a little pink in their life, right? This bread is soft, sweet, and super easy to make. It’s great for brunch, baby or bridal showers, or just treating yourself to something delicious.
You can even freeze it for up to 6 months, but make sure to hold off on adding the glaze until you’re ready to serve if you’re planning to store it for the long haul. Once it’s cooled down, just wrap it tightly with plastic wrap and it’ll stay fresh at room temperature for about three days. So go ahead, bake up some Cherry Bread and spread some love with every slice!
Cherry Bread Recipe
Equipment
- Oven
- Mixing bowls
- Wooden Spoon or Spatu
Ingredients
- 2½ cups All-purpose flour
- 1¼ cups Granulated sugar
- 1½ tsp Baking powder
- A pinch of salt
- 1 cup Cold butter cut into pieces
- ¾ cup Milk I used 2%
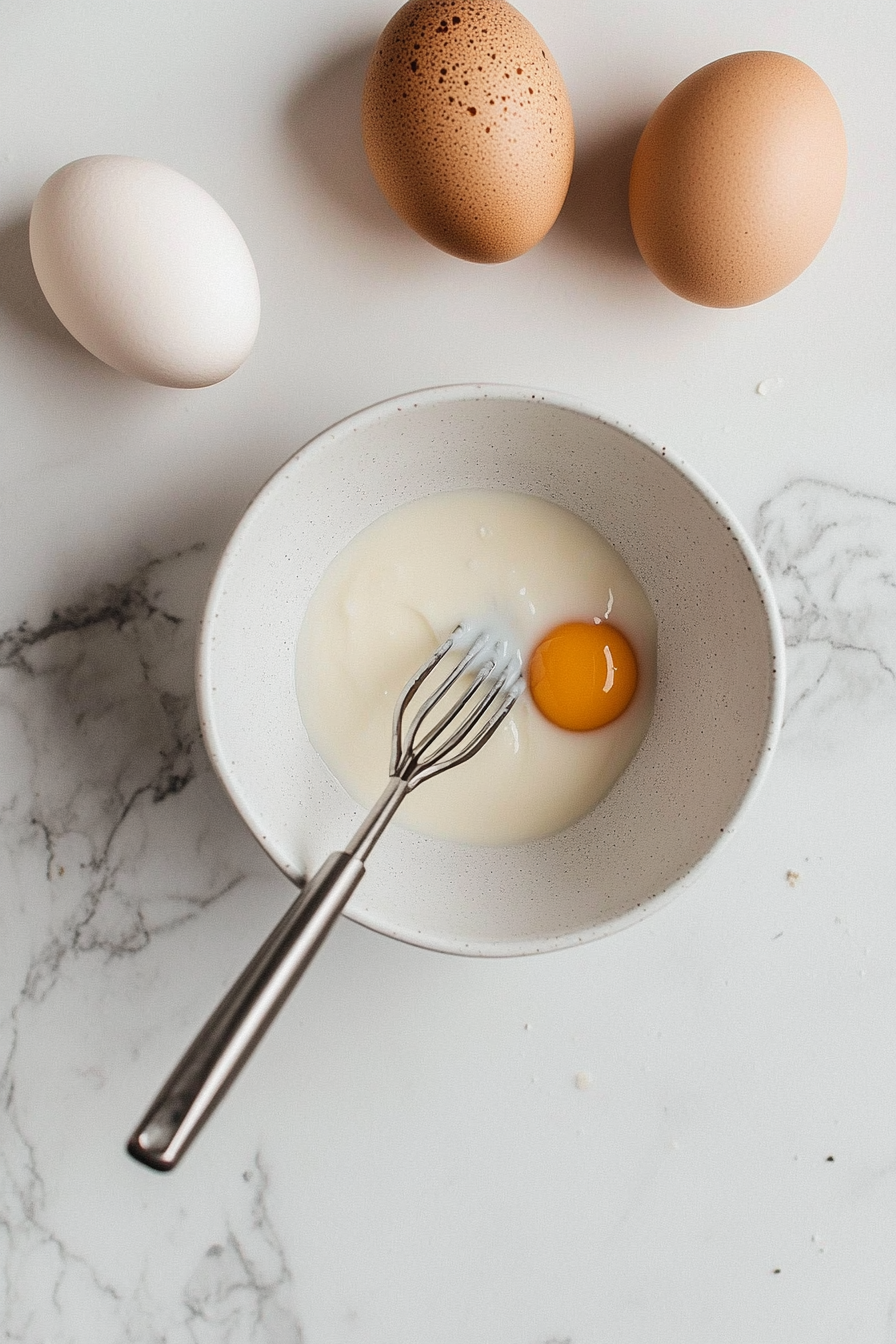
- 2 Large eggs
- 1 tsp Vanilla
- 1-2 cups Cherries pitted and cut in half
Instructions
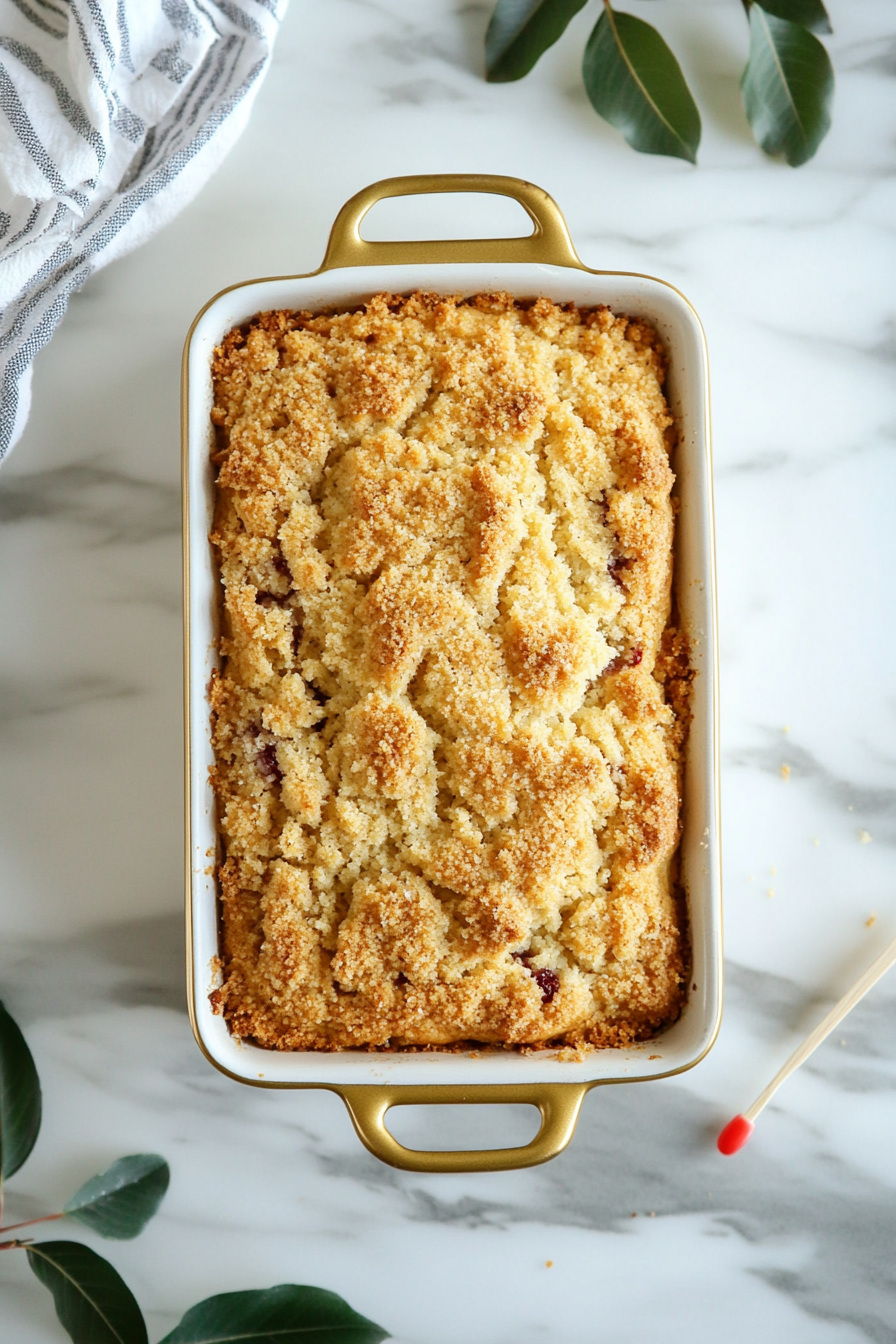
- Preheat your oven to 375°F (190°C) and grease and flour a 9-inch loaf pan.
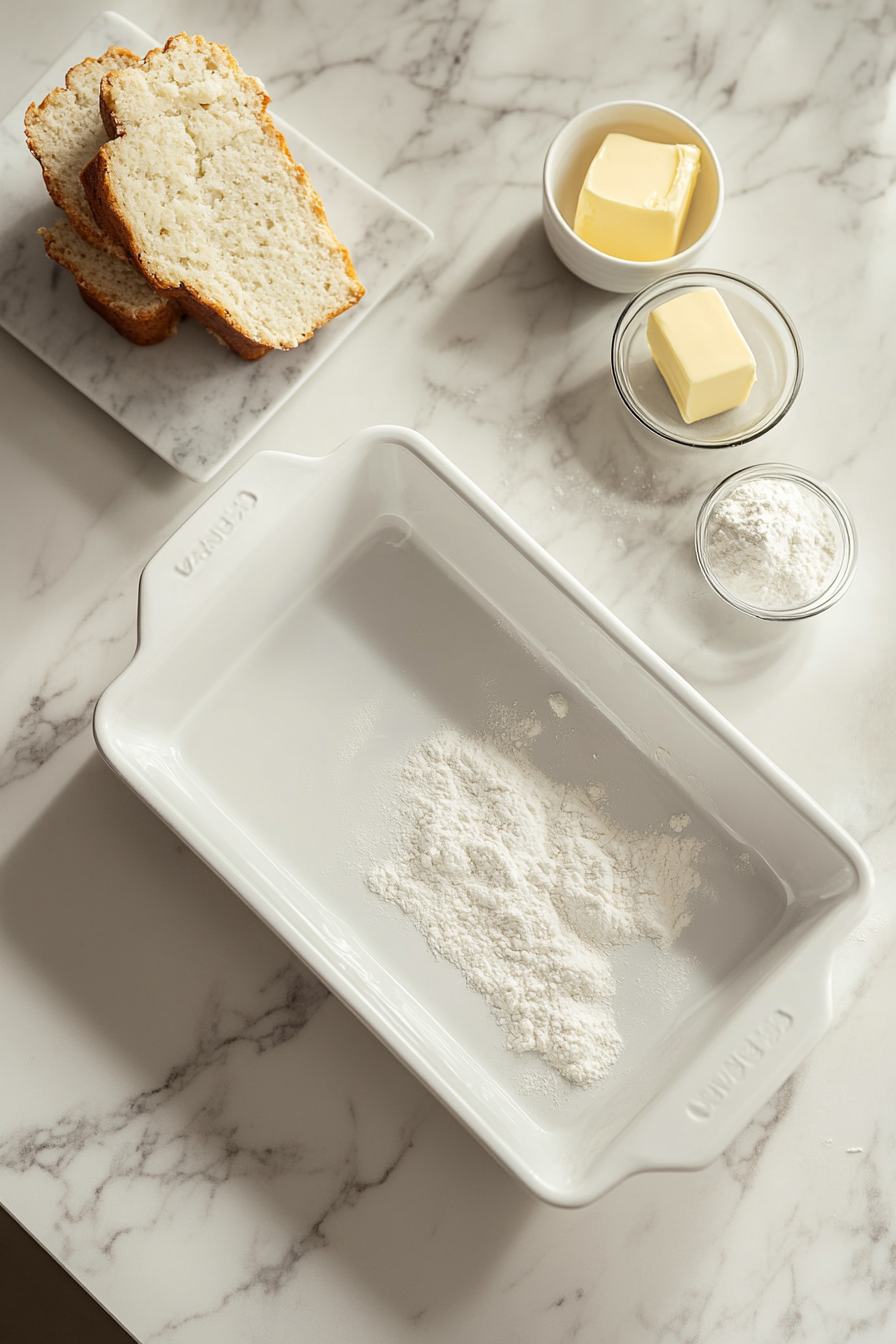
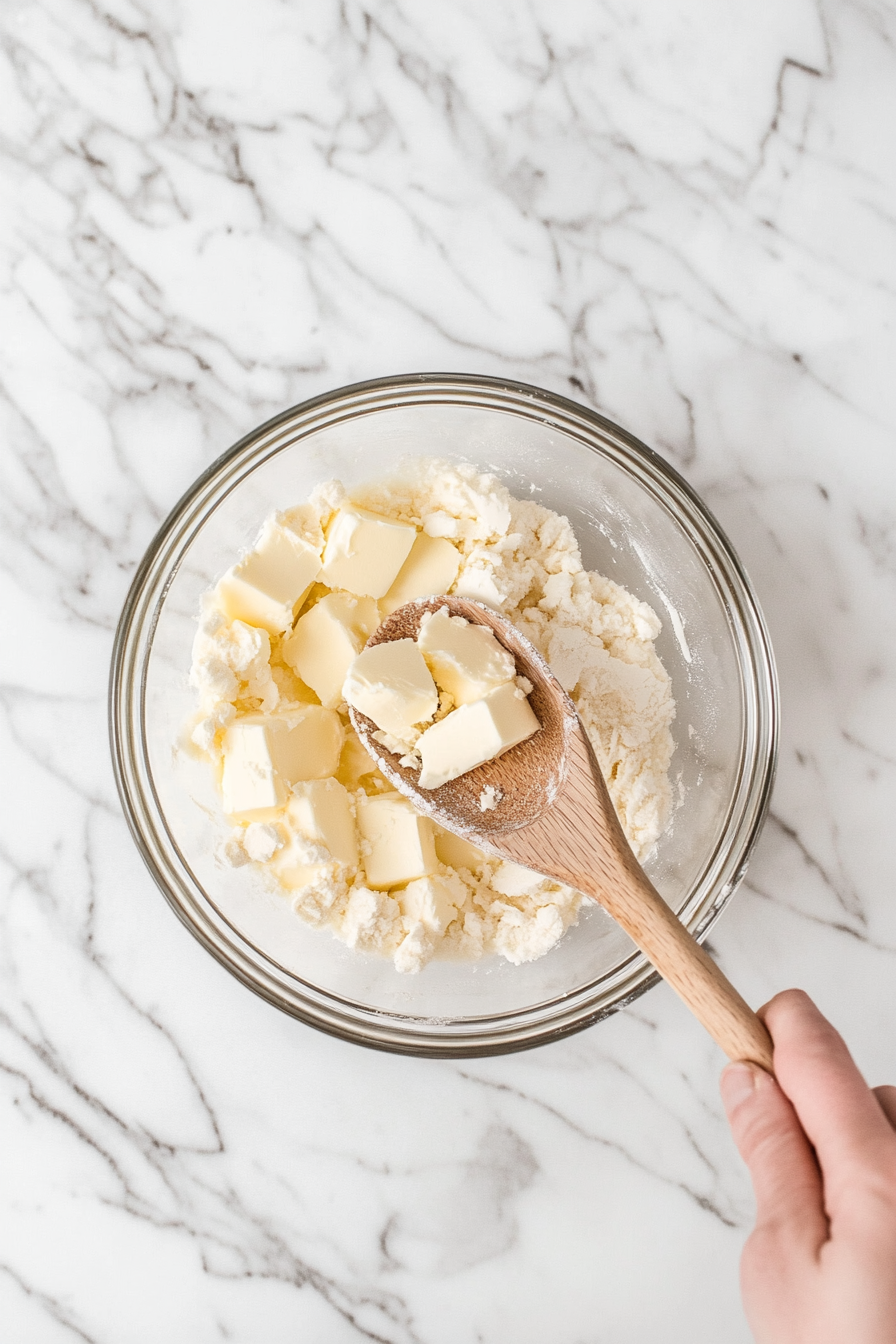
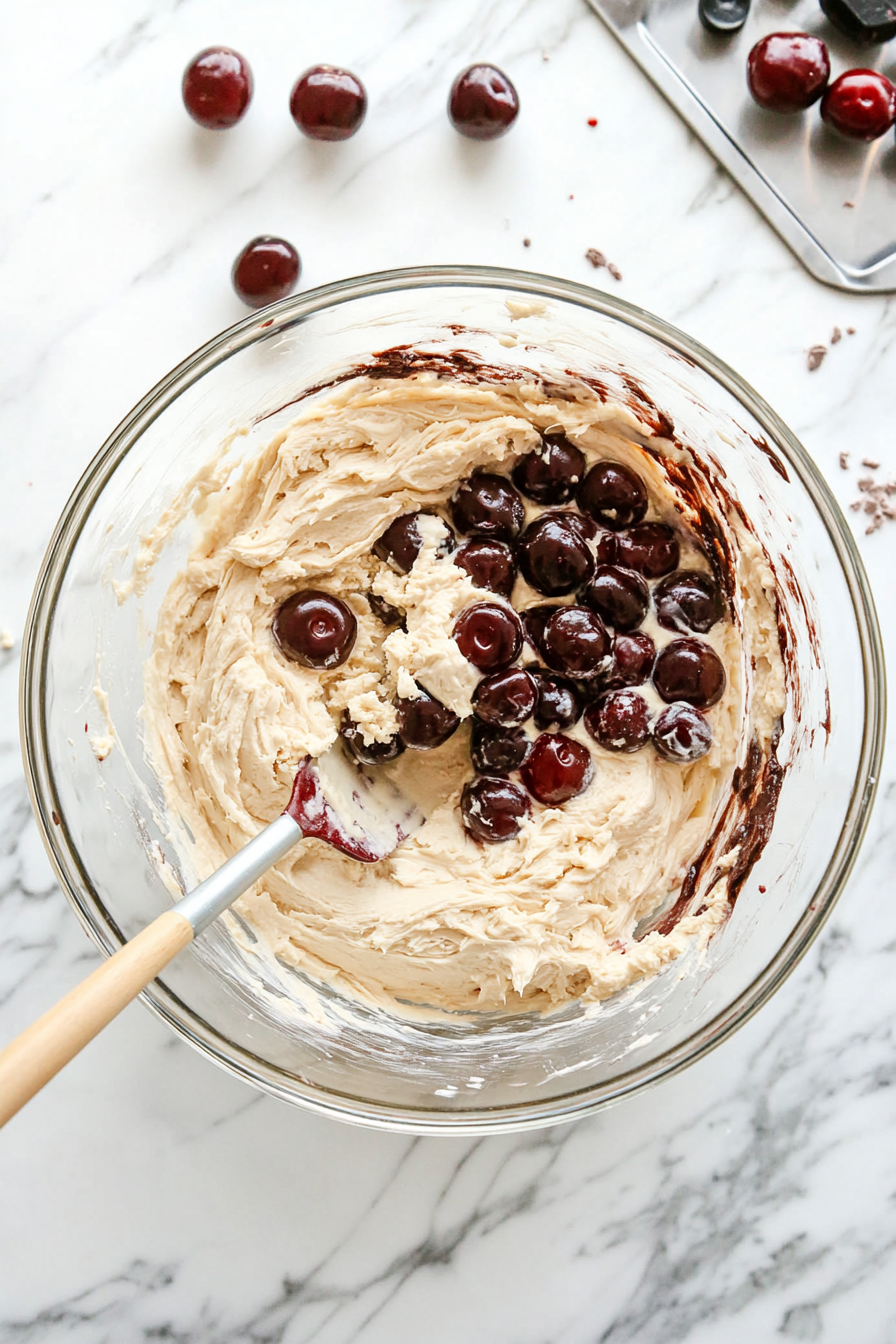
- In a big bowl, whisk together the flour, sugar, baking powder, and salt. Then, add in the cold butter and mix until you get a crumbly mixture. Scoop out about ¾ cup of this mixture (this is going to be your crumb topping) and set it aside.

- In a medium bowl, beat together the milk, eggs, and vanilla using a fork or whisk. Then pour this mixture into the flour mixture and stir it all together with a wooden spoon or spatula. Don’t worry if there are still some lumps in the batter – it’s totally fine!
- Gently fold in the cherries until they’re evenly distributed throughout the batter. Then pour the batter into your prepared loaf pan and sprinkle the reserved crumb topping over the top.
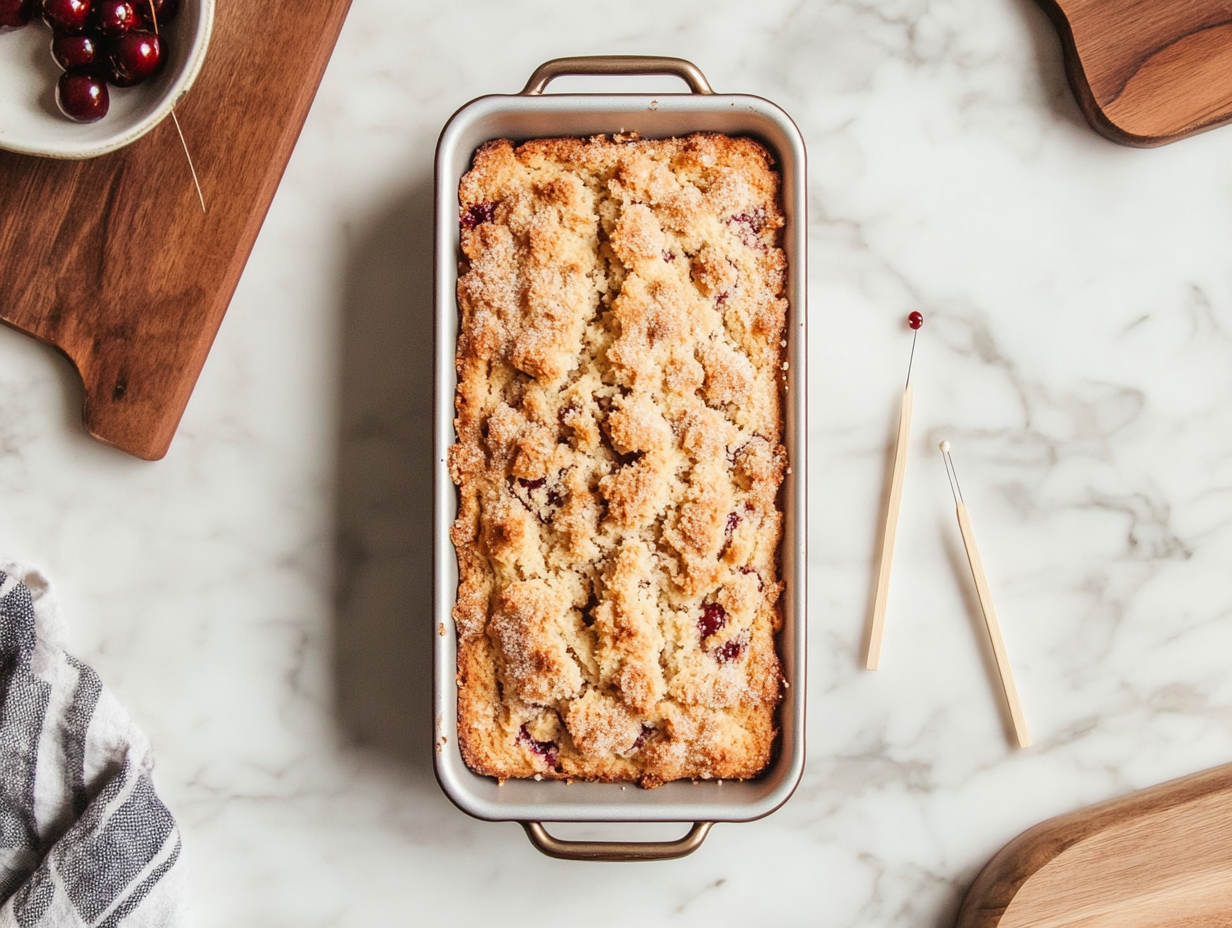
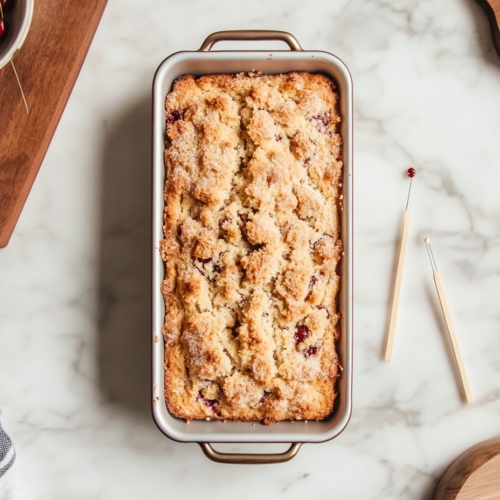
- Pop the pan into the oven and bake for about 50-60 minutes, or until a toothpick inserted into the center comes out clean. Once it’s done, let it cool in the pan for a bit before transferring it to a wire rack to cool completely.
- Now comes the best part – slice it up and enjoy your delicious Cherry Bread! It’s perfect for any time of day, whether you’re treating yourself to a midday snack or starting your morning off right. Enjoy!
Notes
- Experiment with different types of cherries to find your favorite flavor. Sweet cherries work great for a mild sweetness, while tart cherries add a tangy kick. You can also mix different varieties for a unique taste.
- If fresh cherries aren’t in season or available, don’t worry! You can use frozen or dried cherries instead. Just make sure to thaw frozen cherries and pat them dry before folding them into the batter. For dried cherries, soak them in warm water for a few minutes to plump them up before using.
Nutrition Facts:
| Nutrition | Value |
|---|---|
| Calories | 410 kcal |
| Carbohydrates | 53g |
| Protein | 6g |
| Fat | 22g |
| Cholesterol | 38mg |
| Sodium | 305mg |
| Fiber | 2g |
| Sugar | 29g |
| Iron | 2mg |
Can I Use Frozen Or Dried Cherries Instead of Fresh Ones?
Absolutely! If fresh cherries aren’t available, you can use frozen or dried cherries instead. Just make sure to thaw frozen cherries and pat them dry before adding them to the batter. For dried cherries, soak them in warm water for a few minutes to plump them up before using.
How Should I Store Cherry Bread?
Cherry Bread can be stored at room temperature in an airtight container for up to 3 days. You can also freeze it for longer storage. Just wrap slices individually in plastic wrap and then place them in a freezer-safe bag or container. When you’re ready to enjoy a slice, simply thaw it at room temperature or pop it in the toaster for a quick warm-up.