This creamy, melt-in-your-mouth Christmas Fudge is the ultimate holiday treat. Made with a rich combination of sweetened condensed milk, chocolate, and a hint of vanilla, it’s the perfect indulgence for the season.
The smooth, velvety texture and the perfect balance of sweetness make it a festive favorite that’s as delightful to gift as it is to enjoy. Whether it’s for a cozy night at home or a holiday party, this fudge is a must-have!
Pair your Christmas Fudge with the spicy warmth of Gingerbread Cookies for a classic holiday combo. Or, enjoy the sweetness and crunch of Churros alongside your fudge for a fun and festive dessert spread that will impress all your guests.
Why I Love This Recipe (And You Will Too)
- Easy to Make: No fancy equipment required! This fudge comes together quickly and effortlessly, making it a go-to treat for the busy holiday season.
- Festive and Fun: Christmas Fudge is always a hit at any gathering, with its rich flavor and smooth texture—perfect for spreading holiday cheer!
Christmas Fudge Recipe
Equipment
- 8×8-inch square pan
- Parchment paper
- large microwave-safe bowl
- 2 Small bowls
- Spoon or butter knife
Ingredients
- 3 cups white chocolate chips
- 1 14-ounce can sweetened condensed milk
- 2 tablespoons butter
- ½ teaspoon peppermint extract
- ½ teaspoon green food coloring
- ½ teaspoon red food coloring
- 2 tablespoons holiday sprinkles optional
Instructions
- Prepare the Pan: Line an 8×8-inch pan with parchment paper, covering the bottom and sides.
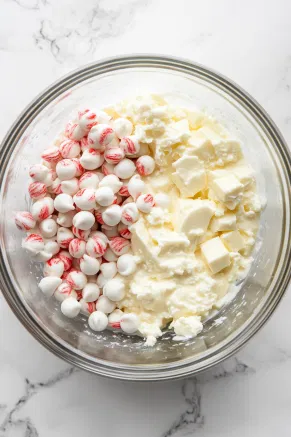
- Melt Ingredients: In a large microwave-safe bowl, combine white chocolate chips, sweetened condensed milk, butter, and peppermint extract. Microwave for 30 seconds, stir, and repeat in 30-second intervals until smooth. Be careful not to overheat.
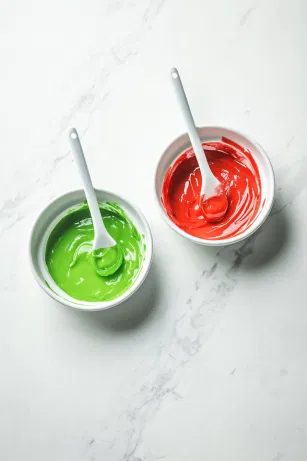
- Add Colors: Divide ½ cup of the mixture into each of two small bowls. In one, add red food coloring, stirring quickly to mix. In the other, add green food coloring, stirring until evenly combined.
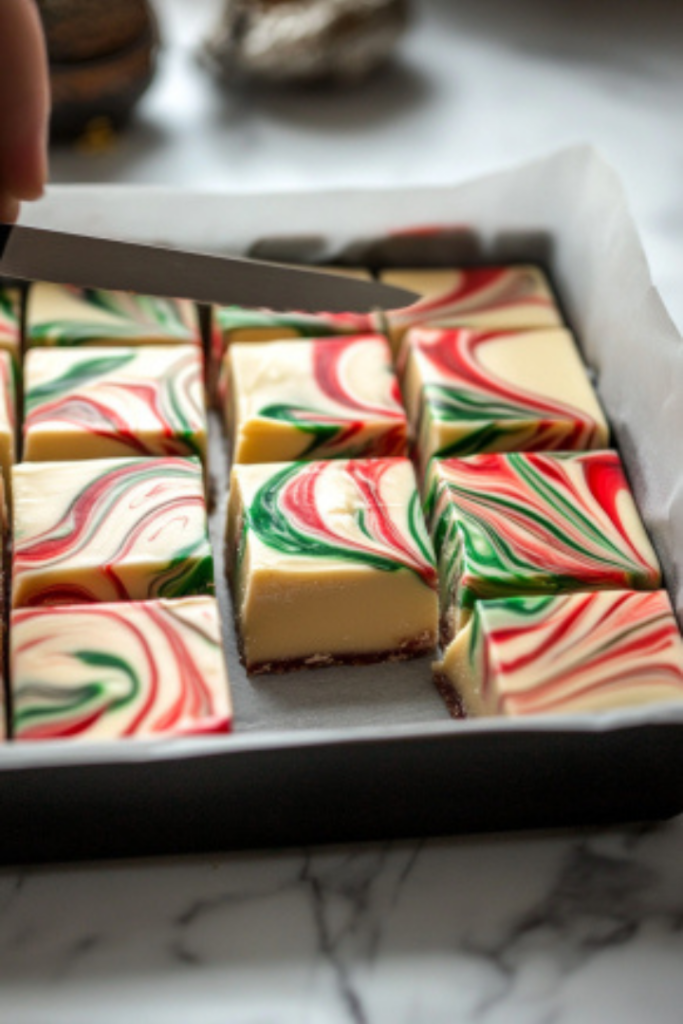
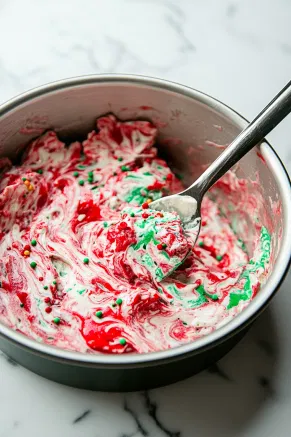
- Create Swirls: Spoon dollops of the plain, red, and green fudge mixtures into the prepared pan, distributing them randomly. Gently swirl with a spoon or butter knife to create a marbled effect. Add sprinkles if desired.
- Chill: Refrigerate the fudge for at least 2 hours to set.
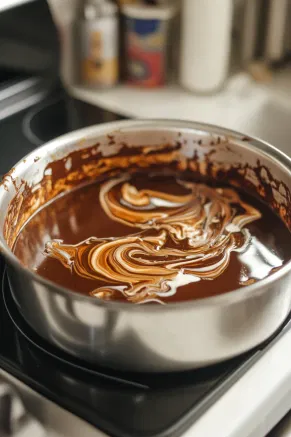
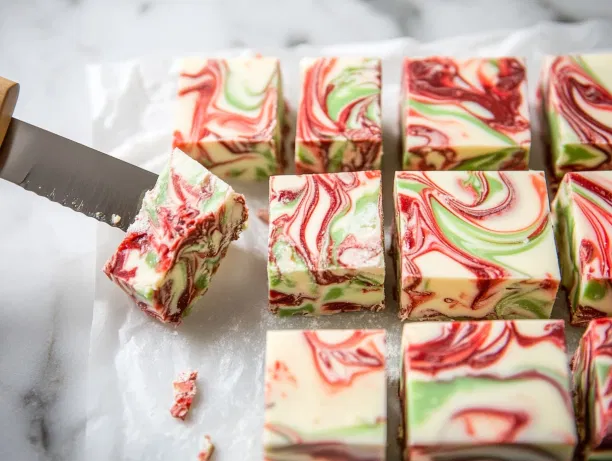
- Slice and Serve: Lift the fudge out of the pan using the parchment paper, and cut into squares with a sharp knife, wiping the blade between cuts for clean edges.
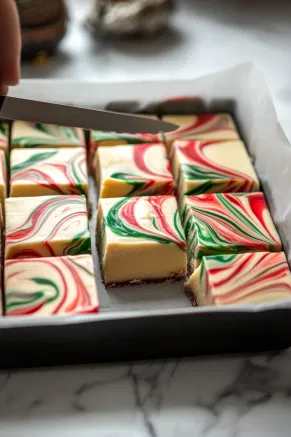
- Enjoy your holiday-inspired fudge!
Nutrition Facts:
| Nutrition | Value |
|---|---|
| Calories | 274 kcal |
| Carbohydrates | 33 g |
| Sugar | 33 g |
| Fat | 14 g |
| Protein | 4 g |
| Fibre | 0.1 g |
Tips that Will Blow Your Mind!
- Microwaving White Chocolate: Be cautious when melting the white chocolate. White chocolate can burn easily, so make sure to stir it every 30 seconds to avoid overheating. Use a lower power setting if necessary to ensure even melting.
- Color Mixing: When adding food coloring, start with just a few drops and stir well. You can always add more if you want a deeper color. This will ensure the fudge maintains a vibrant, beautiful marbled effect.
- Swirling Technique: To create an elegant swirl effect, don’t overmix. Gently swirl the colors with a spoon or butter knife to keep the marbled look. Too much mixing will blend the colors into a solid, and you’ll lose the visual impact.
- Chilling Time: Make sure to chill the fudge for at least 2 hours to ensure it sets properly. If you want a firmer texture, you can leave it in the fridge longer.
- Clean Cuts: When slicing the fudge, wipe the knife between cuts to keep the edges clean. This gives your fudge a neat, professional appearance.
- Optional Sprinkles: If you’re adding sprinkles, make sure to do it right after you swirl the fudge so they can set into the surface. It adds a fun and festive touch without overpowering the peppermint flavor.
These small touches will help you create a gorgeous, delicious holiday fudge that’s perfect for gifting or serving at celebrations!
