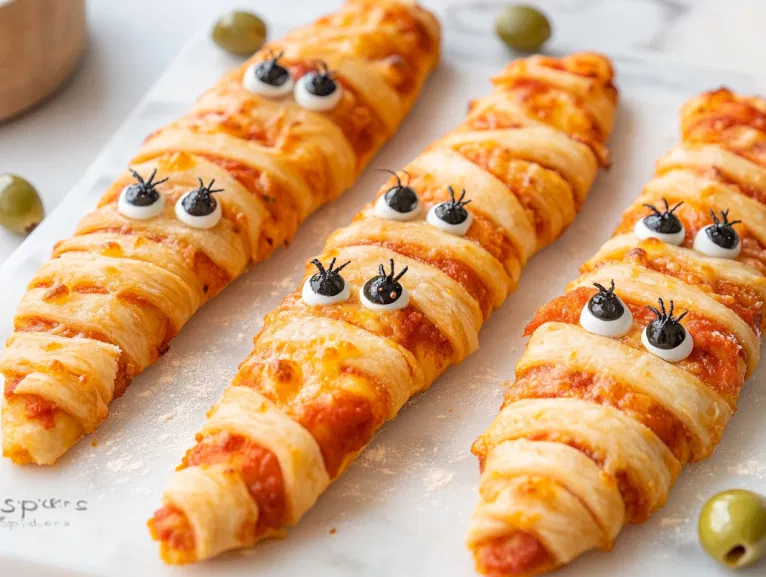
Halloween is the perfect time to get creative with your meals, and Halloween Mummy Pizza is a fantastic way to add some spooky fun to the table! These pizzas are a deliciously easy way to transform dinner into a Halloween event, with mozzarella “bandages” wrapped around your favorite pizza toppings and olive “eyes” peeking through.
It’s a simple, family-friendly recipe that’s great for kids and adults alike—ideal for a fun Halloween dinner or a spooky party treat.
What makes these mummy pizzas extra special is how quick they are to put together, yet they look so impressively eerie. Customize them with your favorite toppings, and you’ve got a dish that’s both tasty and festive.
To complete the Halloween feast, pair them with Creamy Pumpkin Cream Cheese Dip for a rich and seasonal appetizer or a warm bowl of Chicken Tomato Soup for some cozy comfort on a chilly October night.
Trust me, these mummy pizzas will be the star of your Halloween spread!
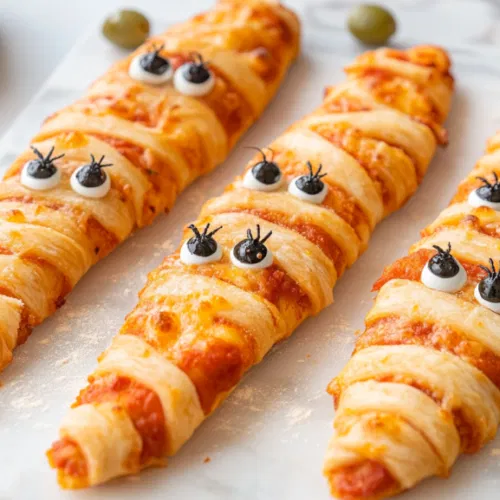
Halloween Mummy Pizza
Equipment
- Large Baking Sheet
- Baking paper
- Rolling Pin
- Knife or pizza cutter
Ingredients
- 500 g store-bought pizza dough
- 8 heaped teaspoons pizza sauce
- ½ cup shredded mozzarella cheese
- ½ cup salami chopped
- ¼ cup baby spinach chopped
- ½ cup diced red capsicum bell pepper
- Olive oil spray
- 16 edible spooky eyes
- 8-10 green olives for spiders
- Heat treated flour to dust (optional for decoration)
Instructions
Preheat and Prepare:
- Preheat your oven to 180°C/350°F and line a large baking sheet with baking paper.
- Lightly dust your working surface with heat-treated flour to prevent sticking.
Prepare the Pizza Mummies:
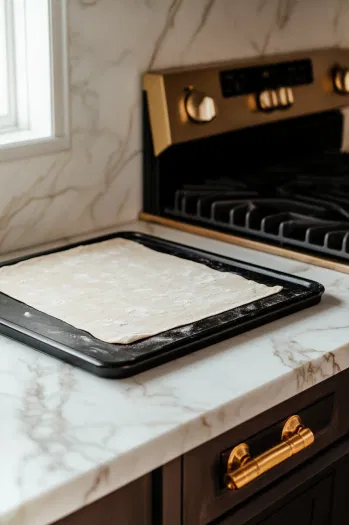
- Roll the pizza dough into a large rectangle and cut it into 8 equal pieces.
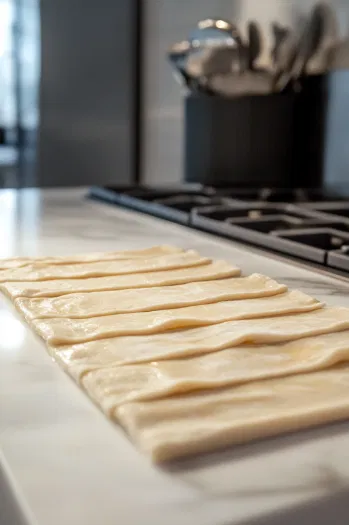
- On each piece, make horizontal slices along the sides to form strips, leaving the center intact for the toppings.
Add Toppings:
- Spread a heaping teaspoon of pizza sauce in the center of each dough rectangle.
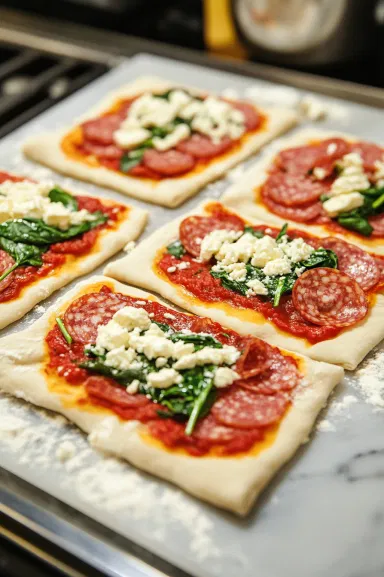
- Top with mozzarella cheese, chopped salami, baby spinach, and diced red capsicum, leaving the strips on the sides plain.
Wrap the Mummies:
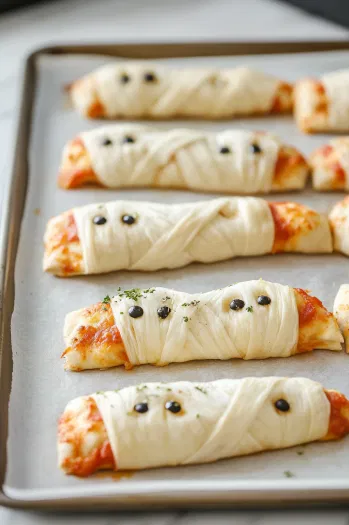
- Fold the strips over the filling, alternating sides to create an “X” or criss-cross pattern, resembling mummy bandages.
Bake the Mummies:
- Lightly spray the tops with olive oil.
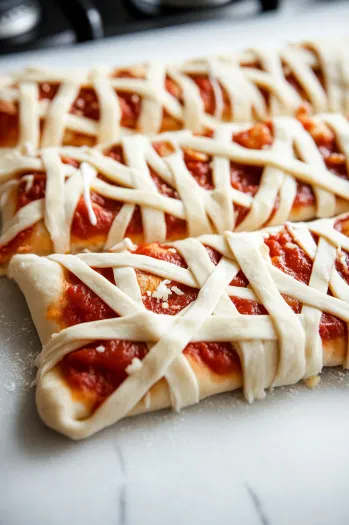
- Place the prepared mummies on the baking sheet and bake in the preheated oven for 15-20 minutes, or until the dough is golden and crispy.
Make the Olive Spiders:
- While the mummies bake, cut green olives in half to form the spider “bodies.”
- Slice the remaining olive into thin pieces to form "legs."
Assemble and Serve:
- Once the mummies are out of the oven, place two spooky edible eyes on each to complete the look.
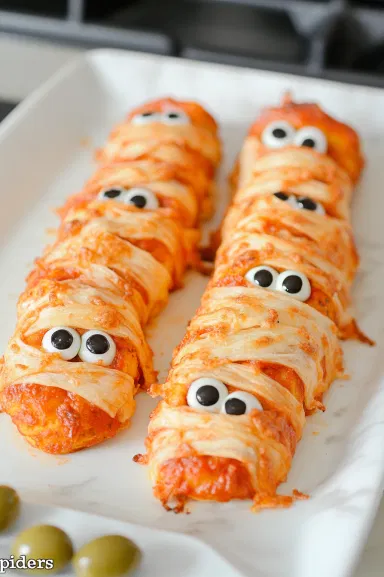
- Arrange the olive spiders around the mummies for a fun and spooky presentation.
- Dust the mummies with a little flour for an extra “mummy-like” effect, if desired.
Nutrition Facts:
| Nutrition | Value |
|---|---|
| Calories | 230 kcal |
| Carbohydrates | 28 g |
| Protein | 11 g |
| Fat | 11 g |
| Sodium | 600 mg |
| Sugar | 4 g |
Tips that Will Surely Help You Out!
- Switch up the veggies: This recipe is a great way to add more vegetables for kids, especially since it has a fun look and tasty pizza flavor. You can also use eggplant, grated zucchini, sun-dried tomatoes, red onion, mushrooms, olives, or even pineapple to make it more interesting!
- Don’t overfill: Be careful not to stuff too much filling inside, or it will be hard to seal the criss-cross design.
- Get the kids involved: These Mummy pizzas are super fun and easy to make! Younger kids will enjoy helping, making it a perfect way to get them excited about cooking.
- Heat-treat your flour: Bake 3 tablespoons of flour on a baking sheet at 350°F/180°C for 7-10 minutes until it reaches 160°F/70°C. Then, use a small sifter to dust the flour on top of the cooked pizzas.
