
Get ready to embark on a cheesy adventure that’ll make your taste buds dance – we’re diving into the world of homemade cheese curds! These little nuggets of dairy delight are about to become your new favorite snack, appetizer, or secret midnight indulgence.

As a Midwest transplant, I quickly learned that cheese curds are practically a food group here. But why settle for store-bought when you can create these squeaky morsels of joy in your own kitchen?
What makes this recipe special is its simplicity and the incredible freshness of the final product. Using just a few ingredients and some basic kitchen equipment, you’ll transform ordinary milk into bite-sized pieces of cheesy heaven. The process is almost magical – watching the curds separate from the whey is like witnessing a culinary science experiment unfold before your eyes.
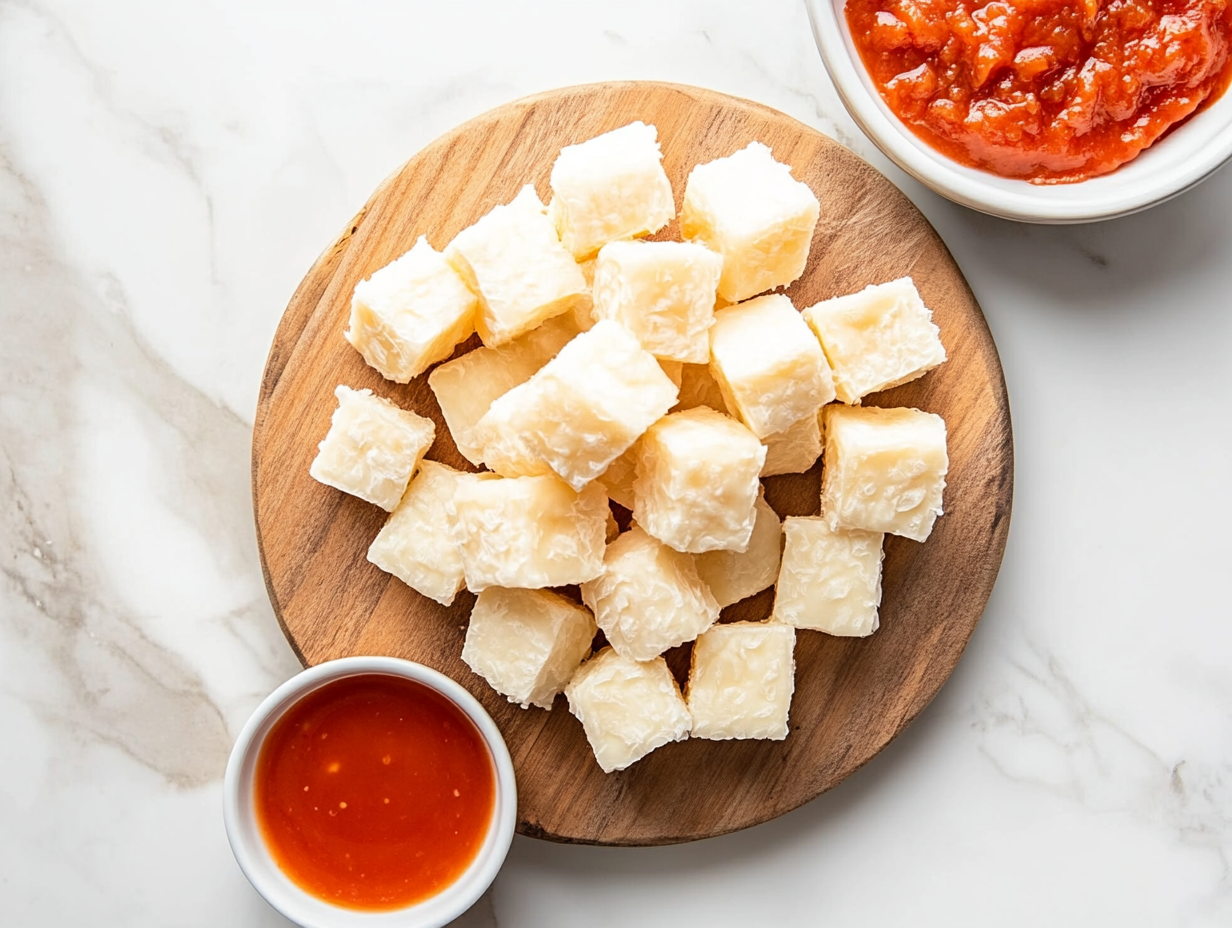
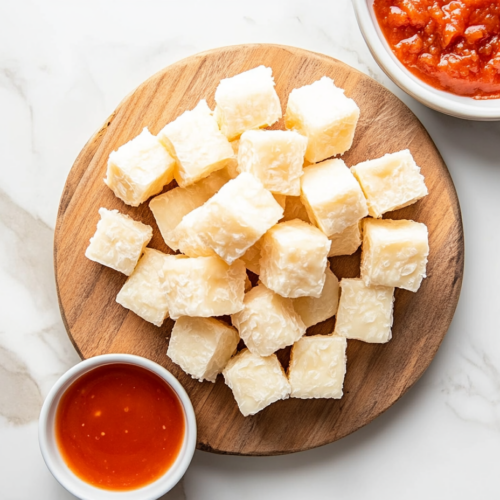
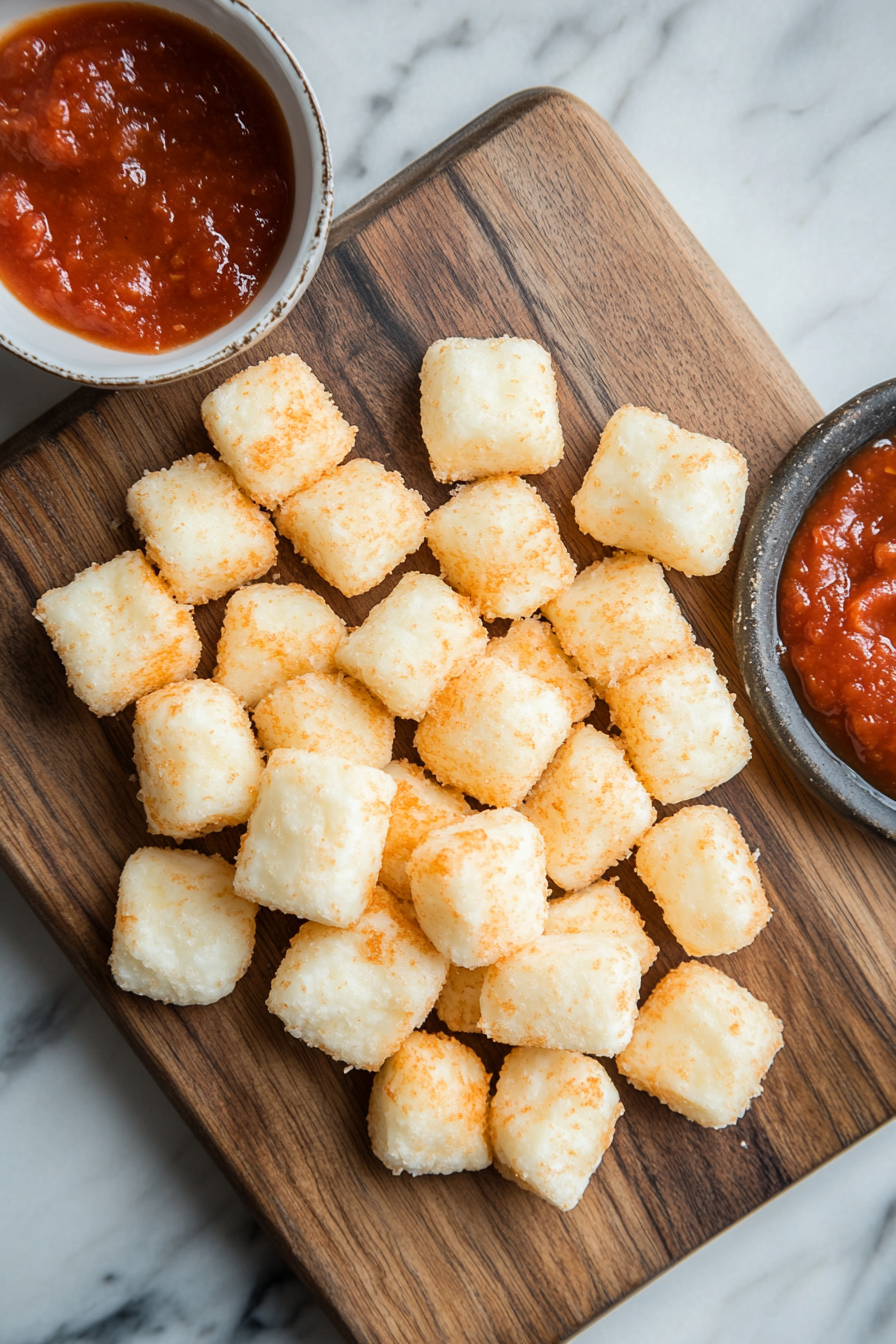
When fresh, these curds squeak against your teeth as you bite into them – a telltale sign of their authenticity. The flavor is mild and milky, with a texture that’s simultaneously springy and creamy.
For a fun twist, try dipping them in a vegan ranch for a plant-based meat-dairy experience that’ll surprise your taste buds.
Homemade Cheese Curds
Equipment
- Sterilized pot
- Large pot for water bath
- Strainer
- Cheese cloth
- Thermometer
Ingredients
- kosher salt
- 1 gallon whole milk
- ¼ tsp liquid rennet
- ½ cup water, divided
- ½ tsp calcium chloride crystals
- ⅛ tsp mesophilic culture
Instructions
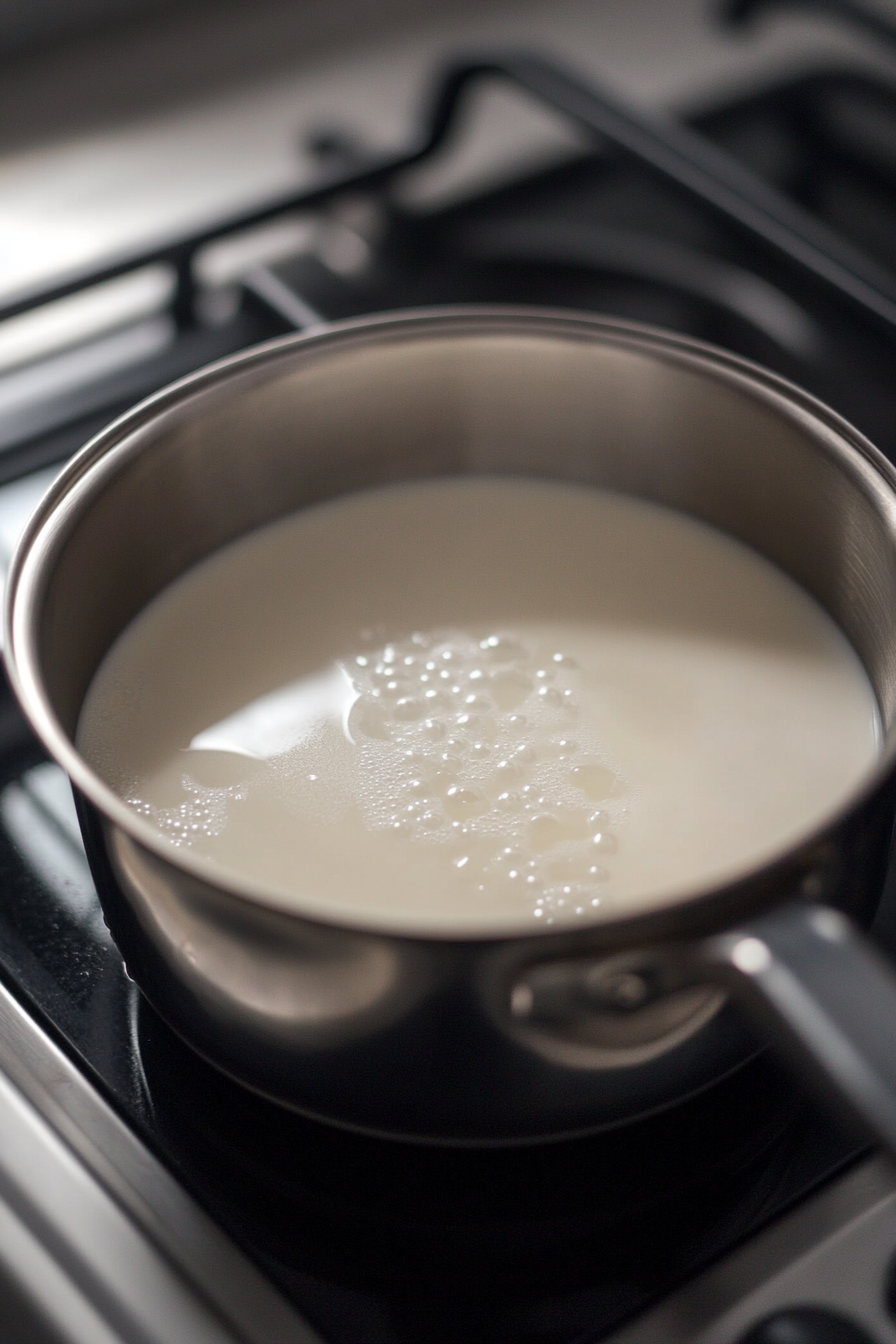
- Pour milk into a sterilized pot and place it in a larger pot with a few inches of water.
- Heat the milk, stirring occasionally, until it reaches 90°F (32°C), then remove from heat.
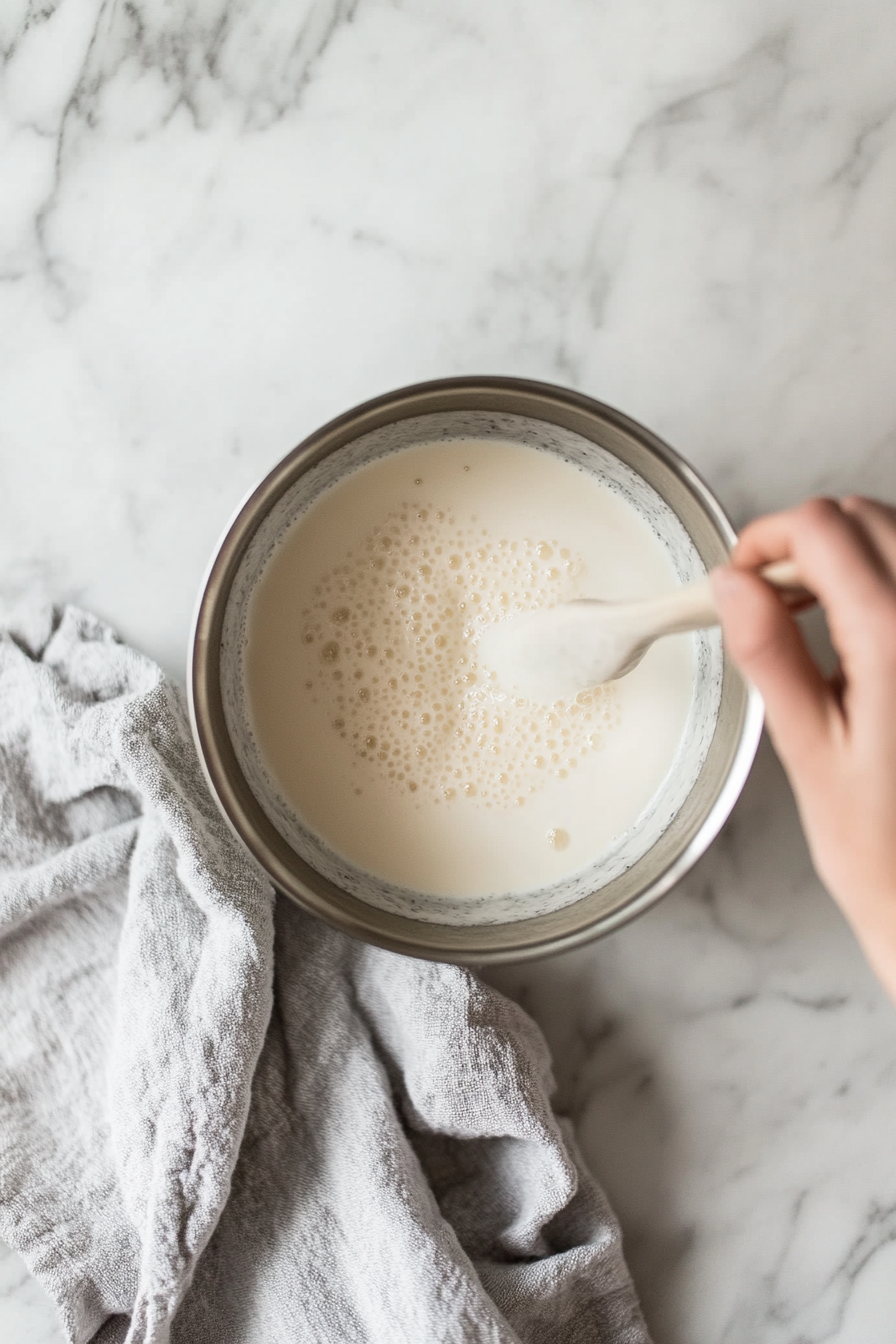
- Mix calcium chloride with 1/4 cup water and stir into the milk.
- Sprinkle mesophilic culture on the milk's surface, let sit for 1 minute, then stir gently for 1 minute.
- Cover and let it ripen for 35 minutes.
- Dilute rennet with 1/4 cup water, stir into the milk mixture for exactly 1 minute, then cover and let sit until the curd can be cut cleanly with a knife, about 45 minutes.
- Cut curd into 1/2- to 1-inch cubes and let sit for 5 minutes.
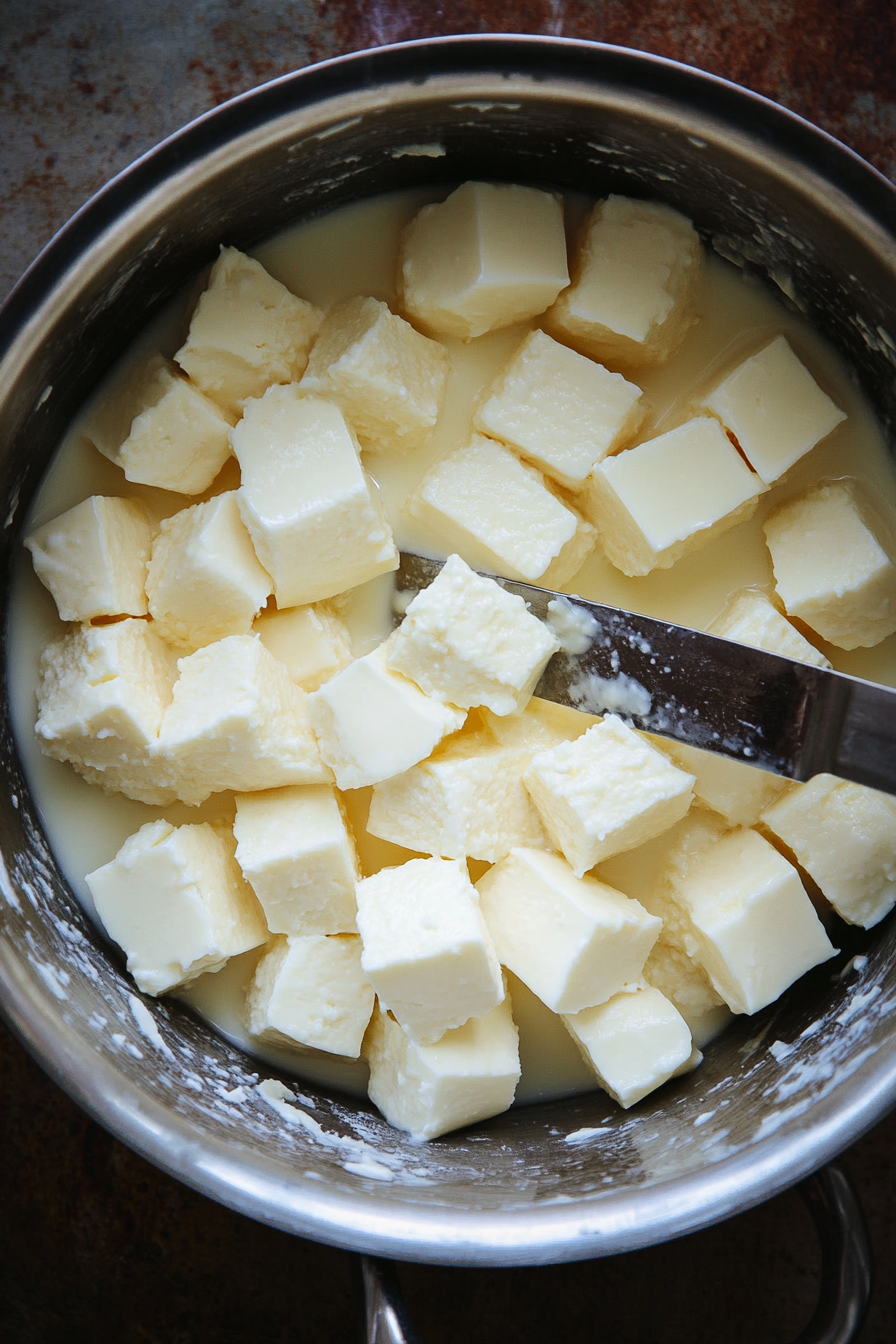
- Cover and heat curds, stirring every 10 minutes, to 98°F (37°C) over about 90 minutes.
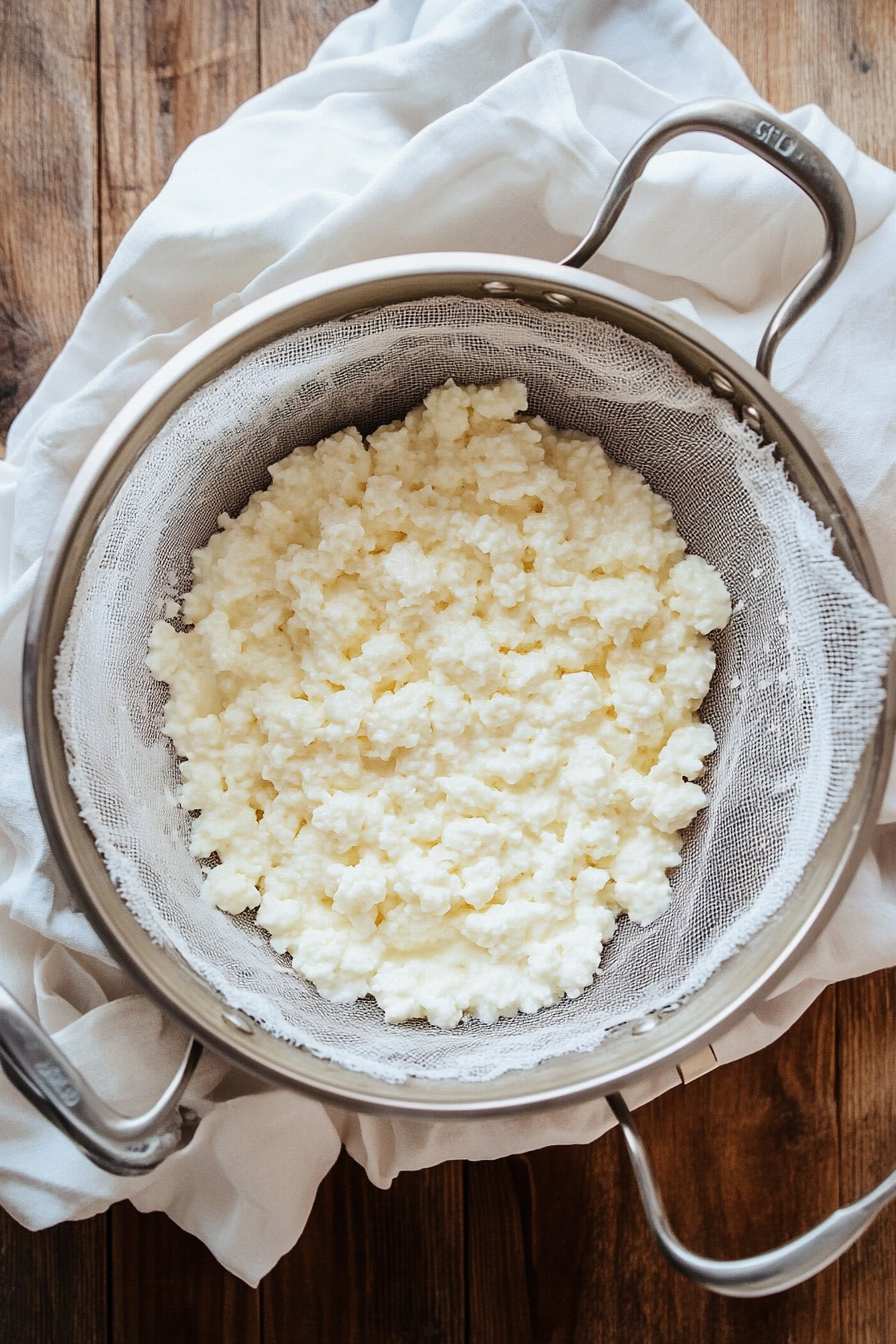
- Check if curds stick together, then drain them into a cheesecloth-lined strainer.
- Pour enough whey over the curds to cover them by 3 inches.
- Let drain for 1 minute, cover with cheesecloth and a lid, and keep the whey at 112–115°F (44–46°C) for 10 minutes.
- Cut the curd slab in half and let drain for another 10 minutes.
- Flip and re-wrap curds, draining for an additional 10 minutes at the same temperature.

- Cut the slab into smaller pieces, stack them in the cloth, and continue draining, flipping, and rearranging every 15 minutes for about 1 hour.
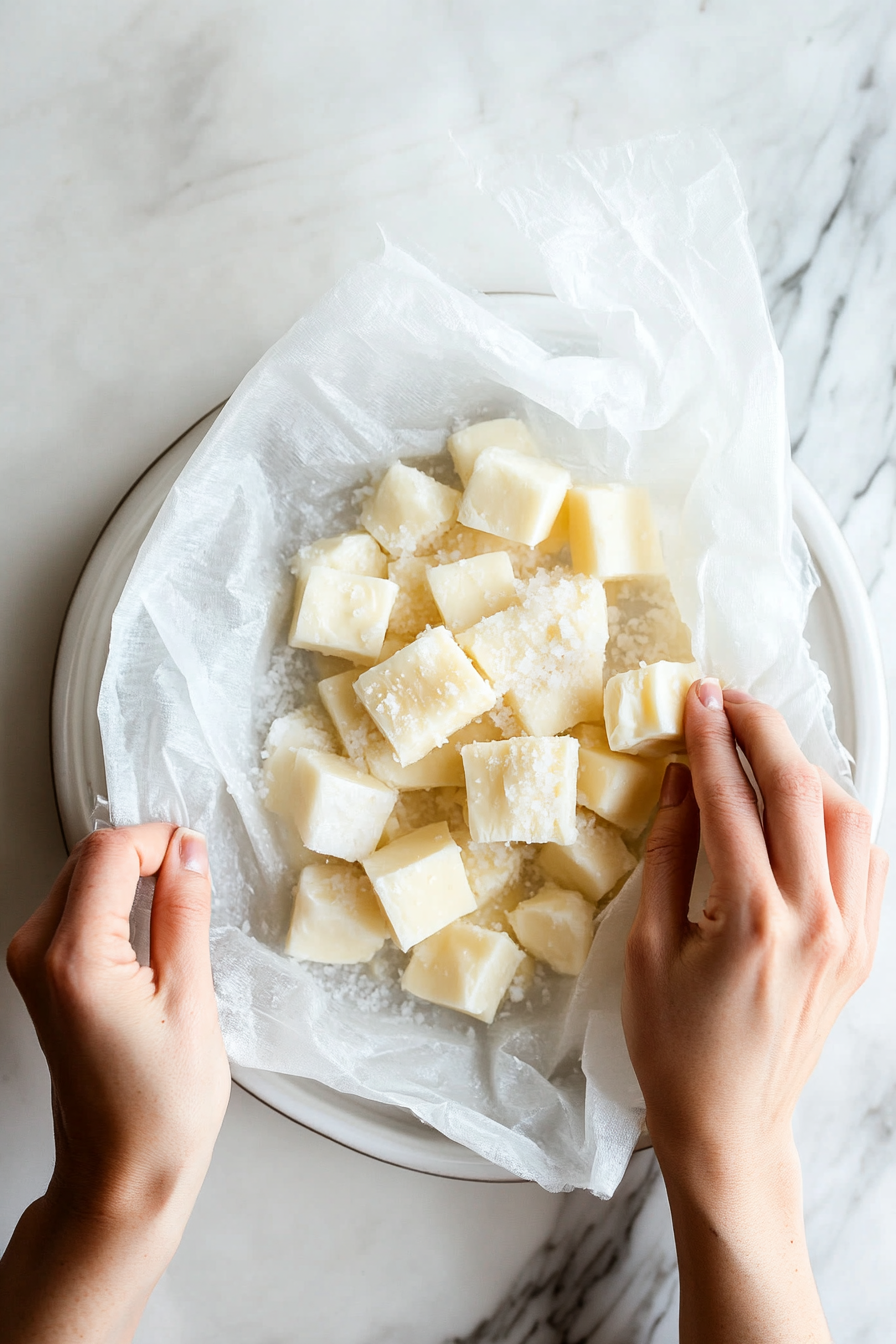
- Unwrap the curds, let them rest on a paper towel-lined plate for a few minutes, then cut into cubes.
- Place in a zip-top bag, add half of the salt, shake to coat, then add the remaining salt and shake again.
Notes
- Ensure the milk and utensils are thoroughly sterilized to prevent unwanted bacteria and ensure proper curd formation.
- Maintain precise temperatures throughout the process to achieve the correct curd consistency and texture.
- Stir gently to avoid breaking up the curds and ensure they form properly during cooking and draining.
- Adjust the amount of salt to taste, depending on whether you prefer a milder or saltier cheese curd.
Nutrition Facts
| Nutrition | Value |
|---|---|
| Calories | 146 kcal |
| Carbohydrates | 11 g |
| Protein | 8 g |
| Sugar | 11 g |
| Calcium | 276 mg |