There’s something undeniably magical about making homemade waffle cones. The crisp texture, and the sweet vanilla aroma filling the kitchen—there’s a sense of nostalgia wrapped in every cone.
I remember the first time I tried it on a whim after buying an ice cream maker. Once I realized how easy it was, waffle cones became a must for all our ice cream nights. You can’t beat the satisfaction of that first bite when the warm, crunchy cone meets cold, creamy Nutella Ice Cream or a refreshing scoop of Fruit Salad with Whipped Cream.
What makes this recipe so special is how simple it is to create the perfect crisp cone at home. With just a few pantry staples like eggs, sugar, and vanilla, you can turn out golden-brown cones that taste even better than store-bought.
The key is in the technique—rolling them quickly while still warm to get that perfect cone shape. It’s one of those recipes that transforms an ordinary ice cream night into something truly special.
Make a batch, and you might never go back to store-bought cones!

Homemade Waffle Cones Recipe
Equipment
- Small Mixing Bowl
- Waffle cone maker
- Wooden fork
Ingredients
- ½ tsp vanilla extract
- ¼ cup egg whites
- ⅛ tsp salt
- ⅔ cup all-purpose flour
- 24 chocolate chips
- 7 tbsp granulated sugar
- 2 tbsp unsalted butter, melted and cooled
Instructions
- Preheat your waffle cone maker to a medium color setting, around 4, and lightly brush both plates with oil.
- In a small bowl, whisk together egg whites, sugar, and vanilla extract.
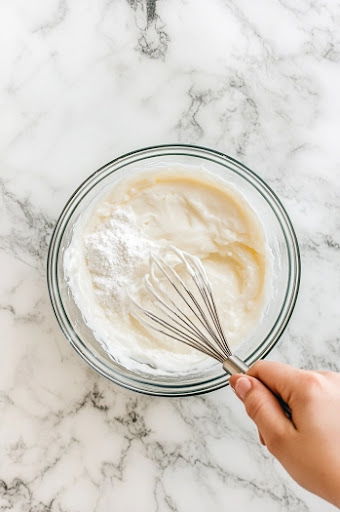
- Add in the salt and half of the flour, mixing well.
- Then, pour in the melted butter and the rest of the flour, beating until the batter is smooth and lump-free.
- Place about 2 tablespoons of the batter in the center of the preheated waffle cone maker.
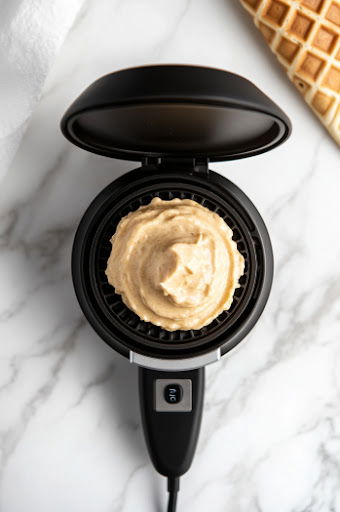
- Close the lid, lock it, and cook for approximately 1 minute and 30 seconds, adjusting the time for your desired color.
- Using a wooden fork, carefully transfer the cooked waffle onto a clean towel.
- Roll it around the cone mold, pinch the bottom to seal, and hold it for 10 seconds until it keeps its shape.
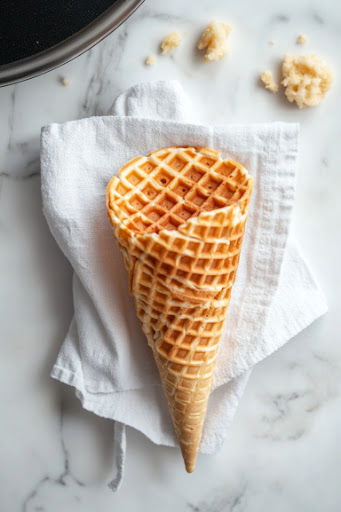
- Drop a few chocolate chips into the cone and use a small dowel to press them down, sealing the tip.
- Let the cones cool completely before storing in an airtight container.

Notes
- Adjust the cook time for darker or lighter cones based on your machine’s heat settings.
- Adding chocolate chips at the bottom prevents leaks from melting ice cream.
Nutrition Facts:
| Nutrition | Value |
|---|---|
| Calories | 123 kcal |
| Carbohydrates | 20 g |
| Protein | 2 g |
| Vitamin A | 95 IU |
| Iron | 0.5 mg |
| Sugar | 12 g |
| Calcium | 5 mg |
Try These Sweet Scoops With The Homemade Waffle Cones Recipe
Helpful Tips For You!
Tip 1: Preventing Ice Cream Drips
To avoid those frustrating ice cream drips from the bottom of your cone on a hot day, try this simple trick: after shaping the hot waffle cone, immediately drop 3 chocolate chips into the bottom. The heat will melt the chocolate, creating a seal at the base. As a bonus, you’ll enjoy a delightful chocolate surprise at the end of your cone!
Tip 2: Scoop Size for Perfect Cones
Using a 1 ¾-inch ice cream scoop is ideal for portioning the right amount of batter for each waffle cone. This size ensures consistent cones that bake evenly and hold their shape well.


