Juicy, buttery, and packed with flavor, this Keto Air—Fried Chicken Breast is the perfect low-carb meal. No breading, no fuss, just perfectly cooked chicken in under 20 minutes.
The air fryer locks in moisture while giving the edges a light, golden crisp. It’s quick, easy, and great for meal prep or a simple dinner.
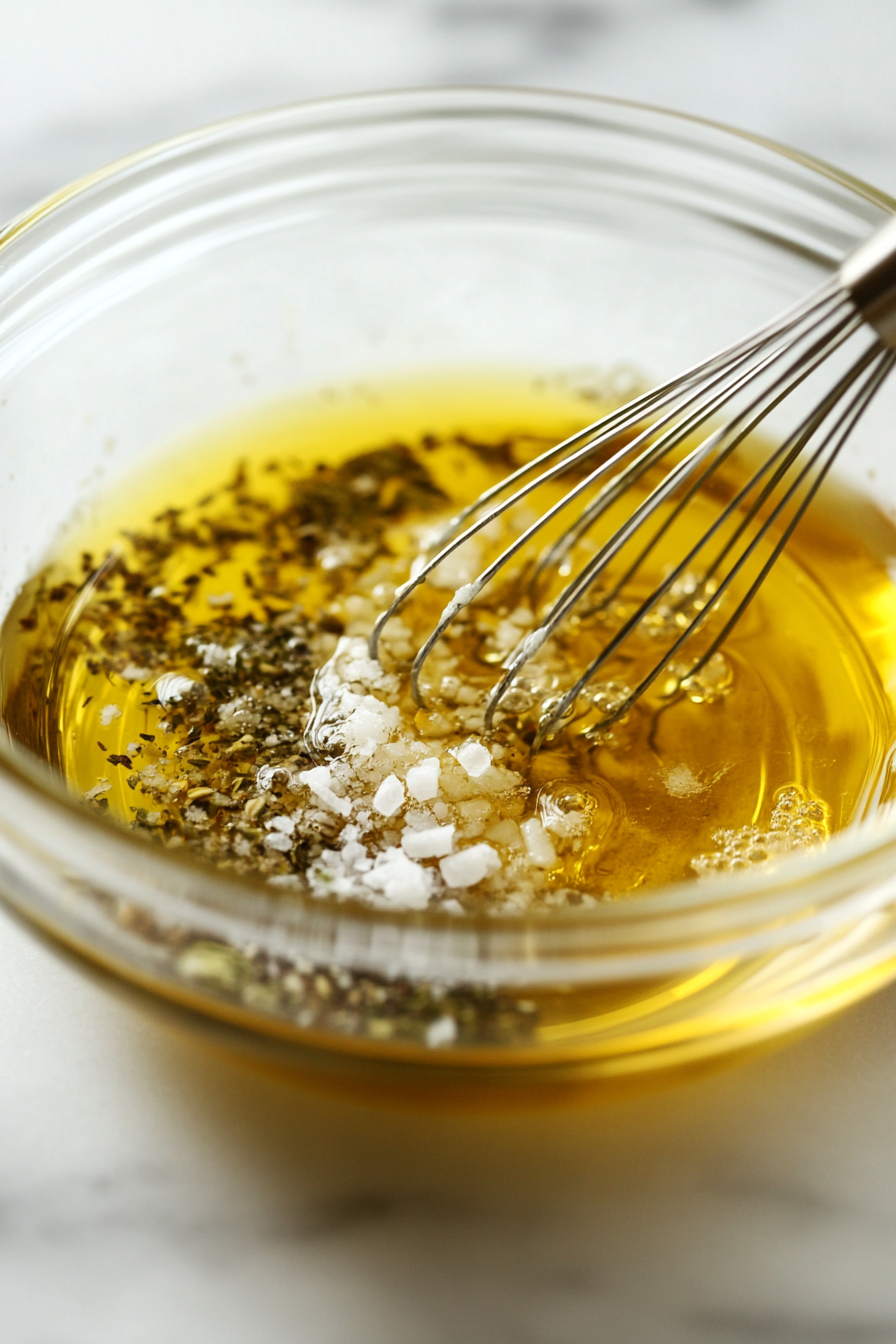
The secret? A quick brush of melted butter mixed with garlic powder, salt, and pepper. This keeps the chicken tender and adds rich flavor without overpowering it.
Cooking at 380°F ensures even doneness, and a meat thermometer helps you achieve that perfect 165°F temperature—no dry chicken here!
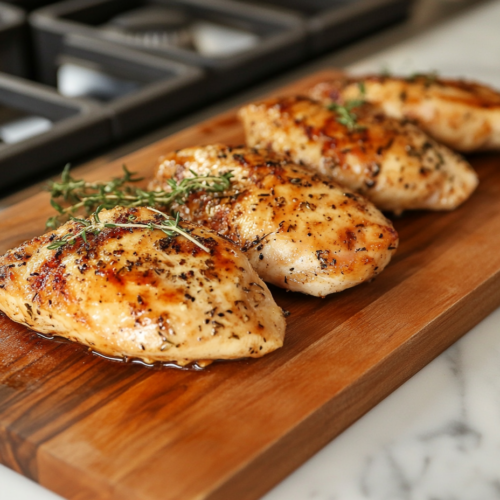
This recipe is a starting point for endless variations. Add smoked paprika for depth, a squeeze of lemon for brightness, or fresh herbs for an herby twist.
Simple, adaptable, and incredibly satisfying—this is the kind of recipe that makes cooking feel effortless. Let’s get started!
What’s So Great About This Dish?
- I’ve found that using the air fryer not only delivers a crispy crust but also locks in the chicken’s natural juices, resulting in an exceptionally moist bite.
- This dish seamlessly fits into my busy lifestyle; it’s quick to prepare and requires minimal cleanup—a win-win for weeknight dinners.
- Over time, I’ve experimented by adding different spice blends, making it versatile and never boring.
- An unexpected perk? This recipe has been a hit at gatherings, even among friends who aren’t following a keto diet.
- Most importantly, it supports my weight loss journey without sacrificing flavor, proving that healthy eating can be both delicious and satisfying.
Keto Air Fryer Chicken Breast Recipe
Equipment
- Air fryer
- Cutting Board
- Microwave Safe Bowl
- Brush or spoon
- Tongs
- Meat thermometer
Ingredients
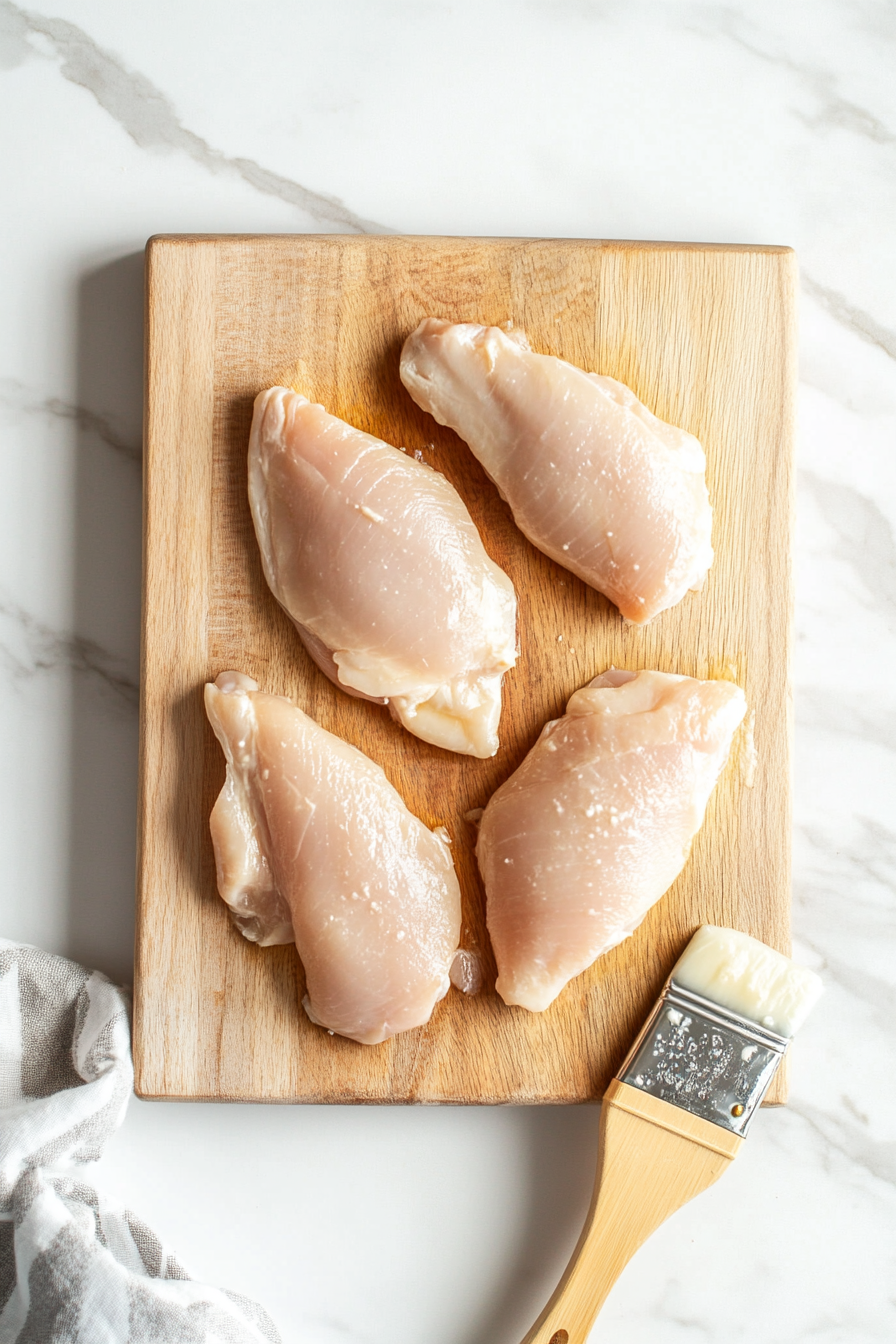
- 4 boneless chicken breasts
- 2 tablespoons butter
- 1/4 teaspoon garlic powder
- 1/2 teaspoon salt
- 1/4 teaspoon pepper
Instructions
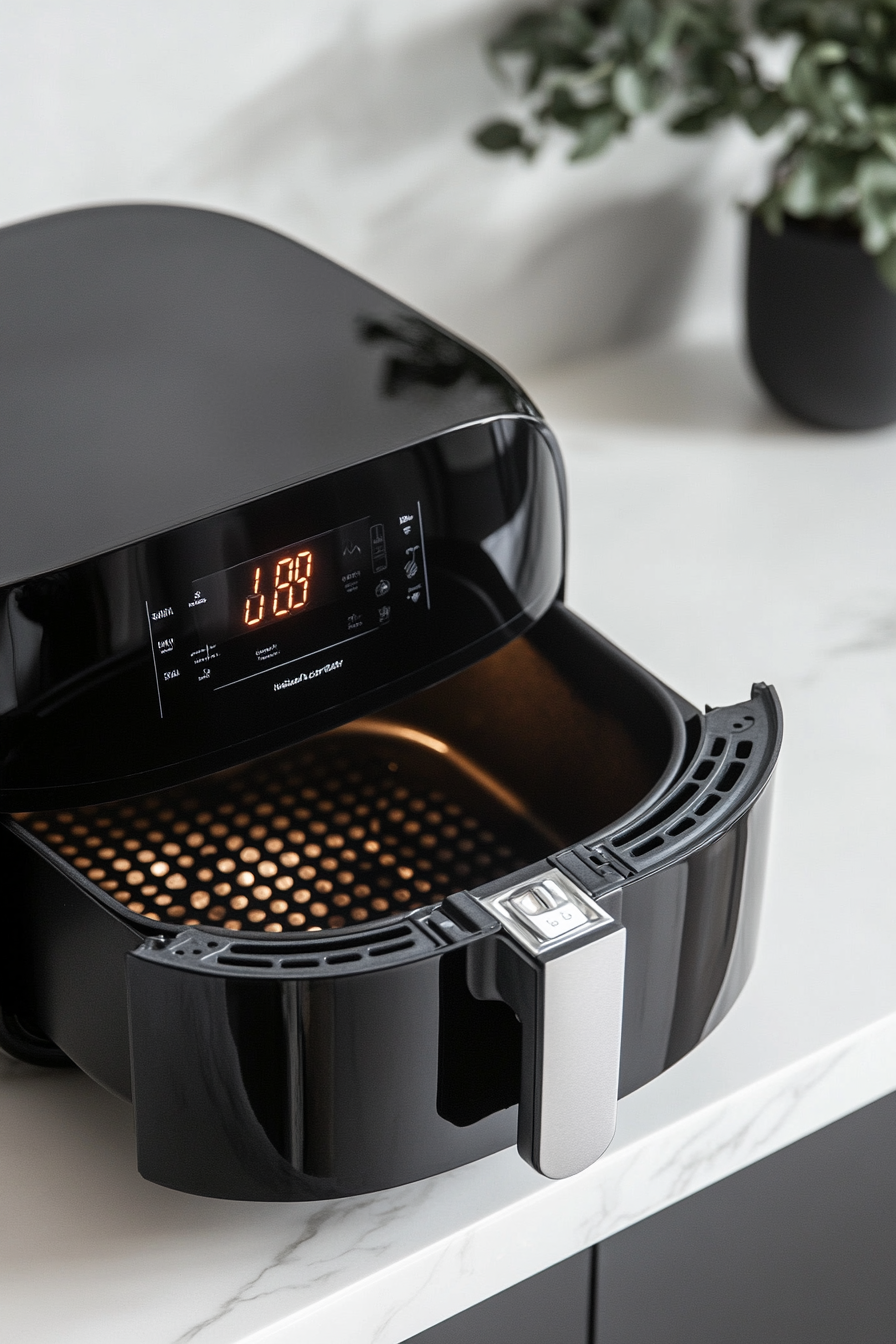
- Preheat the air fryer to 380°F.
- Melt butter and mix in garlic powder, salt, and pepper.
- Coat the chicken breasts with the butter mixture on both sides.
- Place chicken in a single layer in the air fryer.
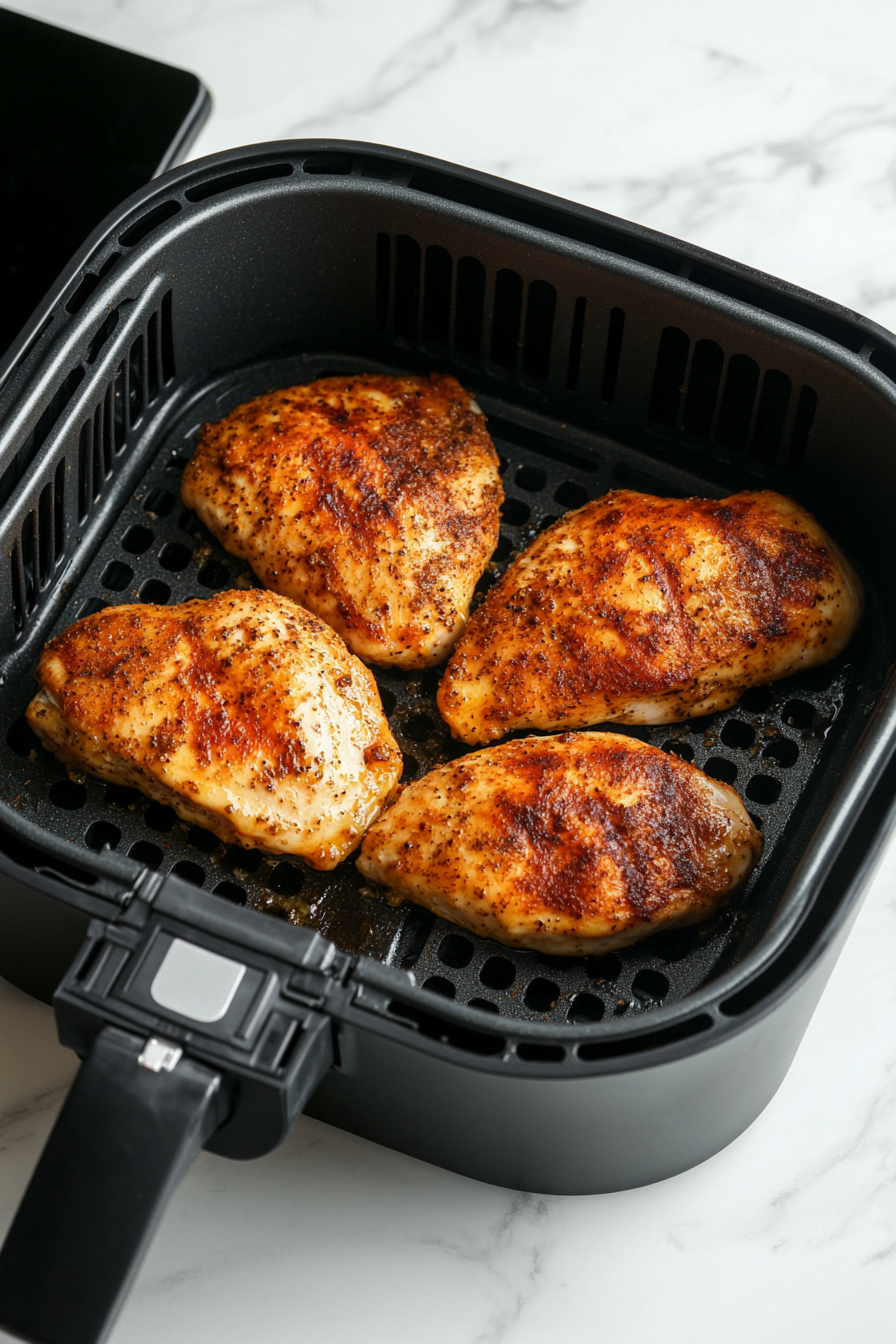
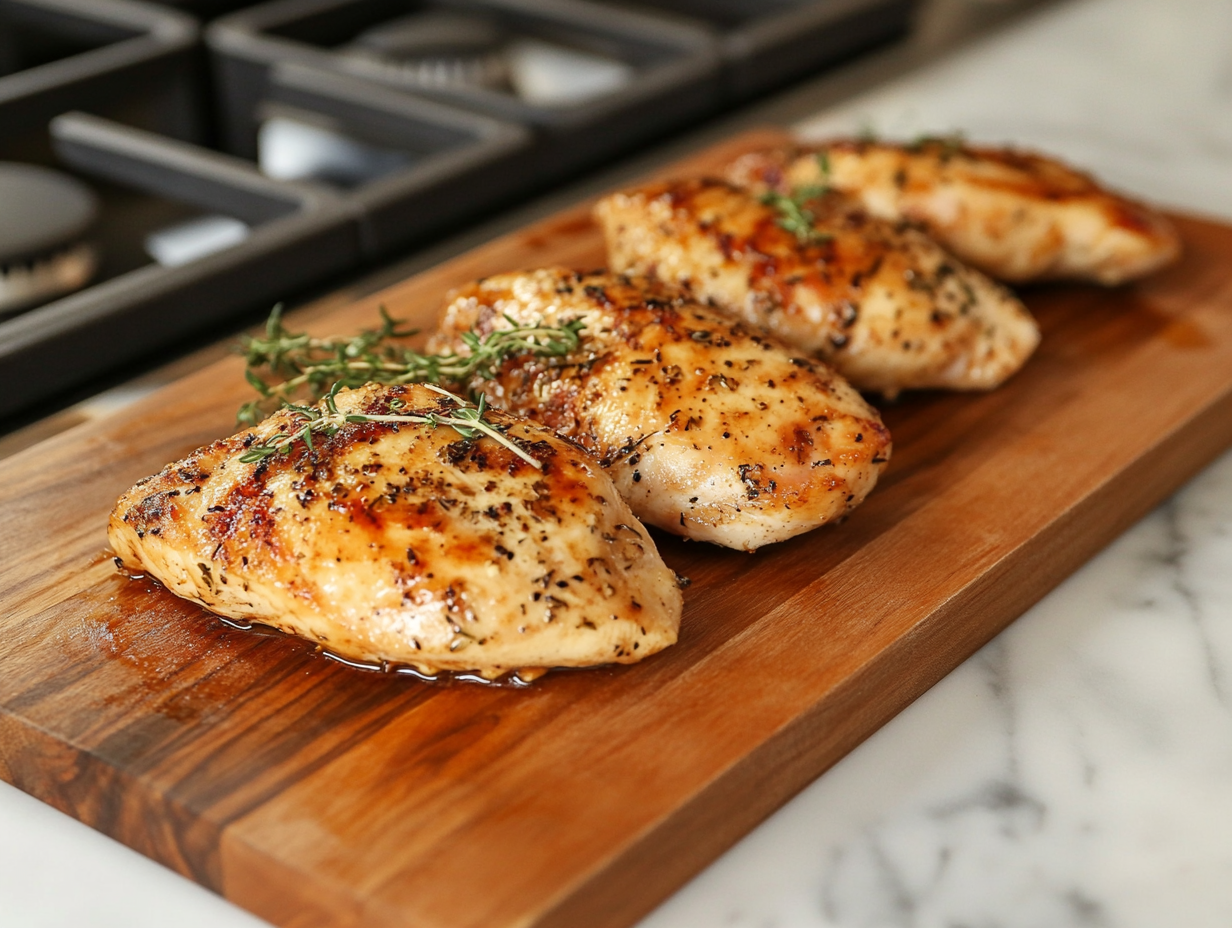
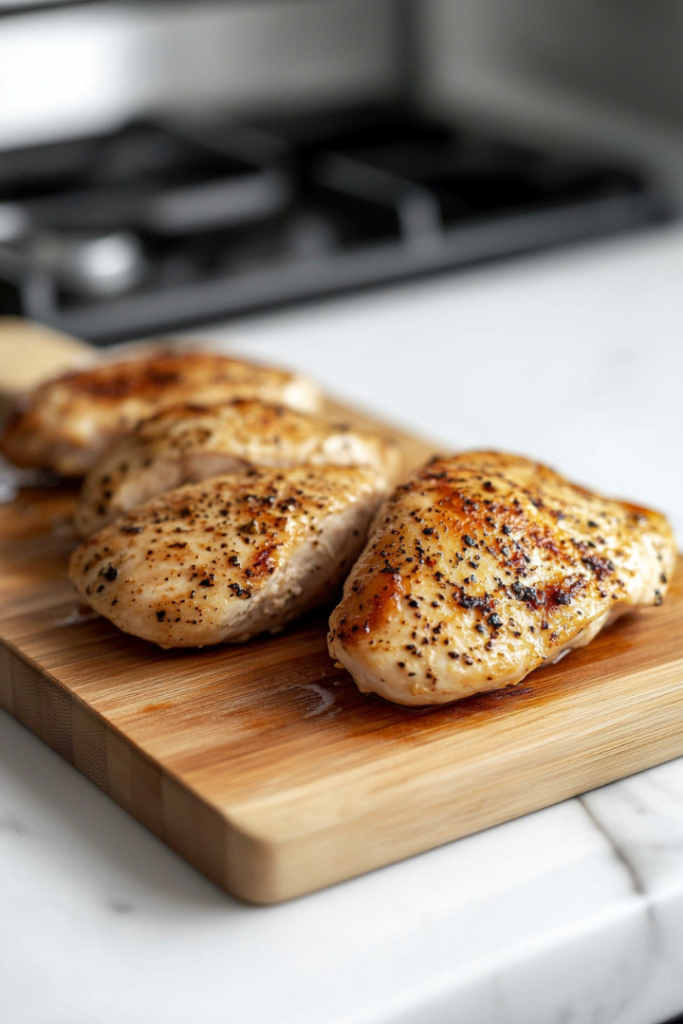
- Cook for 10-15 minutes, flipping halfway, until the thickest part reaches 165°F.
- Let rest for 5 minutes before slicing.

Nutritional Info:
| Nutrition | Value |
|---|---|
| Calories | 250kcal |
| Carbohydrates | 8g |
| Cholesterol | 117mg |
| Fat | 10g |
| Sodium | 399mg |
| Saturated Fat | 5g |
Tips for the Best Keto Air Fryer Chicken Breast
- Choose Evenly Sized Chicken Breasts – If your chicken breasts vary in size, pound them to an even thickness for more uniform cooking. This prevents thinner parts from drying out before the thicker sections are done.
- Don’t Overcrowd the Air Fryer – Arrange the chicken in a single layer with space between each piece to allow hot air to circulate evenly. Overcrowding can lead to uneven cooking.
- Use a Meat Thermometer – Air fryers can vary in cooking time, so always check the internal temperature with a meat thermometer. The chicken is done when it reaches 165°F in the thickest part.
- Flip Halfway for Even Browning – Flipping the chicken ensures that both sides cook evenly and develop a beautiful golden exterior.
- Let It Rest – Letting the chicken rest for at least 5 minutes before slicing helps retain its juices, making it more tender and flavorful.