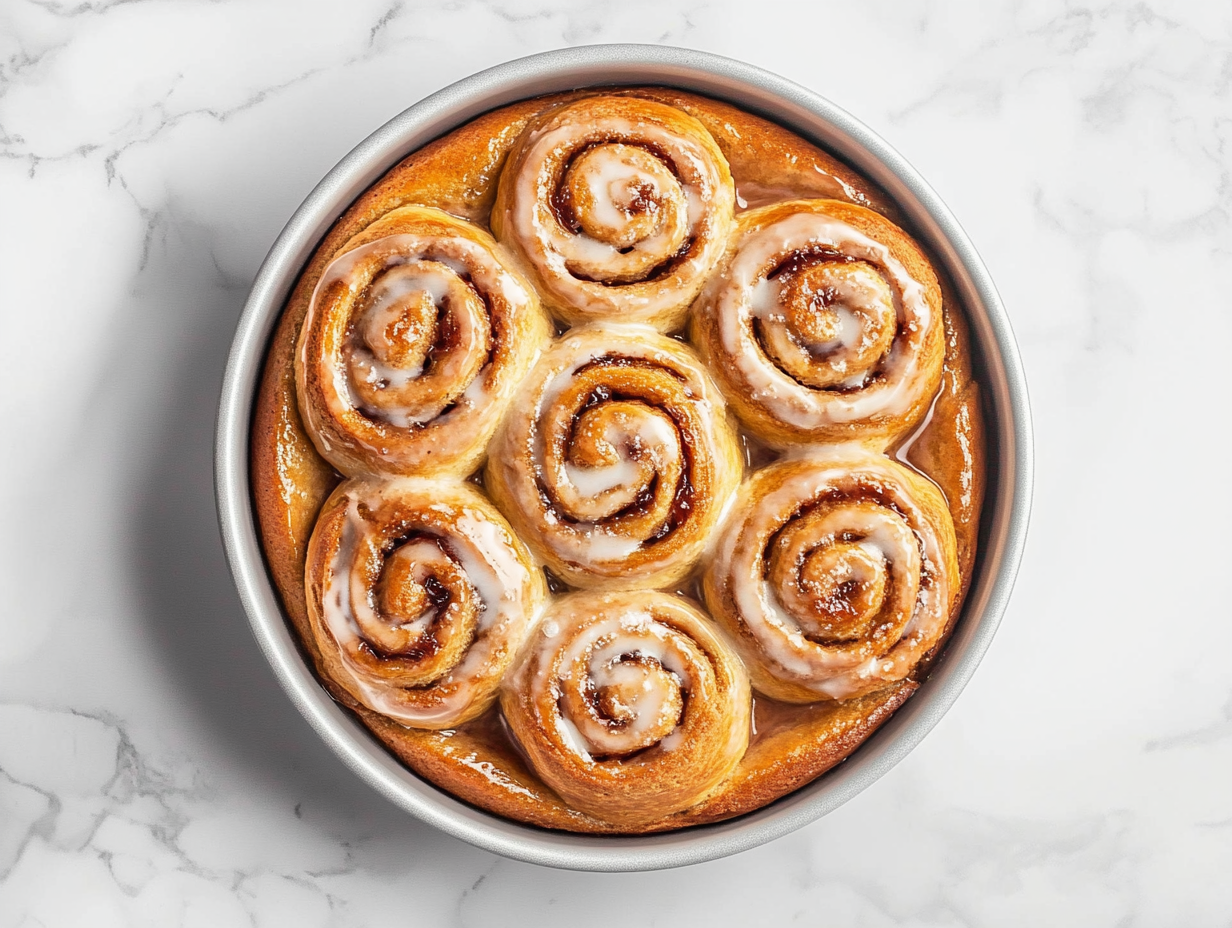
Peanut Butter and Jelly Rolls are a fun twist on a childhood favorite that never gets old. I first tried making these for a picnic, thinking they’d be a great grab-and-go snack, but they turned out to be so much more.
With their soft, pillowy dough wrapped around creamy peanut butter and sweet jelly, these rolls combine nostalgic flavors with the satisfying texture of a freshly baked treat.
The best part? These rolls are incredibly versatile. You can serve them warm straight from the oven or enjoy them chilled as a snack. I love pairing them with a refreshing side of Homemade Strawberry Yogurt or finishing them off with a light drizzle of Whipped Cream with Fruit Salad for a balanced bite of creamy, fruity goodness.
The rolls offer the same comforting taste of a peanut butter and jelly sandwich but with an upgrade that makes them perfect for brunch, snack time, or even dessert.
Peanut butter and jelly rolls are gaining popularity because they take a beloved classic and elevate it in the simplest way. They’re easy to make but look impressive enough to serve at a gathering, and kids and adults alike love them. Plus, they’re freezer-friendly, so you can always have a batch ready when the craving hits.
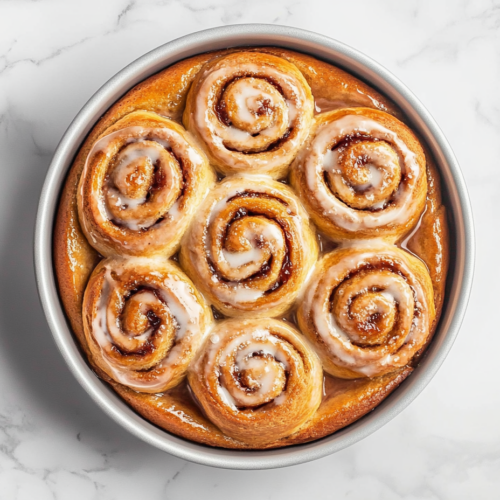
Peanut Butter and Jelly Rolls
Equipment
- Large mixing bowl
- Saucepan or microwave-safe bowl
- 9×13 baking pan
- Rolling Pin
- Knife
- Whisk
Ingredients
- 3 1/2 cups all-purpose flour
- 1/4 cup sugar
- 1/2 teaspoon salt
- 1 pkg. active dry yeast
- 1 cup milk
- 1/4 cup butter
- 1 egg
Filling:
- 1 cup peanut butter
- 1 cup jelly
Glaze:
- 1 1/2 cup powdered sugar
- 3-4 Tbs milk
- 1 tsp vanilla
Instructions
- In a large bowl, combine 1 ½ cups flour, sugar, and salt. Set aside.
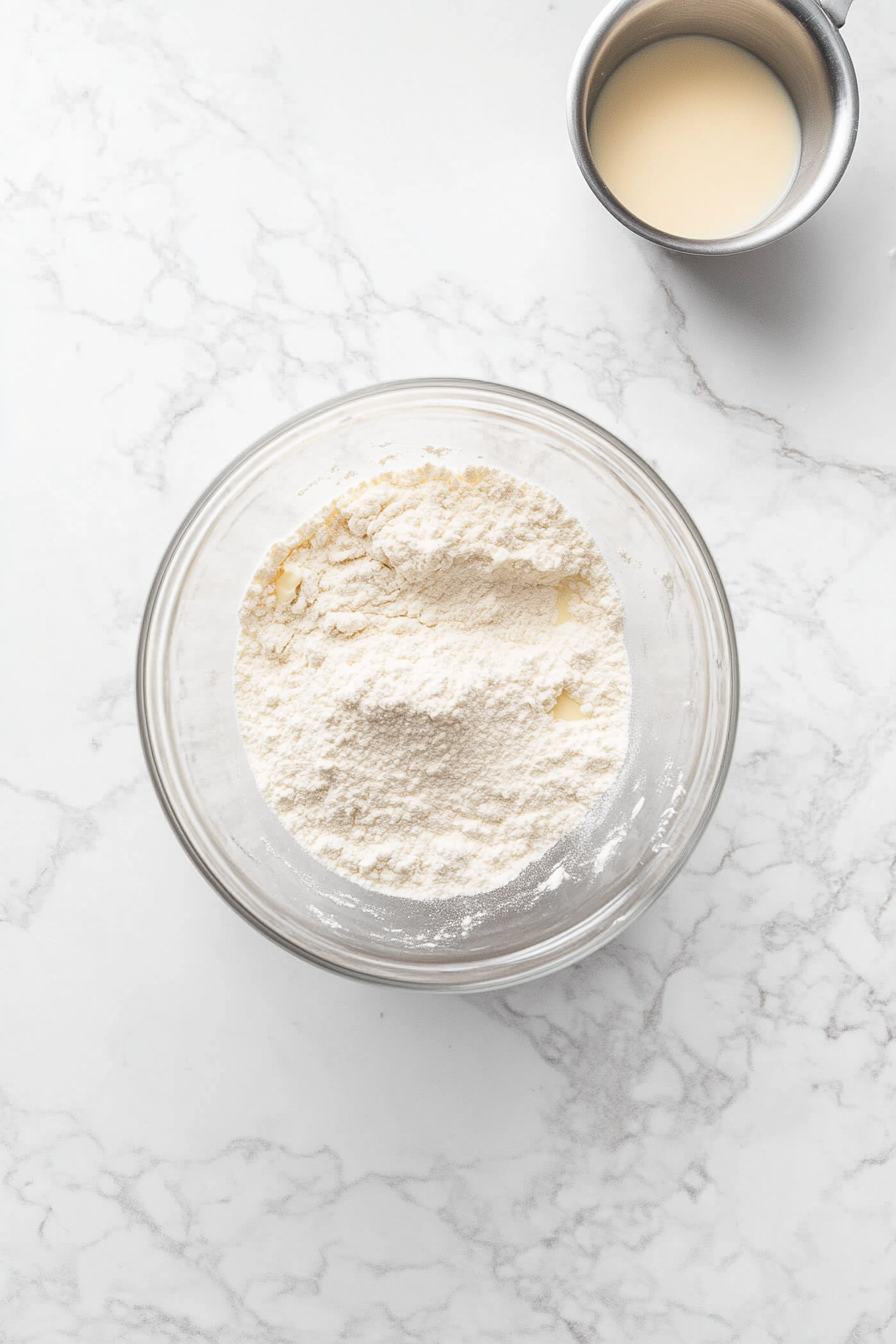
- Melt butter and milk in a saucepan or microwave until warm. Let cool to 110°F, then add yeast to proof.
- Add the milk mixture and egg to the flour mixture. Stir, adding flour ½ cup at a time until dough forms.
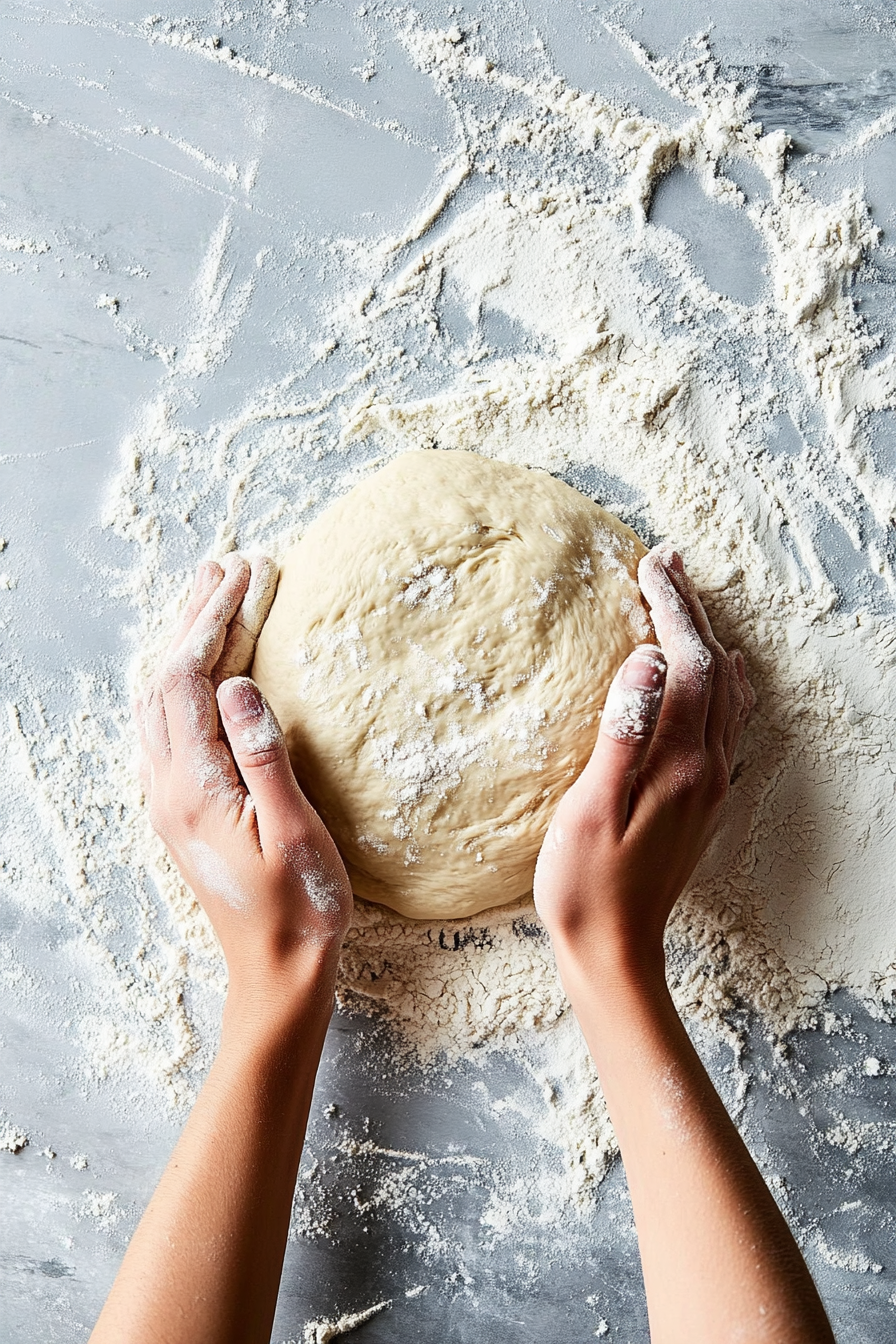
- Knead dough on a floured surface for about 5 minutes until smooth. Let rise in a greased bowl until doubled in size.
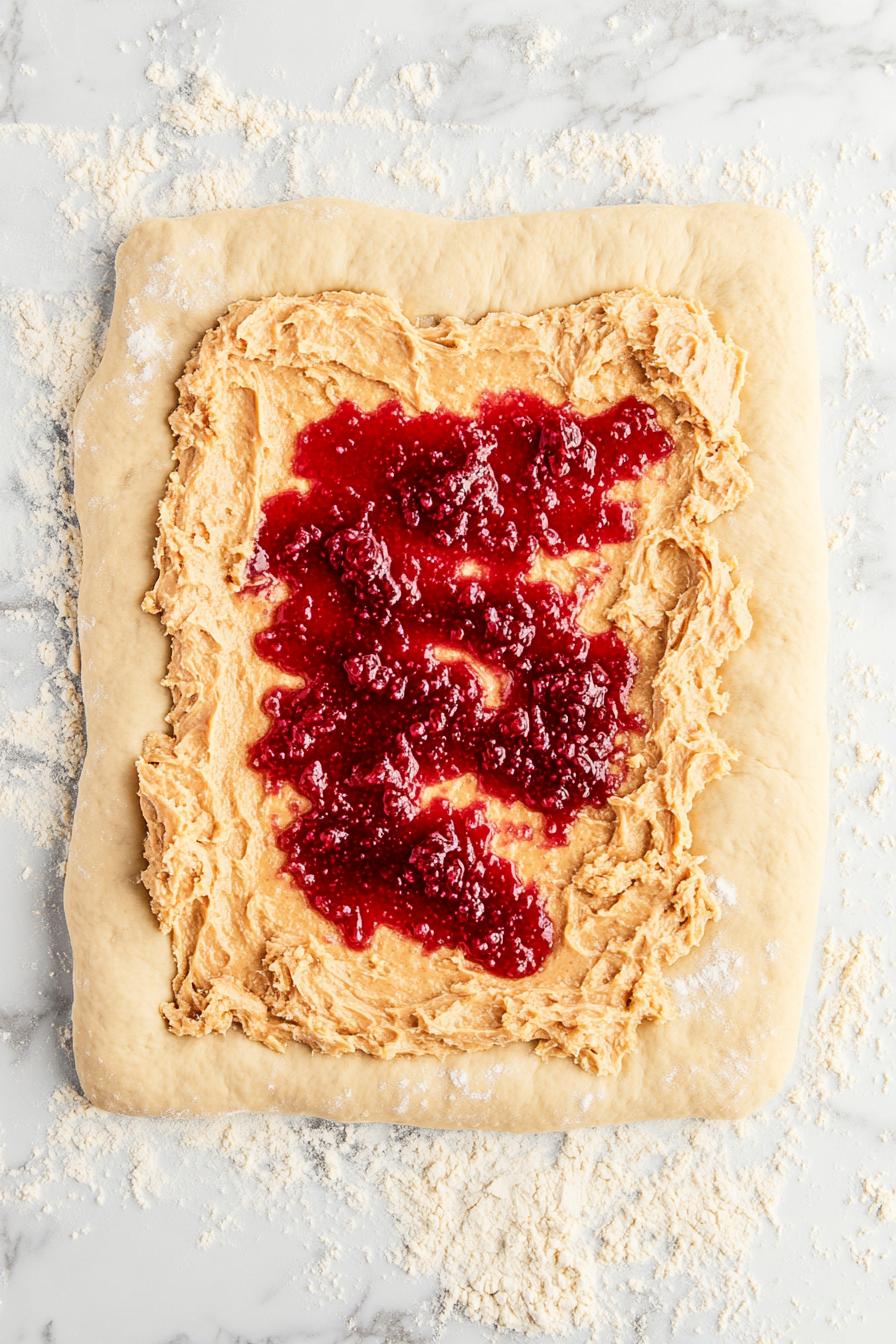
- Roll dough into a 12″x15″ rectangle. Spread peanut butter and jelly evenly over it.
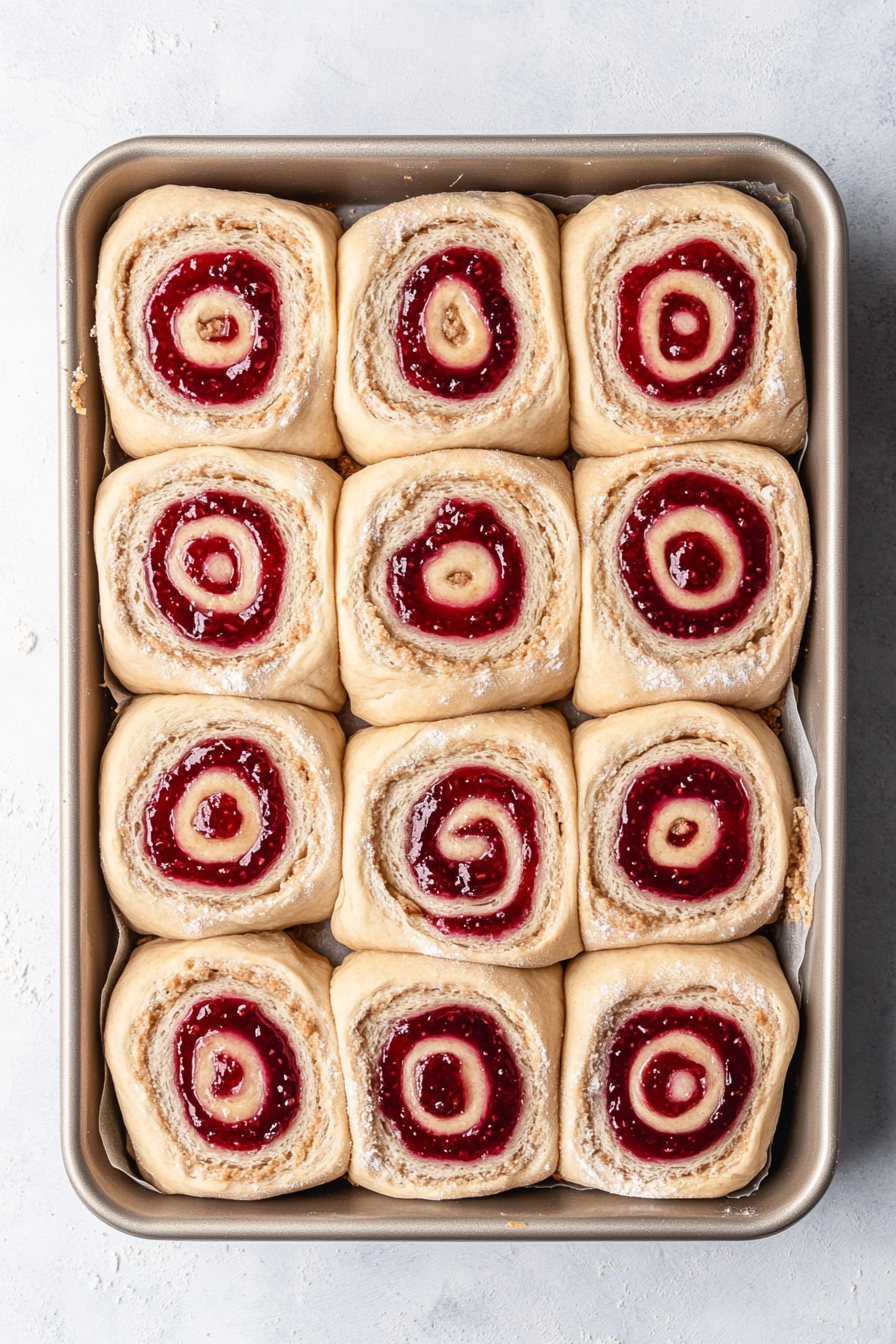
- Roll dough tightly and cut into 12 rolls. Place in a greased 9″x13″ pan and let rise until doubled.
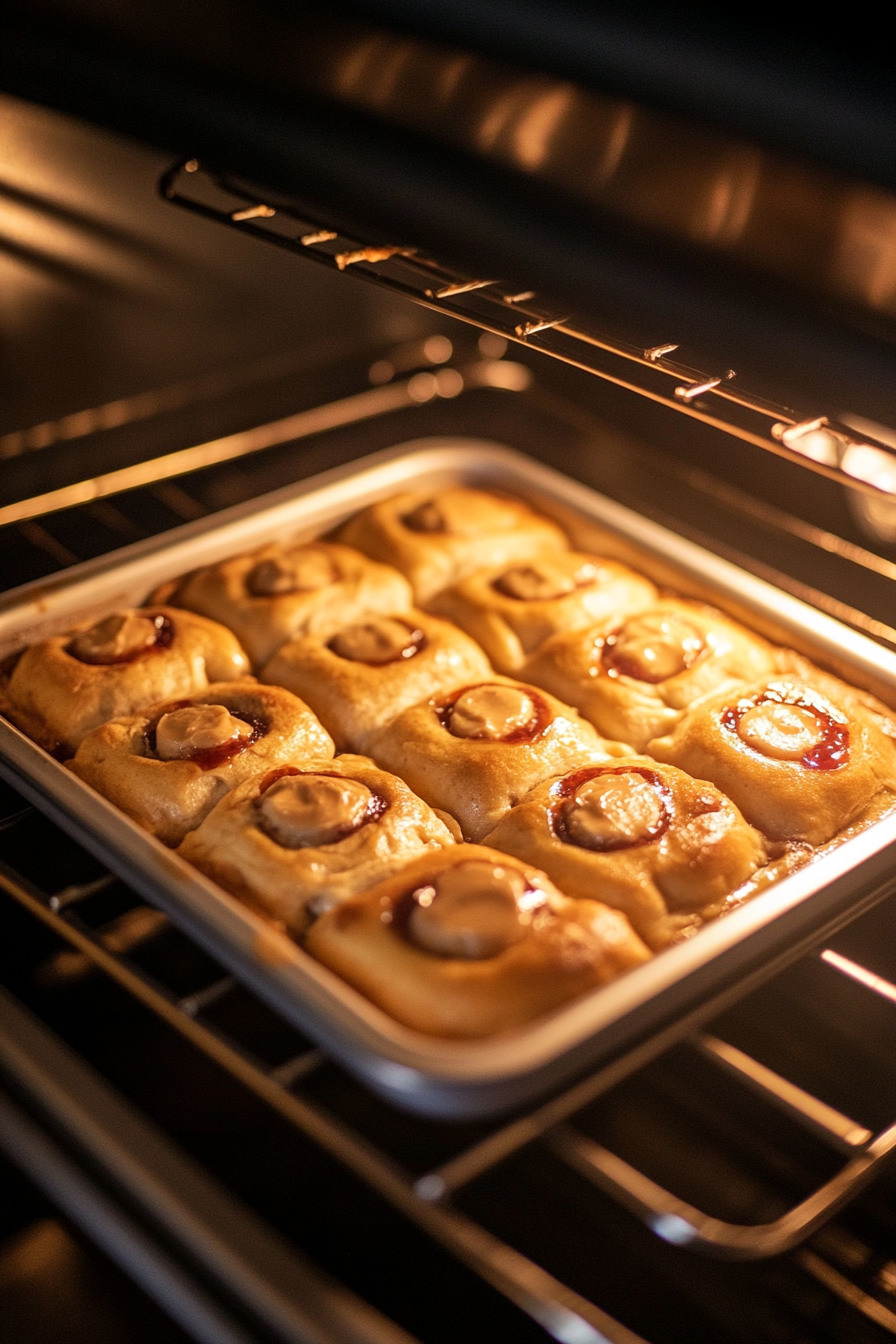
- Bake at 350°F for 20-25 minutes until golden. Let cool slightly.
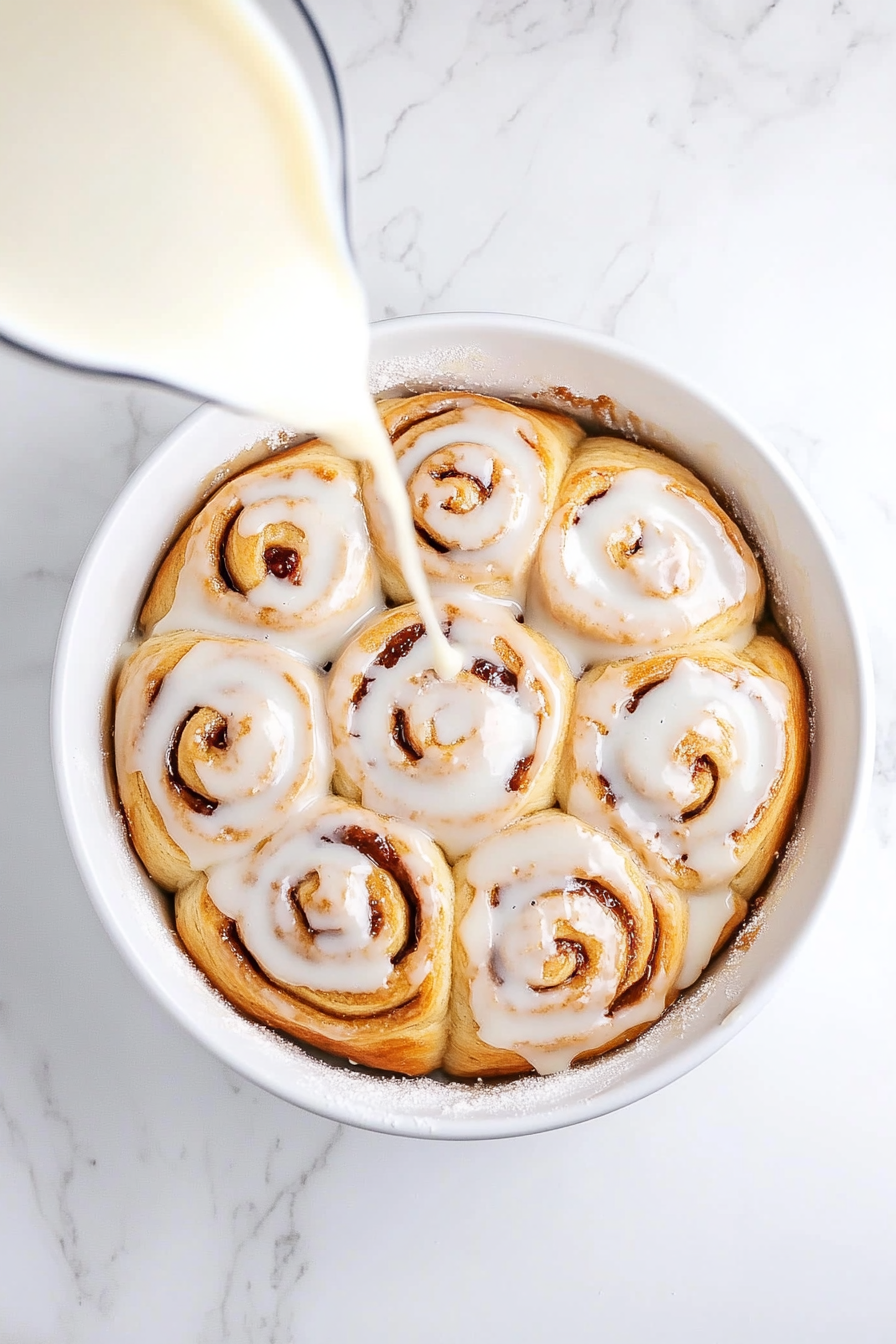
- Mix glaze ingredients, adjusting milk for desired consistency. Spread over warm rolls and serve.
Nutrition Info
| Nutrition | Value |
|---|---|
| Calories | 467 kcal |
| Carbohydrates | 72 g |
| Protein | 11 g |
| Vitamin A | 175 IU |
| Vitamin C | 2.5 mg |
| Iron | 2.3 mg |
| Sugar | 36 g |
| Calcium | 51 mg |
Let Me Share What Works Best for Me!
- Room Temperature Ingredients: Make sure the egg is at room temperature before adding it to the dough. This helps with even mixing and ensures the dough rises properly.
- Milk Temperature is Key: When proofing yeast, aim for the milk and butter mixture to be around 105-110°F. If it’s too hot, it can kill the yeast, and if it’s too cold, the dough won’t rise as well. A kitchen thermometer comes in handy here.
- Dough Hydration: The amount of flour can vary based on humidity and altitude. Add flour gradually after the first 1 ½ cups, paying attention to texture. You want the dough to pull away from the bowl but still feel slightly tacky to the touch. Over-flouring can make the dough tough.
- Warm Rise Environment: If your kitchen is chilly, try preheating your oven to 200°F for a couple of minutes, then turn it off. This creates a warm environment for the dough to rise without being too hot.
- Peanut Butter Consistency: If your peanut butter is stiff, warm it slightly before spreading. It makes it easier to spread evenly without tearing the dough. Avoid peanut butter that’s too runny, as it may cause sogginess.
- Jelly Swirl: Don’t worry about getting the jelly perfectly spread – the uneven distribution creates pockets of flavor in the rolls, which adds a delightful surprise in every bite.
- Even Rolls: Use dental floss (unflavored!) to cut the rolls. It slices cleanly without squishing the dough. Simply slide it under the roll, cross the ends over the top, and pull tight for a perfect cut.
- Glaze Control: For a thicker glaze, let the rolls cool more before spreading it on. If you prefer a thinner glaze that seeps into the rolls, apply it while they’re still warm. Adjust milk quantity in the glaze based on how thick or thin you want it.
- Freezing Option: You can freeze the unbaked rolls after placing them in the pan. Let them come to room temperature and rise before baking, which is great for prepping ahead.
These small tweaks can elevate the final result and give you a much more professional, bakery-style finish!
