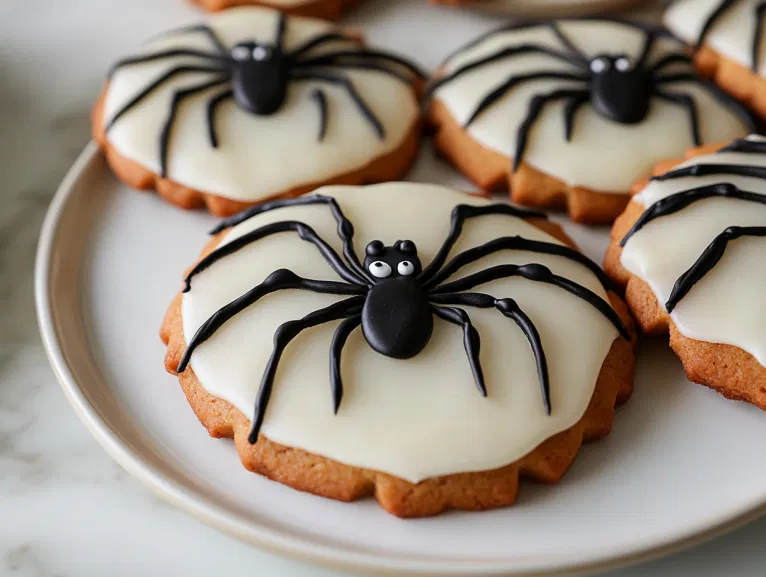
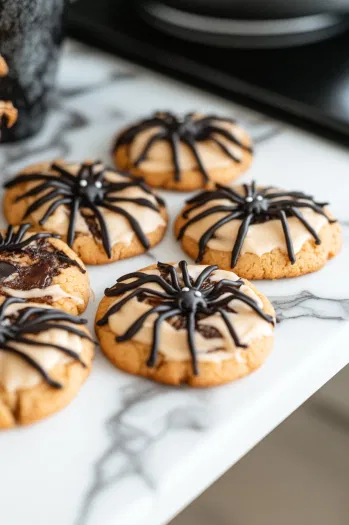
Nothing says Halloween like these Peanut Butter Spider Cookies—creepy, cute, and utterly delicious! The soft, chewy peanut butter base is topped with a chocolate truffle “spider” that looks almost too real to eat—almost.
These cookies are not just fun to make, but they’re also a huge hit at Halloween parties, especially with kids. You’ll love the way they combine the nutty richness of peanut butter with the perfect touch of chocolate to make each bite a spooky delight.
For a perfect Halloween treat spread, serve these alongside a cozy Pumpkin Spice Latte to embrace the fall vibes, or pair them with a rich Chocolate Peanut Butter Smoothie for a double dose of peanut butter goodness.
Why I Love This Recipe (And You Will Too)
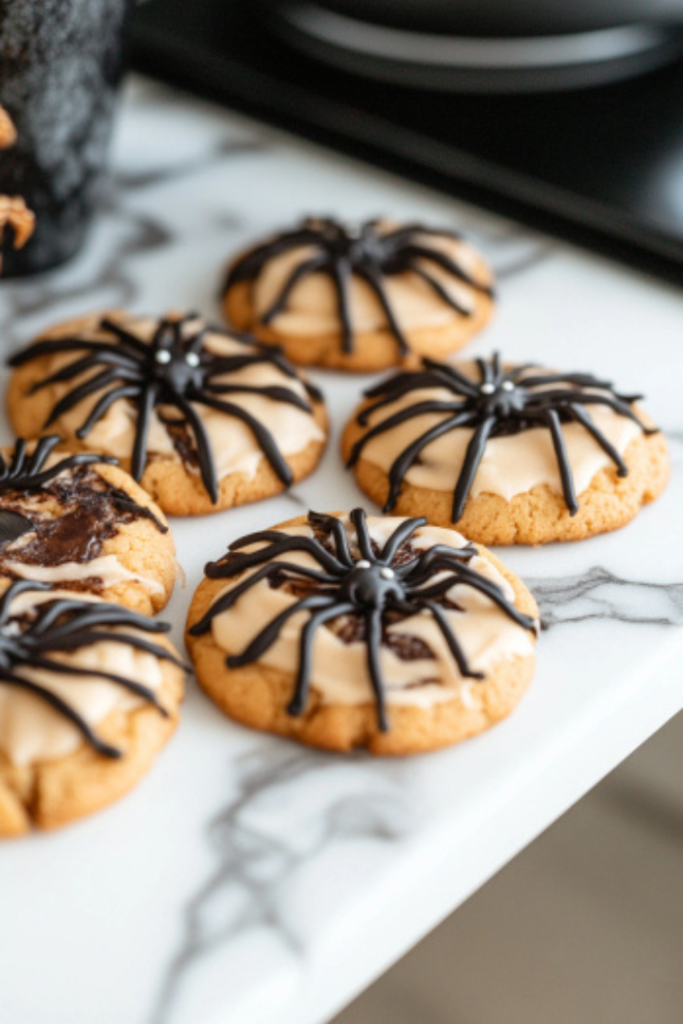
- Fun to Make: Decorating the “spiders” with candy legs and eyes is a great activity for the whole family.
- Perfect for Halloween: These cookies are the ideal balance of spooky and delicious.
- Peanut Butter Heaven: Rich, soft peanut butter cookies with a chocolate twist—what’s not to love?
- Crowd Pleaser: They’re always a hit at Halloween parties, and you can even customize them with different candies.
These Peanut Butter Spider Cookies are a spooky-sweet treat that will surely creep their way into your heart!
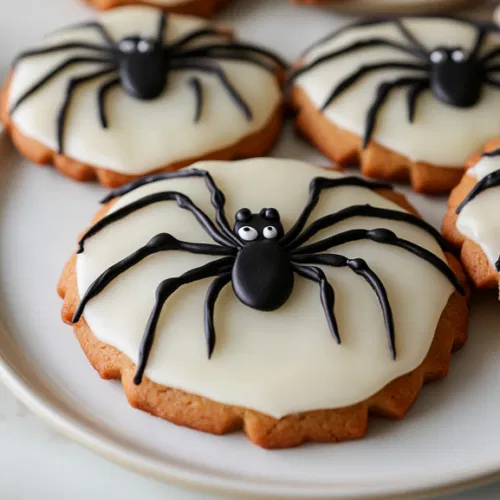
Peanut Butter Spider Cookies
Equipment
- Electric mixer
- Baking sheets
- Parchment paper
- Wooden spoon (for dimpling cookies)
- Wire cooling rack
- Pastry bag or plastic freezer bag
- Measuring cups and spoons
Ingredients
- ½ cup shortening
- ½ cup peanut butter
- ½ cup packed brown sugar
- ½ cup white sugar
- 1 large egg beaten
- 2 tablespoons milk
- 1 teaspoon vanilla extract
- 1 ¾ cups all-purpose flour
- 1 teaspoon baking soda
- ½ teaspoon salt
- ¼ cup white sugar for rolling
- 24 chocolate candy spheres with smooth chocolate filling such as Lindt Lindor Truffles, refrigerated until cold
- 48 decorative candy eyeballs
- ½ cup prepared chocolate frosting
Instructions
- Preheat oven to 375°F (190°C) and line baking sheets with parchment paper.
- Beat together shortening, peanut butter, brown sugar, and white sugar until smooth. Add egg, milk, and vanilla extract.

- Mix flour, baking soda, and salt in a separate bowl. Add to the wet mixture to form dough. Shape dough into 48 balls.

- Roll dough balls in sugar and place them on prepared baking sheets 2 inches apart.

- Bake for 10-12 minutes. Quickly press a dimple in each cookie with a wooden spoon.
- After cookies cool, cut chocolate spheres in half and place one on each cookie.
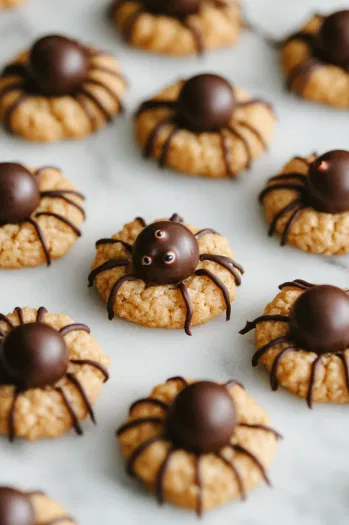
- Pipe frosting to add candy eyes and spider legs on each cookie.
- Allow frosting to set before serving.
Nutritional Facts:
| Nutrition | Value |
|---|---|
| Calories | 117 kcal |
| Fat | 6 g |
| Cholesterol | 7 mg |
| Sugar | 10 g |
| Protein | 2 g |
Variations that Are Sure to Excite You!
- Monster Spider Cookies: Use different colors of candy eyeballs and pipe colorful frosting to make multi-colored spiders. Try neon greens, purples, and blues to give your spiders a quirky look.
- Nutty Buddy Spiders: Substitute half the peanut butter with almond or cashew butter for a different nutty flavor. You can also mix crushed nuts like walnuts or pecans into the dough for extra crunch.
- Chocolate Explosion: Swap the peanut butter with Nutella or any chocolate hazelnut spread. Add mini chocolate chips to the dough for a double chocolate treat.
- Spooky Caramel Bites: Instead of chocolate spheres, use caramel-filled chocolates or Rolos for a gooey center. Drizzle with melted chocolate for extra richness.
- Creepy Critter Cookies: Use gummy worms instead of chocolate candy spheres, curling the gummy worms around the cookie dimple to look like squirmy insects.
- Candy Corn Spiders: Place a piece of candy corn on top of the cookie and decorate with orange and black icing for a Halloween-themed twist.
- Crunchy Pretzel Legs: Swap out the piped frosting legs and use broken pretzel sticks for legs. This adds a salty crunch to contrast with the sweetness of the cookie.
- Pumpkin Peanut Butter Spiders: Add a teaspoon of pumpkin pie spice to the dough for a fall-flavored cookie. Pair it with pumpkin-shaped candy instead of chocolate spheres for a festive twist.
- Marshmallow Monsters: After dimpling the cookies, place a small marshmallow in each dimple. Once cooled, top with melted chocolate to resemble spider heads, and add candy eyes.
- Mini M&M Spiders: Press mini M&Ms into the cookie dough before baking. After adding the chocolate candy “body,” decorate with frosting and place a few M&Ms around as “extra eyes.”
These variations can add a fun, colorful twist to your spider cookies and make them even more playful for a party or holiday!

