The Pistachio and Cherry Nougat Pandoro is an Italian holiday classic with a twist, perfect for adding a touch of elegance and festive flavor to your table. This version of the traditional Pandoro combines the rich, buttery layers of the beloved cake with bits of chewy nougat, vibrant green pistachios, and sweet cherries.
It’s a showstopper that feels both luxurious and comforting, making it ideal for holiday gatherings or any special occasion. Serve it alongside Watermelon Sorbet for a light, refreshing balance, or indulge with Chocolate-Covered Strawberries for an extra touch of decadence.
This recipe is special because it transforms the traditional Pandoro with unique, flavorful additions that bring out new textures and flavors. The pistachios add a satisfying crunch, while the nougat and cherries bring a perfect mix of sweetness and chewiness, all nestled within the soft, golden layers of Pandoro.
Paired with the cool, refreshing sorbet or the rich sweetness of chocolate-covered strawberries, it’s an irresistible combination that makes this dessert unforgettable.
For those looking to bring a taste of Italian tradition to their table with a fun twist, this Pistachio and Cherry Nougat Pandoro is the answer. The delicate flavors and beautiful presentation make it a memorable treat for family and friends to enjoy throughout the holiday season.
Why I Love This Recipe (And You Will Too)
- Unique Festive Twist: The pistachios, nougat, and cherries add such a delightful twist to the traditional Pandoro.
- Easy Elegance: Though it’s easy to make, the results are stunning and sure to impress guests.
- Irresistible Textures: Soft Pandoro meets crunchy pistachios, chewy nougat, and juicy cherries for a dessert with the perfect mix of textures.
- Holiday-Ready: This Pandoro is a beautiful addition to any festive gathering, offering a taste of Italian tradition with a modern, flavorful twist.
This recipe quickly became a holiday favorite in my home. I love how the sweet, nutty, and fruity flavors come together so effortlessly, creating a dessert that feels familiar yet new. And it’s always a delight to serve with light sides like sorbet or rich ones like chocolate-covered strawberries—the ultimate indulgence!
Pistachio and Cherry Nougat Pandoro
Equipment
- Small saucepan
- Large mixing bowl
- Electric whisk
- Cling film
- Palette knife
- Kitchen blowtorch (optional)
Ingredients
- 1 kg shop-bought pandoro
- 2 platinum-grade gelatine leaves
- 500 g ricotta
- 200 g soft cheese
- 80 g icing sugar
- 1 orange
- zested
- 2 tsp almond extract
- 1 tbsp amaretto
- 100 g soft pistachio nougat
- 100 g maraschino cherries in syrup
- choose ones that are bright red in colour, drained and roughly chopped
- 4 egg whites
- save the yolks to use in fruit curds or fried rice
- 220 g caster sugar
- 1 tsp white wine vinegar
Instructions
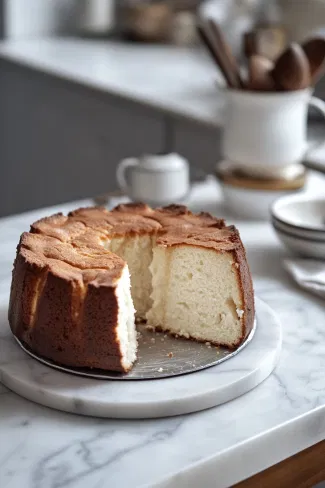
- Slice a 4cm base off the pandoro and hollow out the main section, leaving thick sides. Set the base aside.
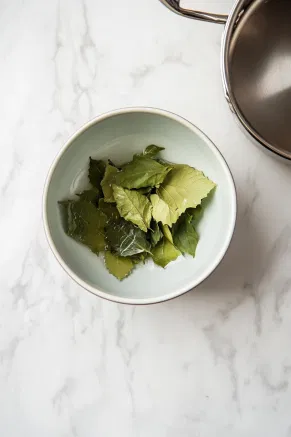
- Soften gelatine leaves in cold water, then dissolve in simmering water and set aside to cool.
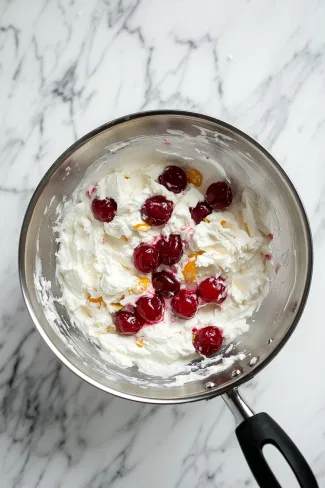
- Mix ricotta, soft cheese, icing sugar, gelatine, orange zest, almond extract, and amaretto. Fold in chopped nougat and cherries.
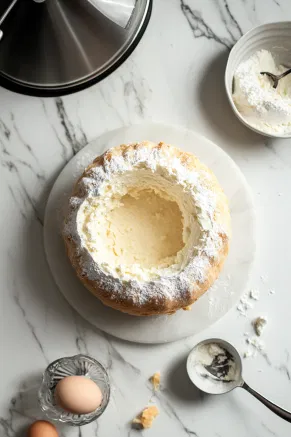
- Fill the hollowed pandoro with ricotta mixture and place the base back on. Wrap in cling film and chill for 4-5 hours.
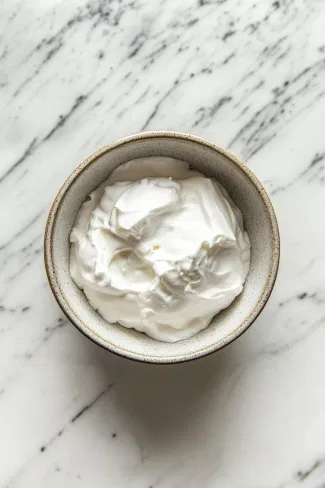
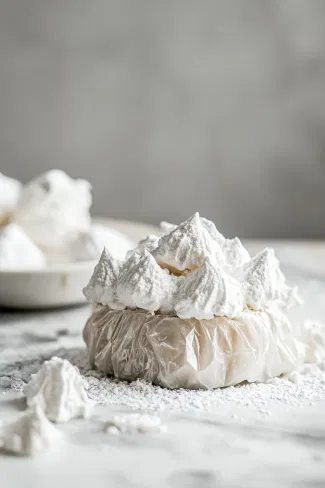
- Whisk egg whites to stiff peaks, gradually adding sugar until glossy, then mix in vinegar.
- Remove cling film, cover pandoro with meringue.
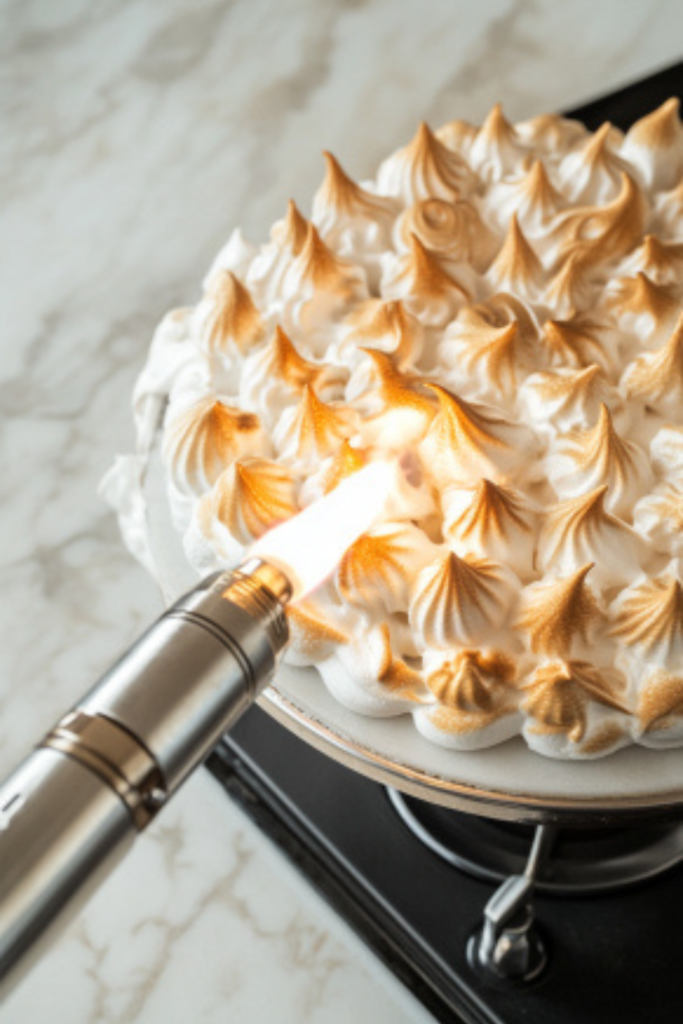
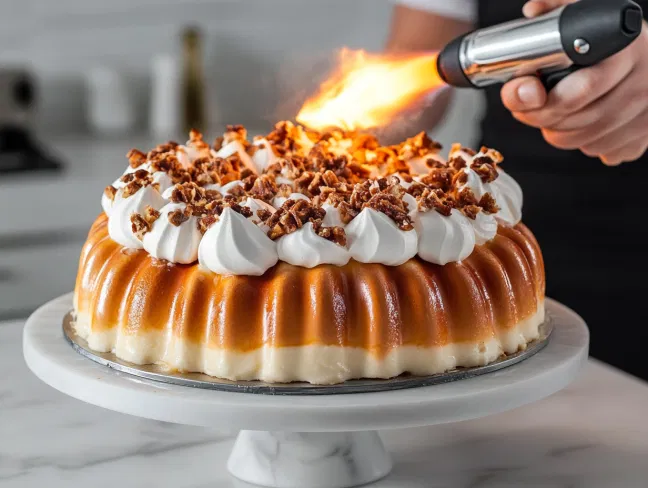
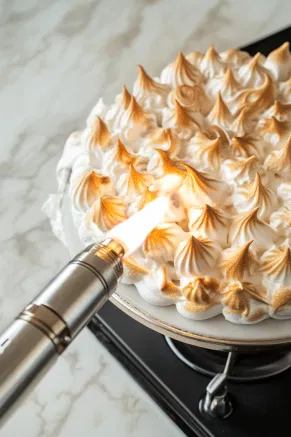
- If desired, brown with a blowtorch before slicing.
Nutrition Facts:
| Nutrition | Value |
|---|---|
| Calories | 410 kcal |
| Carbohydrates | 52 g |
| Sugar | 40 g |
| Fat | 18 g |
| Protein | 8 g |
| Fibre | 1 g |
Tips that Will Work!
- Gelatine Handling: When softening the gelatine leaves, ensure they’re fully hydrated before dissolving in simmering water. This ensures the gelatine integrates smoothly into the ricotta mixture. Let it cool to room temperature before mixing it in.
- Fresh Ricotta and Soft Cheese: Use high-quality ricotta and soft cheese for the best texture and flavor. Fresh ricotta provides a smooth consistency, while the soft cheese adds a creamy richness that complements the almond extract and amaretto perfectly.
- Chill Time: It’s crucial to chill the filled pandoro for 4-5 hours to allow the ricotta mixture to firm up. This makes it easier to cut and helps the flavors meld together. If you have time, let it chill overnight for even better results.
- Meringue Perfection: Whisk the egg whites until they form stiff peaks, and ensure there’s no trace of yolk in them. Gradually add the sugar for a smooth, glossy finish. The vinegar helps stabilize the meringue, ensuring it holds its shape when you spread it on the pandoro.
- Brown the Meringue: If you have a blowtorch, use it to brown the meringue for a beautiful golden finish. If you don’t have a blowtorch, you can place the filled pandoro under a broiler for a few seconds but watch closely to avoid burning.
- Chop Nougat and Cherries: Roughly chop the pistachio nougat and maraschino cherries into bite-sized pieces. This will ensure the flavors are evenly distributed throughout the ricotta mixture and give each slice a little surprise of texture.
- Serving: When serving, use a serrated knife to slice the pandoro, as the meringue will be delicate and might crack under a regular knife. The soft, airy texture of the meringue and the creamy ricotta filling will pair beautifully with the light, airy pandoro.
- Pistachio Variation: If you can’t find pistachio nougat, consider using chopped pistachios or another nutty treat for a similar texture and flavor profile. Just be sure to keep the nougat or nuts in small, evenly distributed pieces to avoid overwhelming the filling.
By following these tips, you’ll create a dessert that’s both visually stunning and delightfully delicious, perfect for impressing guests at any special gathering!


