Salted Caramel Chocolate Fondants are the kind of dessert that feels like magic. Break into the warm, rich chocolate shell, and out pours a luscious, molten salted caramel center—it’s an indulgence that satisfies every craving. Whether you’re hosting a holiday dinner or treating yourself to something decadent, these fondants deliver a luxurious experience in every bite.
What makes them extra special is their versatility; they’re surprisingly easy to make, yet they look and taste like a professional pastry chef’s creation. Pair them with a scoop of creamy Vanilla Ice Cream to balance the intense chocolate flavors, or enjoy them alongside a cozy mug of Hot Chocolate for a double dose of comfort.
The beauty of this recipe lies in the perfect harmony of flavors: the richness of dark chocolate, the gooey sweetness of caramel, and the subtle kick of sea salt. It’s an irresistible combination that’s sure to impress your guests—or make a quiet evening feel downright celebratory.
Why I Love This Recipe (And You Will Too)
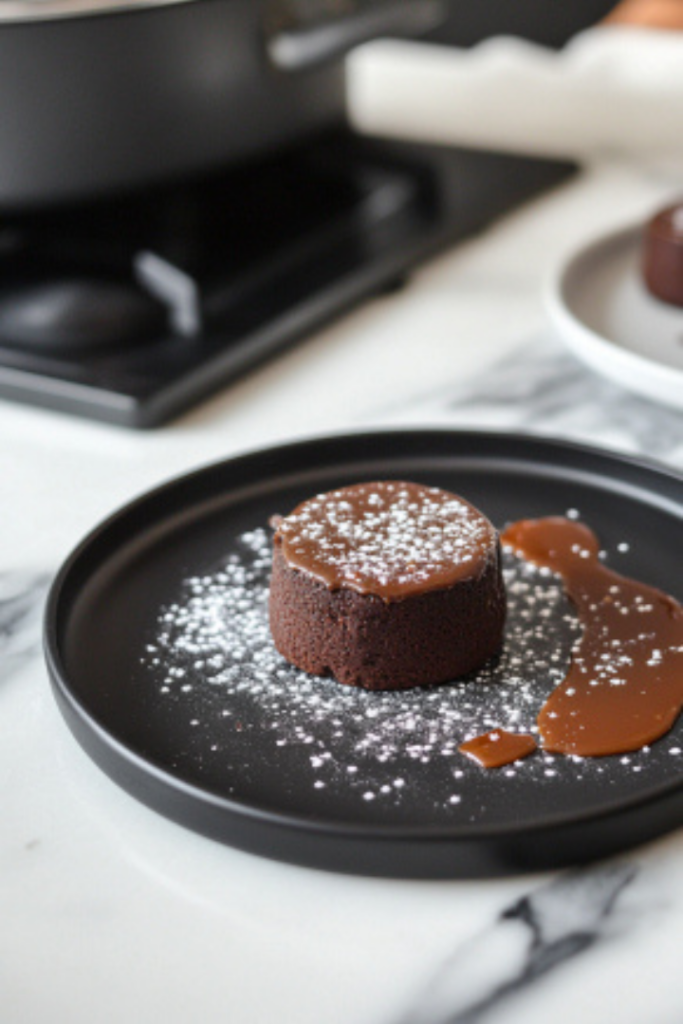
- Show-stopping presentation: Cutting into the fondant and watching the caramel flow out never fails to impress.
- Rich and indulgent: The deep chocolate flavor paired with gooey salted caramel is dessert perfection.
- Simple yet sophisticated: With a few key ingredients, you can whip up a dessert that looks and tastes like it came from a fancy restaurant.
- Perfect for sharing: These fondants are great for intimate gatherings or romantic dinners—indulgent without being overly heavy.
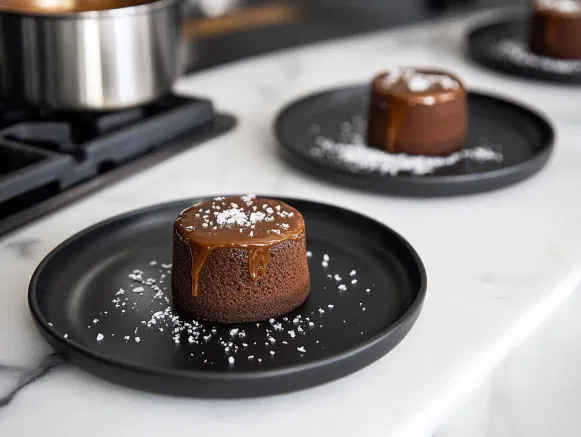
Salted Caramel Chocolate Fondants
Equipment
- Mini metal pudding moulds (4)
- Heatproof Bowl
- Microwave or saucepan
- Whisk
- Sifter
- Baking tray
Ingredients
- 100 g unsalted butter
- plus extra for buttering the moulds
- cocoa
- for dusting
- 150 g dark chocolate chopped (at least 72% solids)
- 1/2 tsp vanilla extract
- 2 large eggs
- 2 large egg yolks
- 55 g golden caster sugar
- 35 g plain flour
- 4 good heaped tsp salted caramel sauce
Instructions
- Preheat the oven to 180°C (160°C fan)/gas mark 4. Grease 4 mini pudding moulds with butter and dust with cocoa, ensuring the butter is well-covered.
- In a heatproof bowl, melt the butter and dark chocolate together in the microwave (30-second bursts) or over a pan of hot water. Stir occasionally and set aside.
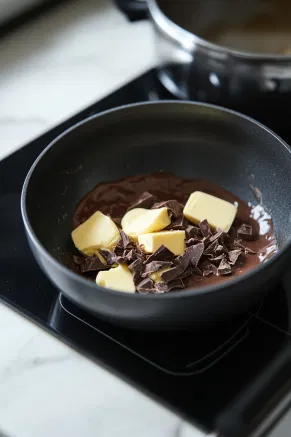
- Whisk the whole eggs, egg yolks, and golden caster sugar until fluffy, pale, and doubled in size (about 5 minutes).
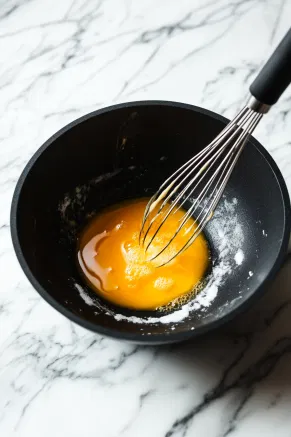
- The mixture should leave a ribbon trail when the whisk is lifted. Add the melted chocolate-butter mixture and whisk to combine.
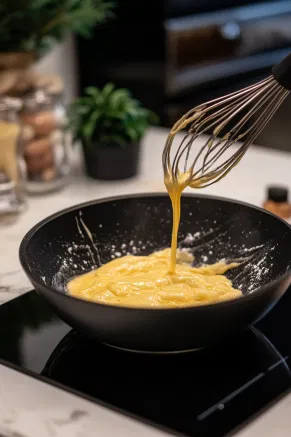
- Sift in the plain flour and fold in gently.
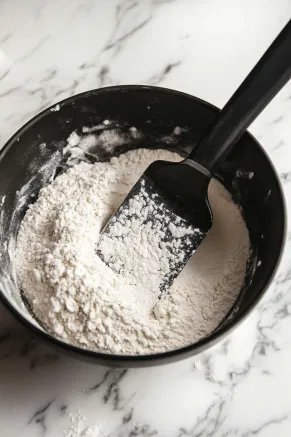
- Spoon the batter into the moulds, filling about 1.5 cm.
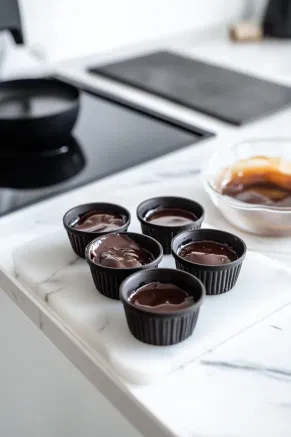
- Add 1 teaspoon of salted caramel sauce in the center of each.
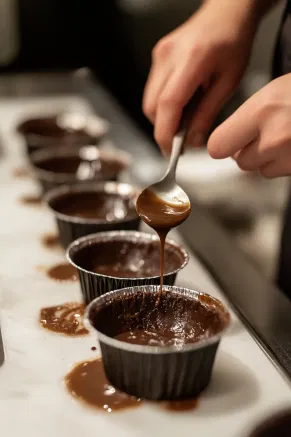
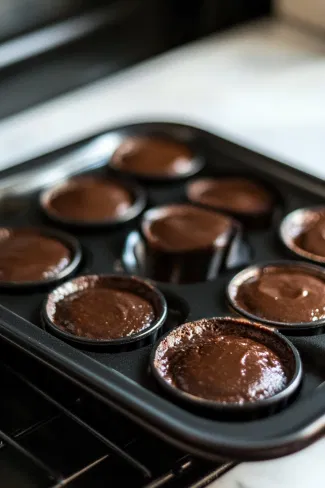
- Cover with more batter until the moulds are about 1 cm below the rim. Place the moulds on a baking tray.
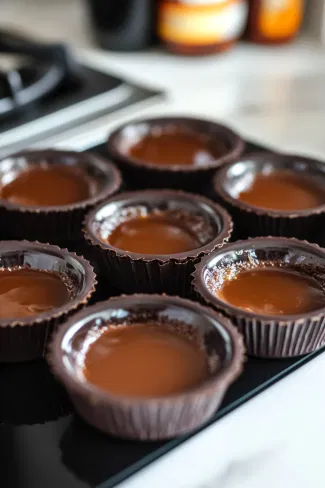
- Bake for 10-12 minutes, until the cakes rise just above the rim of the moulds.
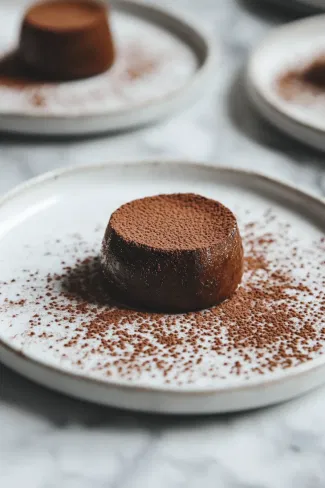
- Turn out onto serving plates, dust with more cocoa.
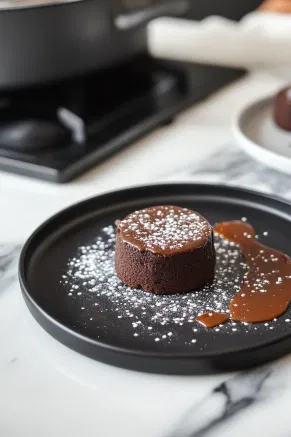
- Serve immediately.
Nutrition Info:
| Nutrition | Value |
|---|---|
| Calories | 621 kcal |
| Carbohydrates | 52 g |
| Sodium | 0 g |
| Fat | 42 g |
| Protein | 8 g |
| Fibre | 35 g |
Tips for Perfect Salted Caramel Lava Cakes!
- Prepare the Moulds Thoroughly: Use soft butter to grease the pudding molds well, then dust generously with cocoa powder. This ensures the cakes release easily after baking without sticking.
- Choose Quality Chocolate: Use high-quality dark chocolate with at least 72% cocoa solids for a rich, intense flavor that balances the sweetness of the salted caramel.
- Careful Melting: When melting the chocolate and butter, do it slowly over a double boiler or in short microwave bursts to prevent the chocolate from seizing or burning.
- Achieve the Ribbon Stage: Whisk the eggs, yolks, and sugar thoroughly until pale and fluffy. This step is crucial for the cake’s structure and ensures a light, airy texture.
- Gently Fold the Flour: Sift the plain flour into the batter and fold it in gently to avoid deflating the mixture, which could result in dense cakes.
- Perfectly Center the Caramel: Add the salted caramel sauce directly to the center of the batter in each mold. This creates the luscious lava effect when the cakes are cut open.
- Don’t Overfill the Moulds: Leave about 1 cm of space at the top to allow the cakes to rise without overflowing during baking.
- Watch the Baking Time: Bake for 10–12 minutes only. The edges should be set while the center remains molten. Overbaking will cook the caramel center, ruining the lava effect.
- Turn Out Carefully: Allow the cakes to rest for 1–2 minutes after baking before gently turning them out onto serving plates. Use a butter knife to loosen the edges if needed.
- Serve Immediately: These cakes are best enjoyed fresh from the oven while the caramel center is gooey. Dust with cocoa or icing sugar, and pair with a scoop of vanilla ice cream for an indulgent dessert.

