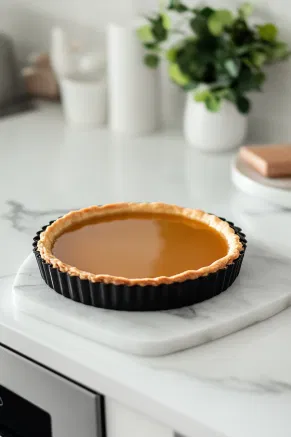
A dessert that perfectly captures the balance of sweet and salty, this Salted Caramel Tart Recipe is a treat that feels indulgent yet refined. The buttery, crumbly crust encases a rich, velvety caramel filling, with just the right amount of sea salt to elevate the flavor to new heights.
The result is a dessert that’s both luxurious and comforting, making it ideal for a special occasion or as a weekend treat. To take it to the next level, pair it with an Irish Coffee Milkshake or a drizzle of homemade Caramel Sauce for a touch of extra indulgence.
With its flawless balance of textures—the smooth, luscious caramel and the crisp, buttery tart shell—this dessert delivers both flavor and visual appeal.
Whether you’re hosting a dinner party or simply treating yourself, this salted caramel tart is guaranteed to become your new favorite go-to dessert. The best part? It’s easy to prepare but looks and tastes like something from a fancy bakery.
Why I Love This Recipe (And You Will Too):
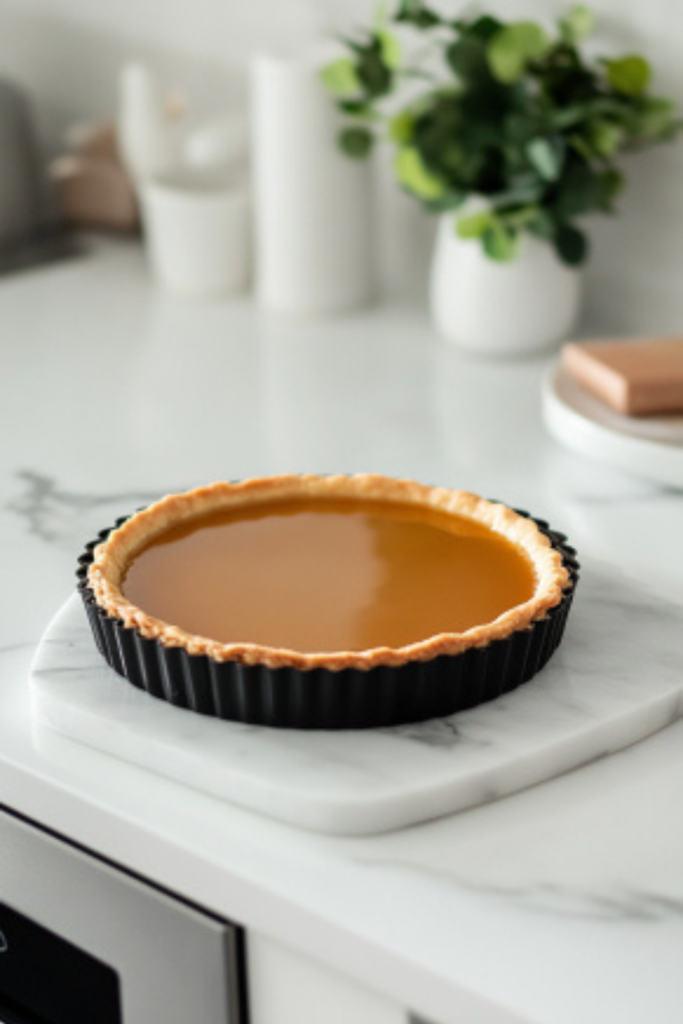
- Perfectly Sweet and Salty: The sea salt in the caramel enhances the sweetness without overpowering it, creating a delicious balance.
- Elegant Yet Easy: This tart looks like a showstopper but is surprisingly simple to make.
- Pairs Well with Drinks: A creamy Irish Coffee Milkshake or a drizzle of homemade Caramel Sauce takes this dessert over the top.
- Decadent Comfort: It’s the kind of dessert you can enjoy after a long day, whether you’re celebrating or simply relaxing at home.
- Visually Impressive: The rich caramel and perfect crust make for a dessert that’s as pleasing to the eye as it is to the palate.
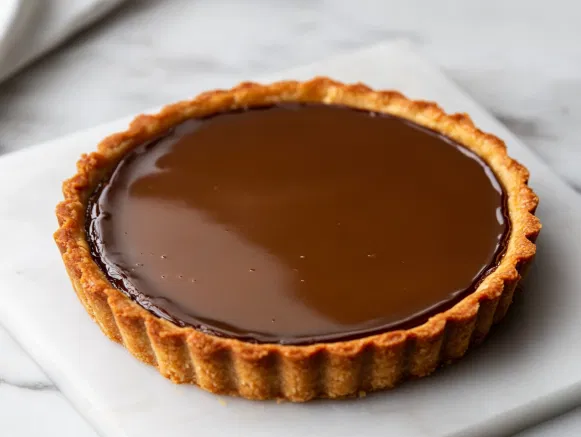
Salted Caramel Tart Recipe
Equipment
- 23 cm (9″) Tart Tin
- Food processor
- Mixing bowls
- Rolling Pin (optional)
- Heatproof Bowl
- Microwave
- Whisk
- Large saucepan
- For making the caramel layer.
- Spatula or Wooden Spoon
- Measuring cups and spoons
- Flat-Bottomed Cup or Glass
- Oven
- Refrigerator
- Sharp Knife
- Tray (optional)
Ingredients
- 225 g 8 oz plain sweet biscuits, about 2 cups crushed (e.g., Arnott’s Marie Crackers, Graham Crackers, or Digestives)
- 150 g 10 tbsp unsalted butter, melted
Caramel Layer:
- 100 g 7 tbsp unsalted butter
- 1 cup tightly packed brown sugar
- 2 cans 395g / 14 oz each sweetened condensed milk
- 1 ¾ tsp salt or 2 ½–3 tsp salt flakes
Chocolate Ganache Topping:
- 1/3 cup thickened cream heavy cream, 30%+ fat content
- 150 g 5 oz dark chocolate melts or chips
- Sea salt flakes for topping
Instructions
Prepare the Base:
- Preheat your oven to 180°C (350°F) or 160°C (fan-forced). Grease and line the base of a 23 cm (9″) tart tin with a loose base or use a springform pan.
- Crush the biscuits into fine crumbs using a food processor or by placing them in a ziplock bag and crushing with a rolling pin.
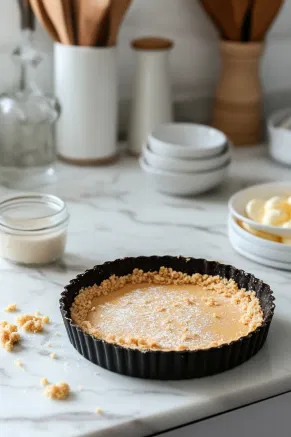
- Mix the crumbs with melted butter until evenly combined and no dry crumbs remain.
- Press the mixture firmly into the tart tin, covering the base and sides. Use the bottom of a flat cup to smooth it out.
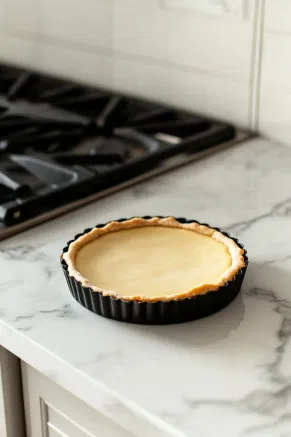
- Bake the crust for 10 minutes, then cool for about 5 minutes in the fridge.
Make the Caramel:
- Melt the butter in a large saucepan over medium heat. Add brown sugar and whisk until fully combined (the butter may not fully incorporate).

- Once the mixture begins to bubble and the sugar has melted, whisk in the condensed milk. Stir constantly until the caramel thickens and steam rises (~4 minutes).
- Add salt and mix well. Pour the caramel into the tart base.
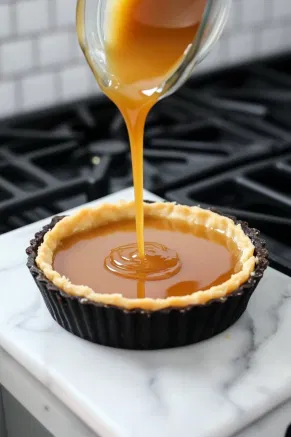
- Bake for 15 minutes until the surface develops a golden “skin” but remains slightly jiggly in the center.

Prepare the Chocolate Ganache:
- Place the cream and chocolate in a heatproof bowl. Microwave in two 30-second intervals, stirring after each, until smooth.
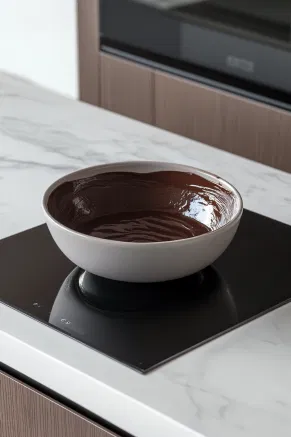
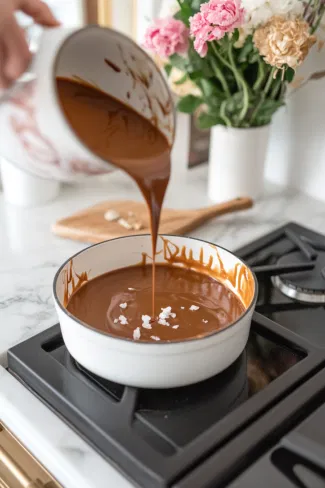
- Let the ganache cool for 10 minutes to thicken slightly. Pour over the caramel layer, smoothing the surface or creating decorative swirls. Sprinkle with sea salt flakes.
Set and Serve:
- Refrigerate the tart for 1½ hours to set the ganache.
- Before serving, bring the tart to room temperature. Carefully remove it from the tin, or serve directly on the base for easier handling.
Tips that Will Ease Your Job!
- Milk Choices: Almond milk adds a nutty flavor, but you can substitute it with any milk you prefer, such as oat milk, coconut milk, or regular dairy milk for different tastes and textures.
- Coffee Strength: Use cold brewed coffee or chilled leftover coffee for the best flavor. If you prefer a stronger coffee taste, add a little extra coffee or reduce the ice to keep the texture smooth.
- Frozen Banana: The frozen banana is key for a creamy texture. It not only thickens the smoothie but also naturally sweetens it, so you may not need additional sweeteners.
- Cocoa Powder: Opt for a high-quality dark cocoa powder for a richer, deeper chocolate flavor. You can adjust the amount depending on how chocolatey you like your smoothie.
- Sweetener: If the smoothie isn’t sweet enough for your taste, you can add a small amount of honey, maple syrup, or a sweetener of your choice. But the banana usually provides enough sweetness.
- Ice: Use crushed ice for a thicker, slushier texture, or whole ice cubes for a slightly smoother consistency.
- Garnish: The whipped cream and dark cocoa powder garnish are optional but add a luxurious touch. You can also top with chocolate shavings or a drizzle of caramel sauce for an extra indulgent treat.
- Make It a Dessert: This smoothie makes a fantastic dessert, especially if you blend in a scoop of chocolate ice cream or vanilla protein powder for a creamy indulgence.
- Vegan Option: Stick with almond milk and ensure the cocoa powder is dairy-free to keep the smoothie vegan-friendly.
Enjoy your rich, mocha-flavored smoothie as a refreshing start to your day or a delightful dessert!


