There’s something so satisfying about making a humble saltine cracker from scratch. It’s a snack staple most of us have reached for countless times—a bit of crunchy, salty comfort that’s there for everything from soups to Shrimp Cocktail.
But when you make them yourself, you unlock a whole new level of flavor and texture that store-bought versions just can’t match. Imagine these golden, flaky crackers fresh from the oven, still warm, with a satisfying snap that’s crisp yet tender—a perfect blank canvas for all kinds of dips, from classic Spinach Artichoke Dip to spicy Buffalo Chicken Dip.
Saltine crackers are popular right now because they’re simple, affordable, and surprisingly versatile, which makes them ideal for everything from light snacking to DIY charcuterie boards.
Plus, making your own saltines gives you control over the ingredients, which is a game-changer if you’re watching sodium or avoiding preservatives. With just a few pantry basics and a rolling pin, you can whip up a batch of crackers that are infinitely fresher, tastier, and even healthier than their packaged counterparts.
Give these homemade saltines a try—I think you’ll find them surprisingly fun to make and endlessly adaptable.
Why I Love This Recipe (And You Will Too)
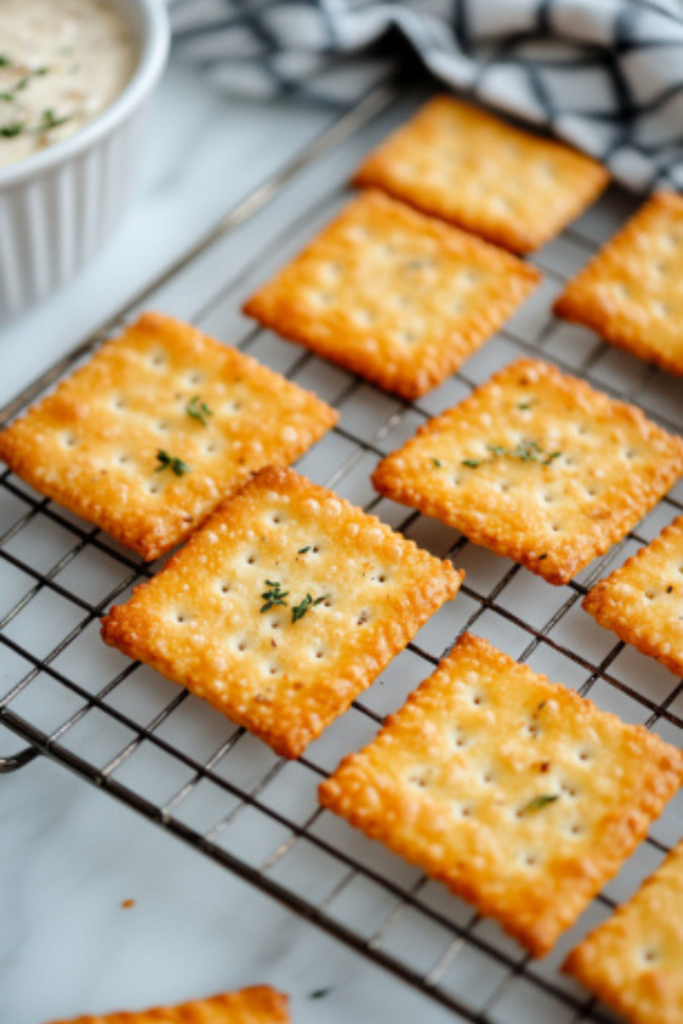
- Satisfying to Make from Scratch: There’s a certain joy in transforming flour and a few other basics into golden, crispy crackers. It’s simpler than you might think!
- Perfect for Dips: These crackers hold up beautifully with everything from smooth cheese dips to hearty Buffalo Chicken Dip—and they taste even better because they’re homemade.
- Control over Ingredients: I can adjust the salt to taste and skip the preservatives, which makes a noticeable difference in flavor.
- Unexpected Health Perks: Making them yourself lets you control sodium and avoid additives, which is a win if you’re trying to snack smarter.
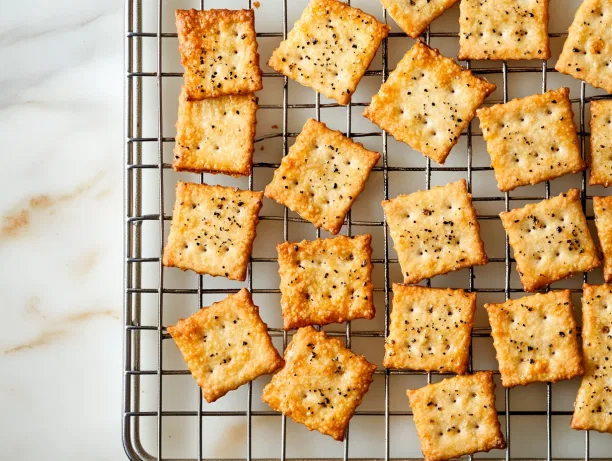
Saltine Cracker Recipe
Ingredients
- 1/2 tsp Salt
- 2 tbsp Butter
- Extra Butter For Topping
- 1 cup Flour
- 6 tbsp Water
Instructions
- Melt the butter and mix it well with the flour and salt.
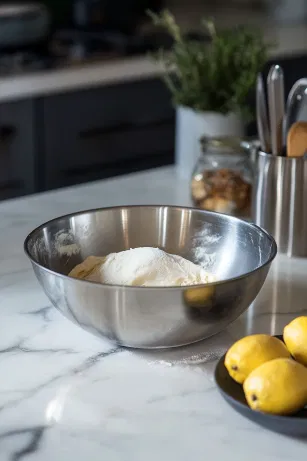
- Slowly add the tablespoons of water, one at a time, mixing well. Avoid adding too much water to prevent sticky dough; aim for a smooth dough.
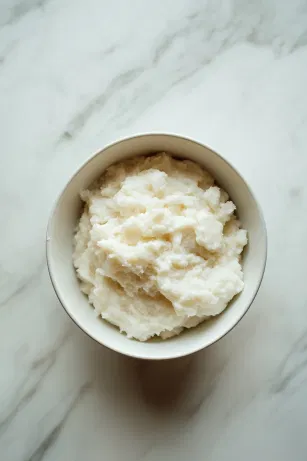
- Roll out the dough until very thin, about 1/8 inch. This can be done directly on the baking stone or on a floured surface, then transferred to a greased baking sheet or stone.
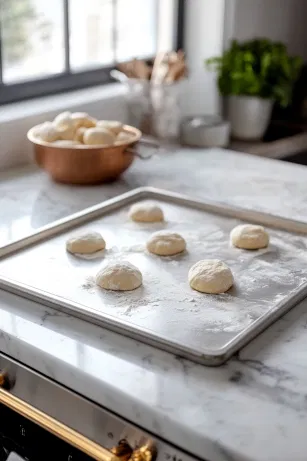
- Parchment paper can be used to avoid greasing.
- Score the dough with a pizza cutter.
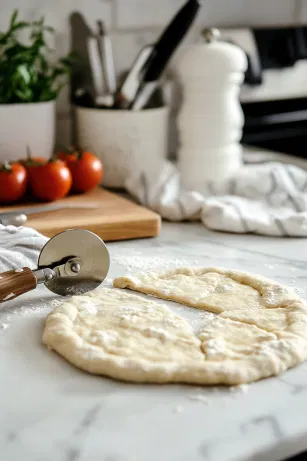
- Lightly brush the tops with butter and sprinkle with a little salt, if desired.
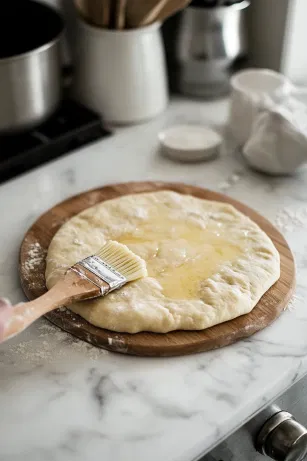
- Bake in the oven at 400°F for about 15 minutes.
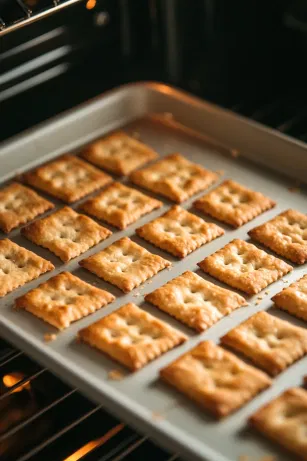
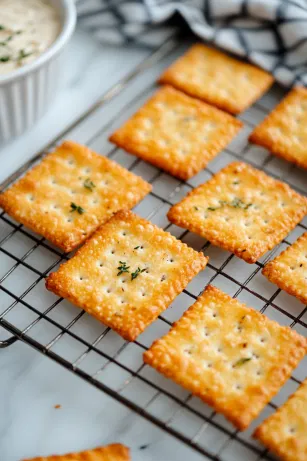
- Crackers will harden more as they cool.
- Enjoy plain or with a dip.
Nutrition Facts:
Nutrition | Value |
|---|---|
| Calories | 656 kcal |
| Carbohydrates | 95 g |
| Protein | 13 g |
| Vitamin A | 700 IU |
| Iron | 6 mg |
| Sugar | 0.4 g |
| Calcium | 29 mg |
Tips Which Might Help:
- Roll the Dough Evenly: To ensure your crackers bake evenly, roll the dough out as thin as possible (about 1/8 inch). The thinner the dough, the crispier the crackers will be.
- Use a Pizza Cutter for Neat Edges: A pizza cutter is perfect for scoring the dough into squares or rectangles before baking. It gives you clean, uniform cracker shapes and helps prevent any tearing.
- Try Flavored Salt: For a twist on classic saltines, experiment with flavored salts like garlic salt, smoked salt, or even a pinch of paprika on top. It adds extra flavor and can elevate the crackers.
- Double the Batch: If you want to make a bigger batch, this recipe is easily doubled. Just make sure you have enough space on your baking sheet to keep the crackers in a single layer, so they bake evenly.
- Cool Completely for Crispness: Once the crackers are done baking, allow them to cool on the baking sheet. They’ll harden and become even crispier as they cool, so don’t skip this step!


