There’s something profoundly satisfying about the smell of fresh bread wafting through your kitchen, yet many of us shy away from baking bread because of the perceived complexity.
Enter the world’s easiest yeast bread recipe, a game-changer for anyone who has ever felt intimidated by yeast or dough. This recipe is a testament to the magic of simplicity, transforming basic ingredients into a golden, crusty loaf with minimal effort.
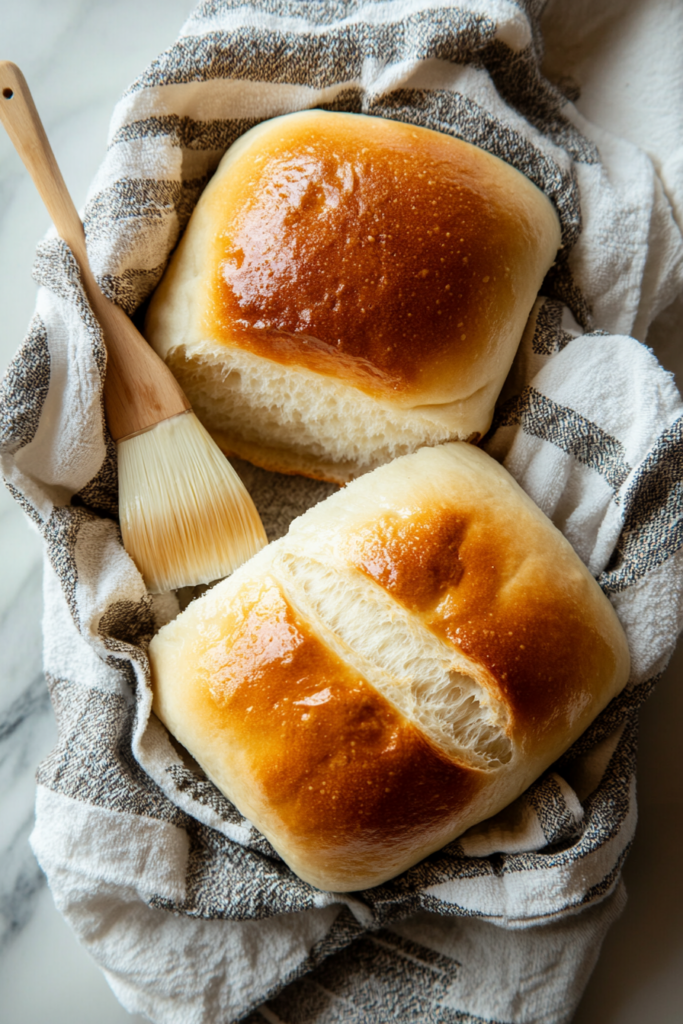
Imagine pulling a warm, fragrant loaf from the oven, the crust crackling as you cut into it, revealing a soft, airy crumb inside. It’s the kind of bread that’s perfect for dunking in blended vegetable soup.
The beauty of this recipe lies in its straightforward method and forgiving nature, making it ideal for both novices and seasoned bakers alike.
Whether you’re prepping for a cozy family dinner or gearing up for a holiday feast, this bread brings a touch of homemade warmth to any occasion. It’s a breeze to make and even easier to love.
Why I Love This Recipe?
- I was amazed at how little hands-on time this recipe requires. Perfect for busy days or last-minute guests.
- The smell of baking bread is unbeatable, filling the house with an inviting, warm fragrance.
- I’ve used this bread for everything from sandwiches to toast, and it always turns out perfectly.
- You can add herbs, cheese, or even a sprinkle of sea salt on top to suit your taste.
World’s Easiest Yeast Bread Recipe
Equipment
- Large mixing bowl
- Rolling Pin
- Damp tea towel
- Loaf pans
- Measuring cups and spoons
Ingredients
- 2 tsp sugar
- ¼ cup cooking oil
- 1 tsp salt
- 5 cups all-purpose white flour
- 2 tbsp yeast
- 2 cups warm-hot water
Instructions
- In a large bowl, combine 4 cups of flour, yeast, sugar, and salt.
- Add hot water and oil, mixing until the ingredients come together, though the dough will be sticky.
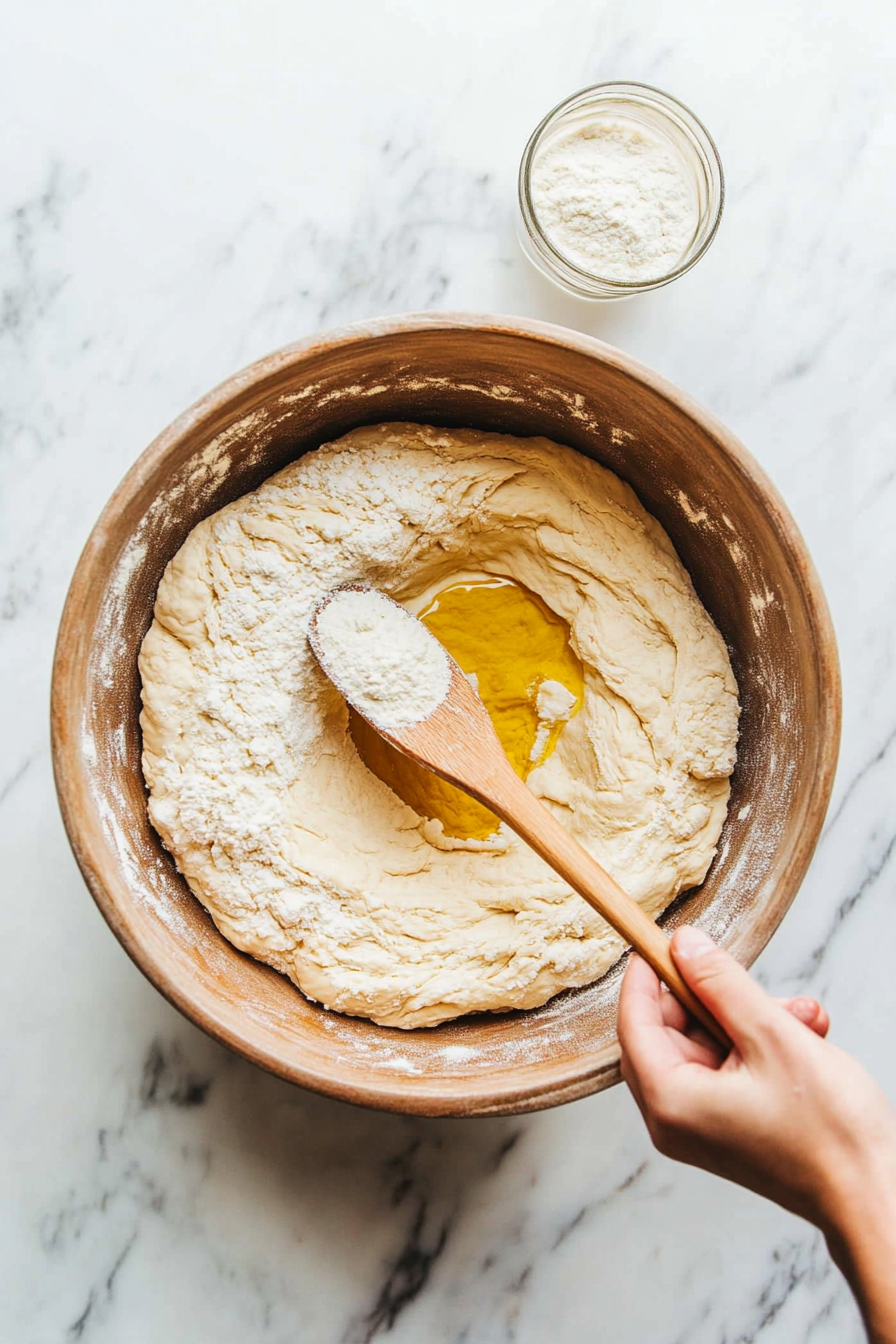
- Gradually incorporate the remaining flour until the dough is no longer sticky.
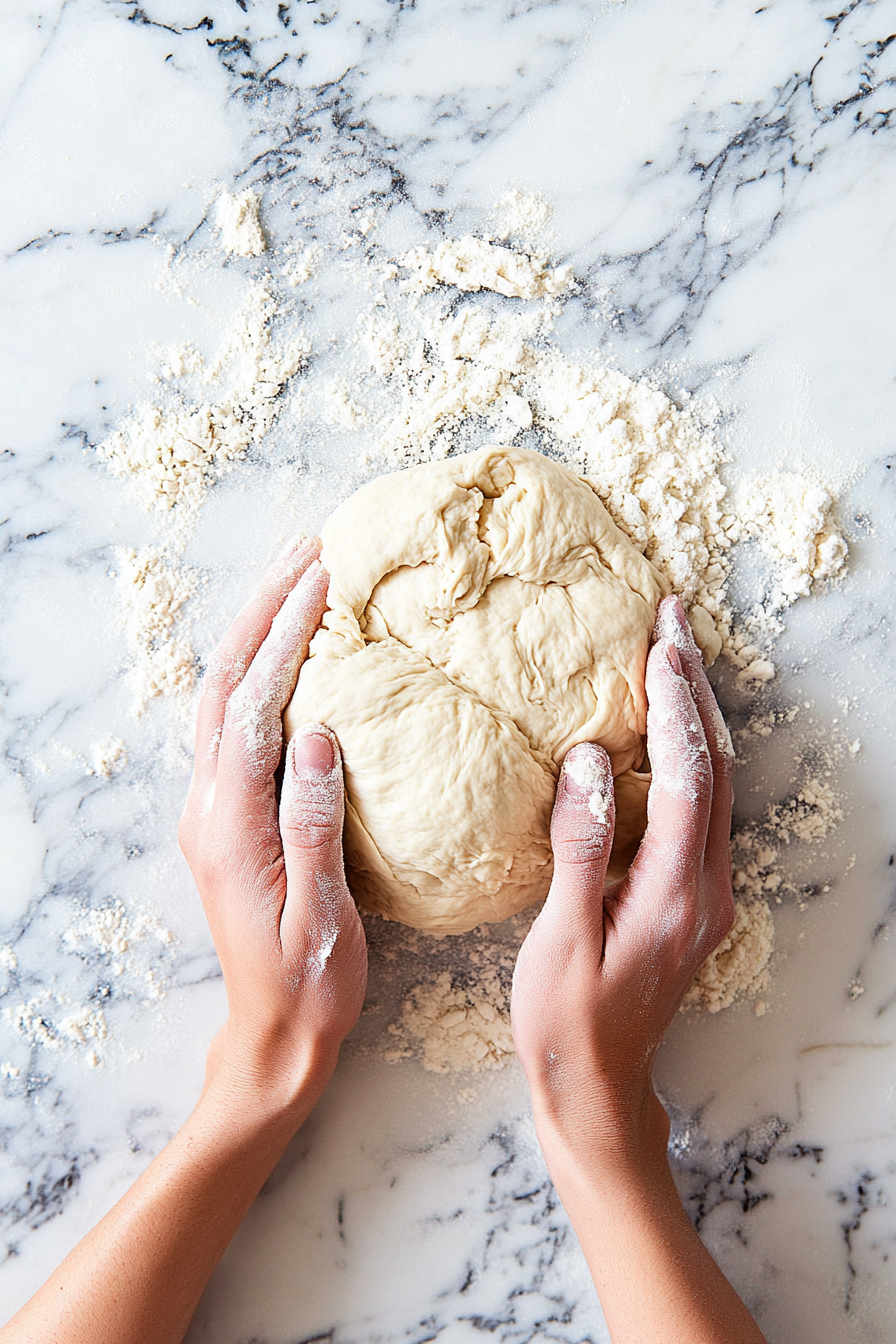
- Knead the dough for about 5 minutes until it becomes elastic and smooth.
- Return the dough to the bowl, cover it with a damp tea towel, and let it rise until it doubles in size, which should take around 30 minutes.
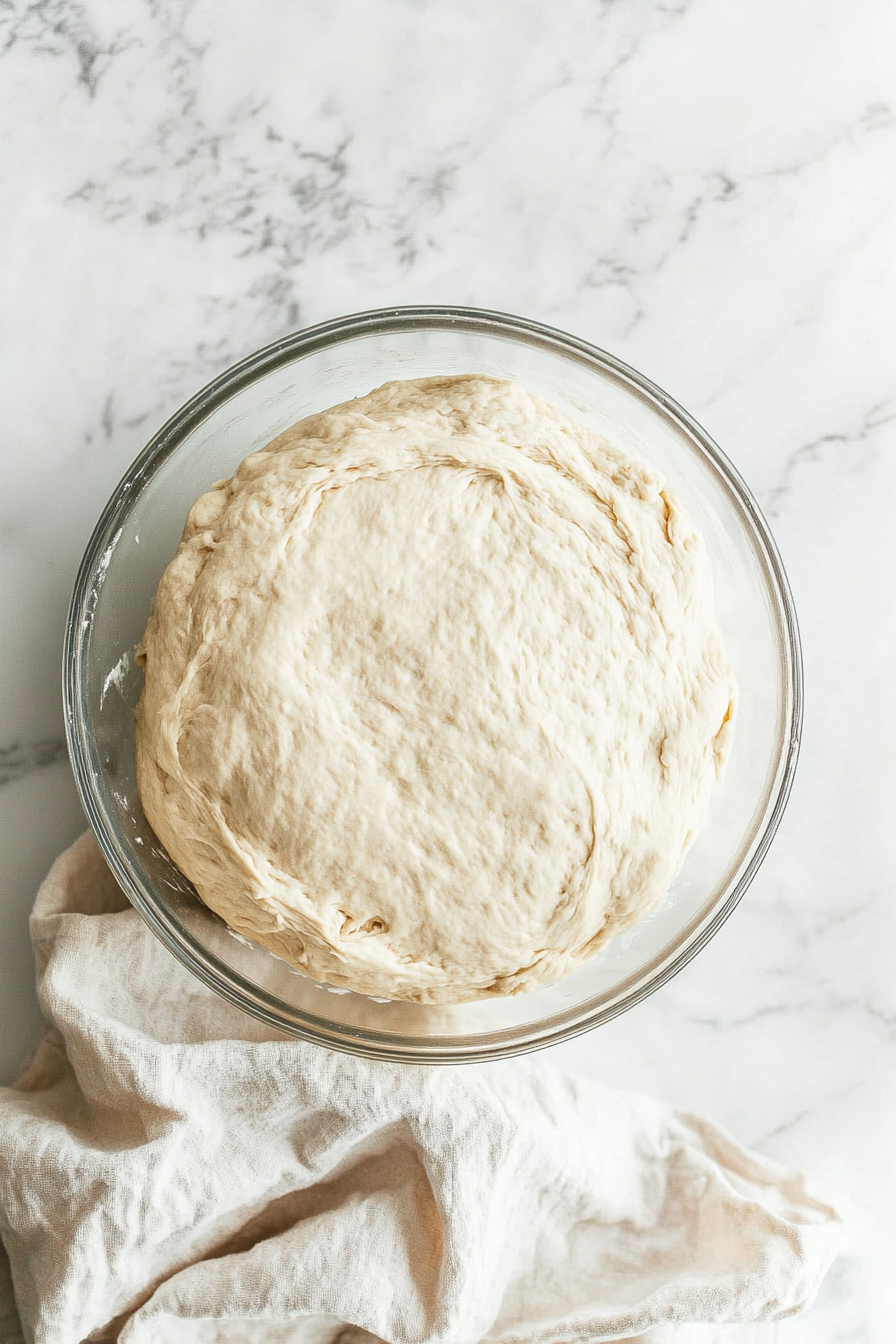
- Punch the dough down, then divide it into two portions.
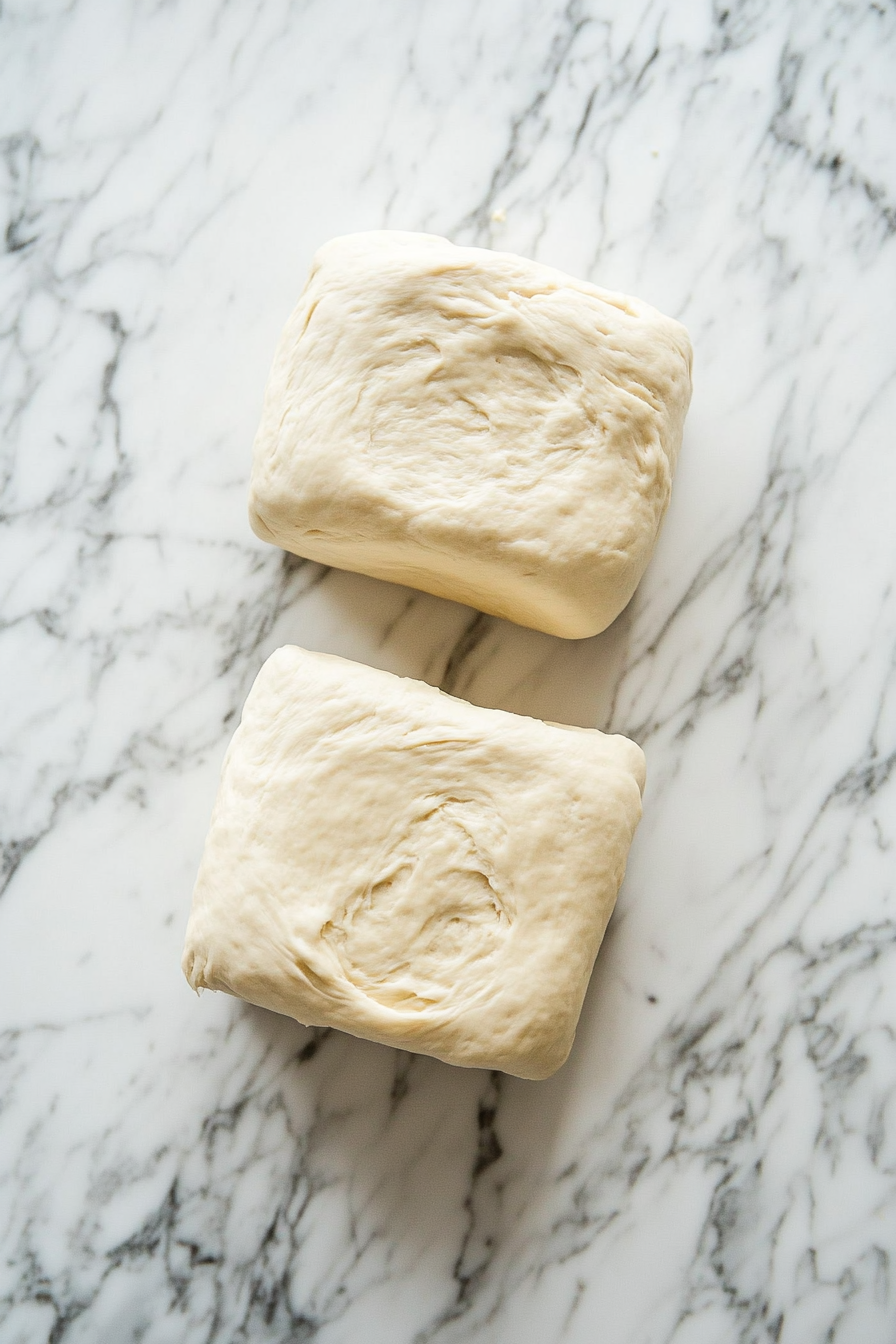
- Roll each portion to fit into well-oiled loaf pans and let them rise until the dough reaches the top of the pans.
- Roll each portion to fit into well-oiled loaf pans and let them rise until the dough reaches the top of the pans.
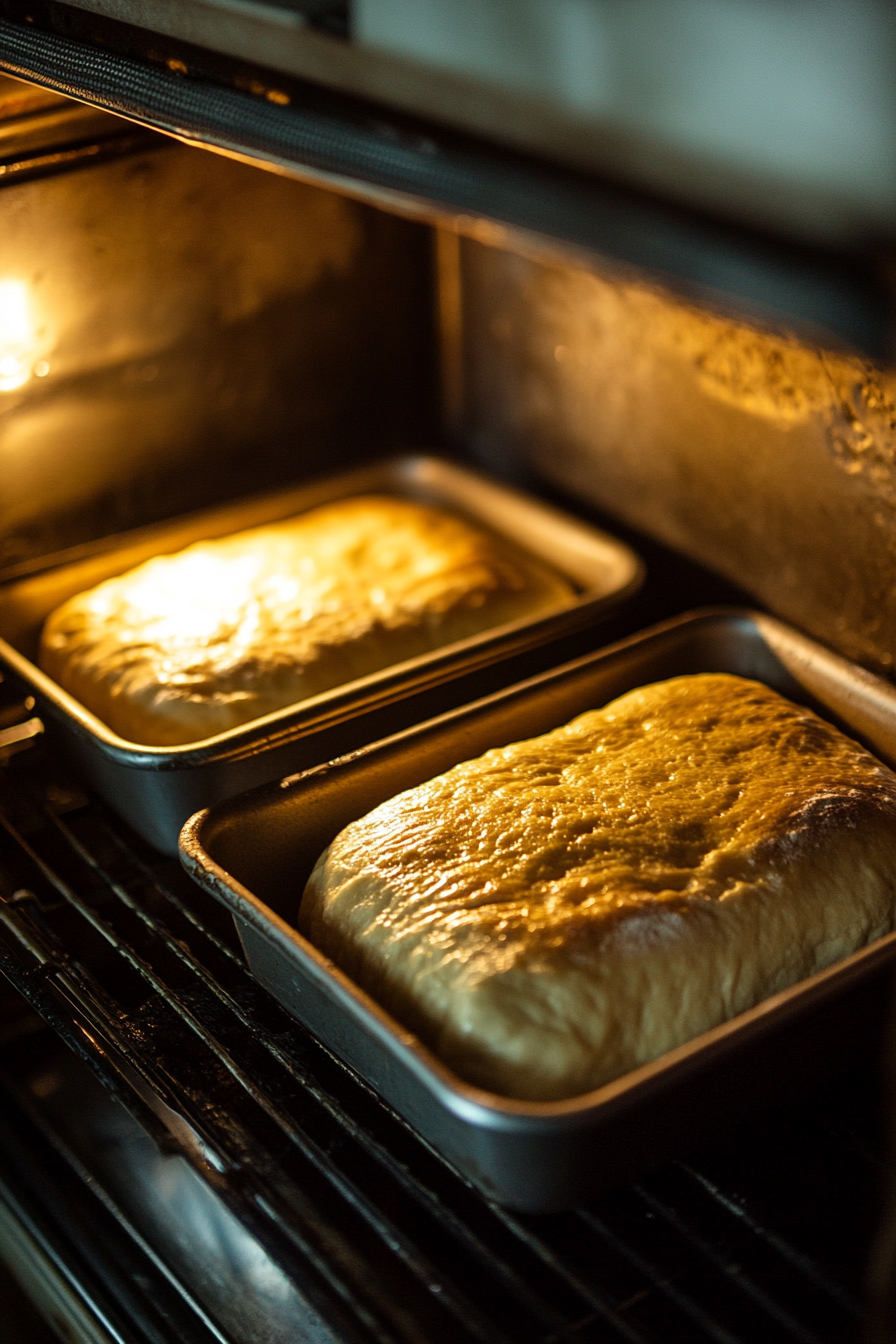
- Bake at 400°F for 40 minutes.
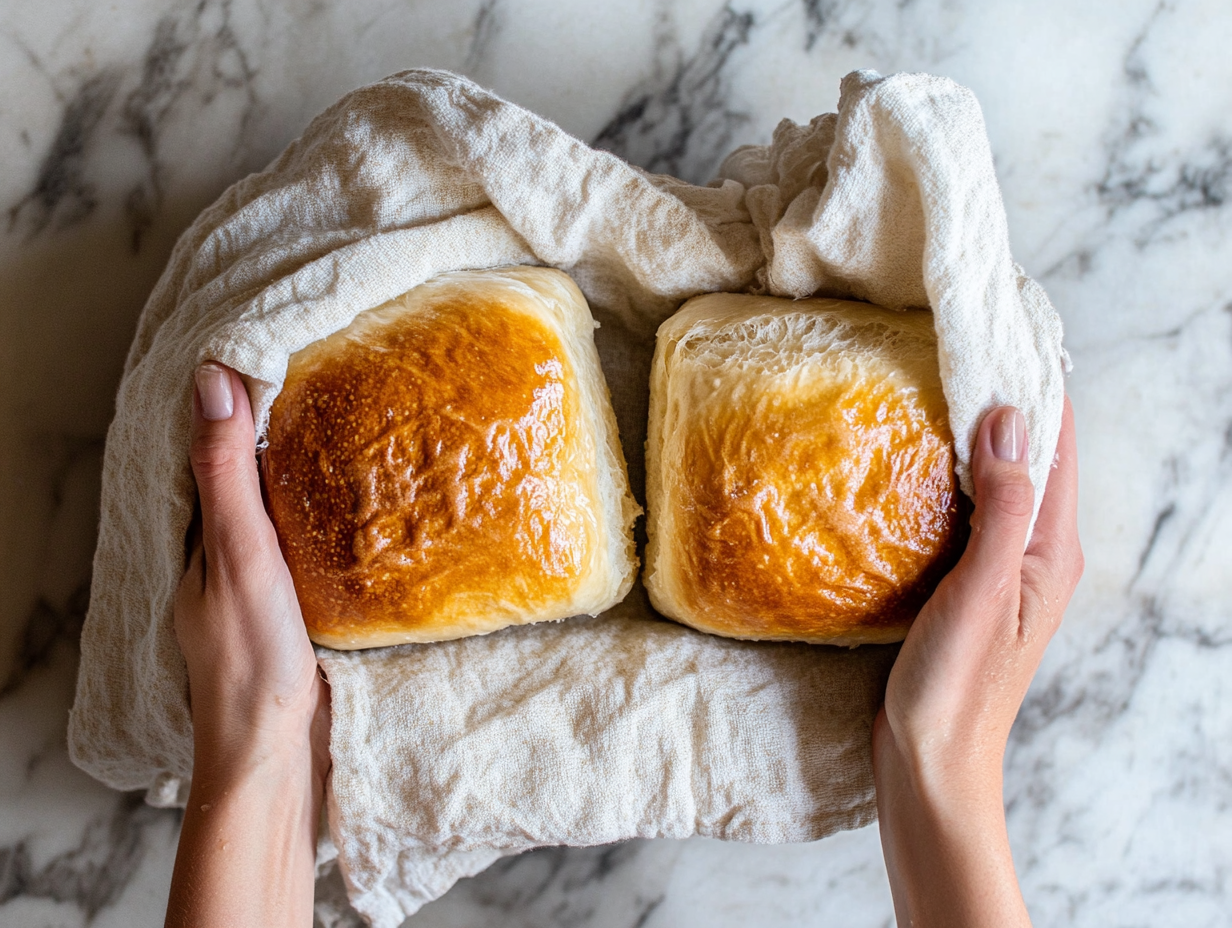
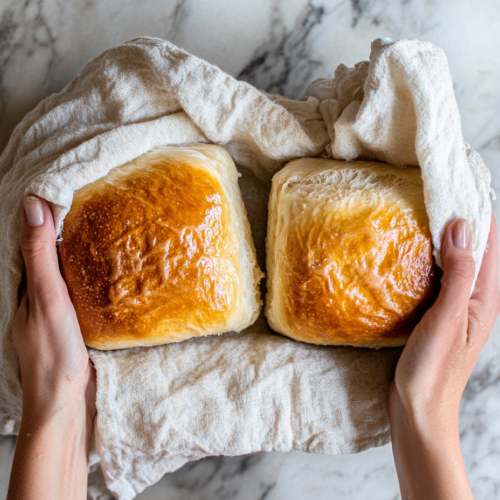
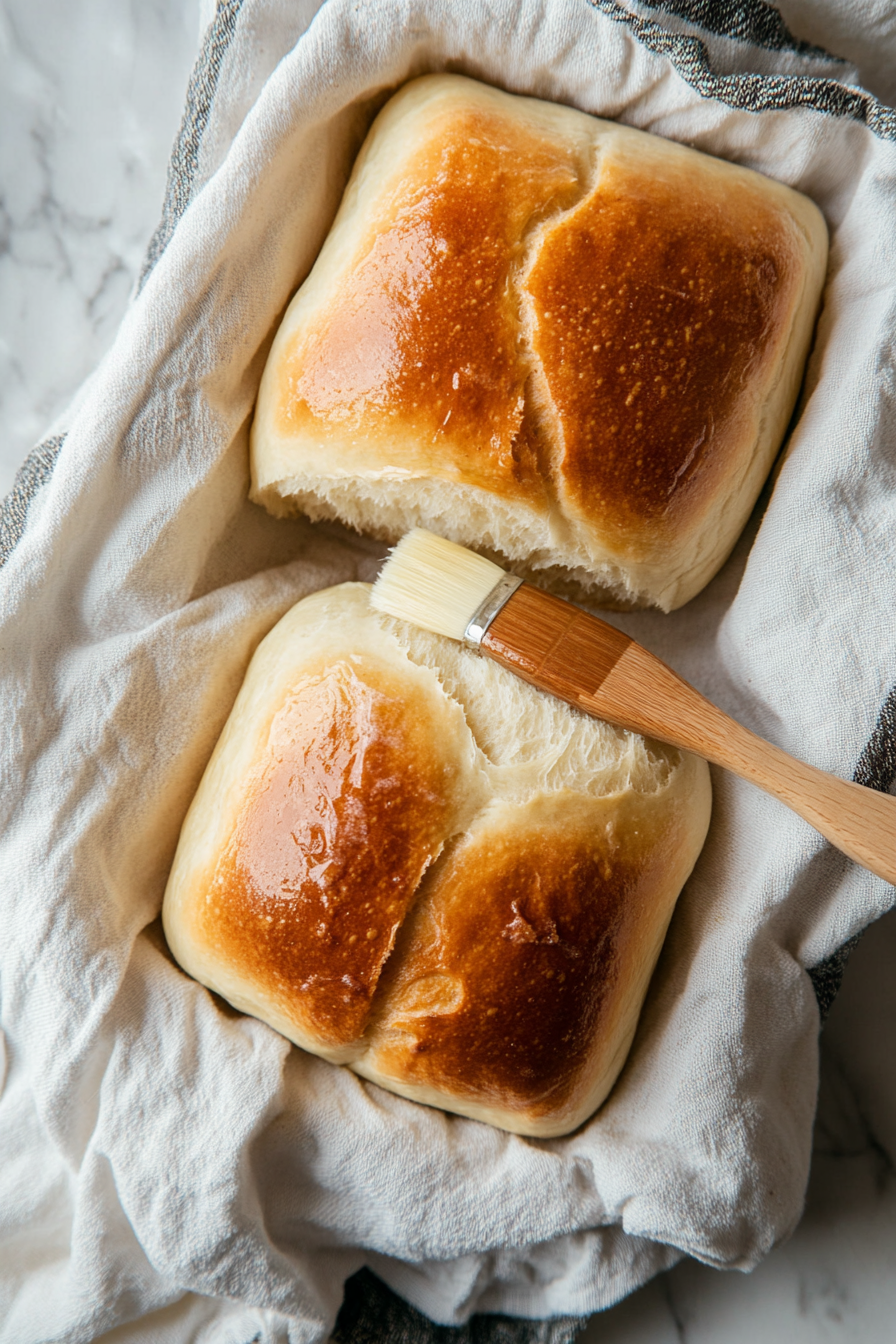
- Once baked, brush the hot loaves with water and wrap them in a tea towel to soften the crust.
Notes
- Depending on the humidity and type of flour used, you may need to adjust the amount of flour added.
- To prevent the crust from becoming too hard, ensure that you wrap the baked loaves in a tea towel immediately after baking while they are still warm.
Nutrition Facts:
| Nutrition | Value |
|---|---|
| Calories | 1433.6 kcal |
| Carbohydrates | 247.6 g |
| Protein | 37.1 g |
| Sugar | 5 g |
Tips Which May Help
Tip 1: Store the bread in an airtight container or bread bag at room temperature for up to 3 days. For longer storage, you can freeze the loaves and thaw them as needed.
Tip 2: The dough should appear noticeably larger and puffed up. A good way to test the dough is by gently pressing your finger into it; if the indentation remains, it’s ready.
Tip 3: You can substitute instant yeast for active dry yeast in equal amounts. Instant yeast can be added directly to the dry ingredients without needing to be dissolved in water first.

